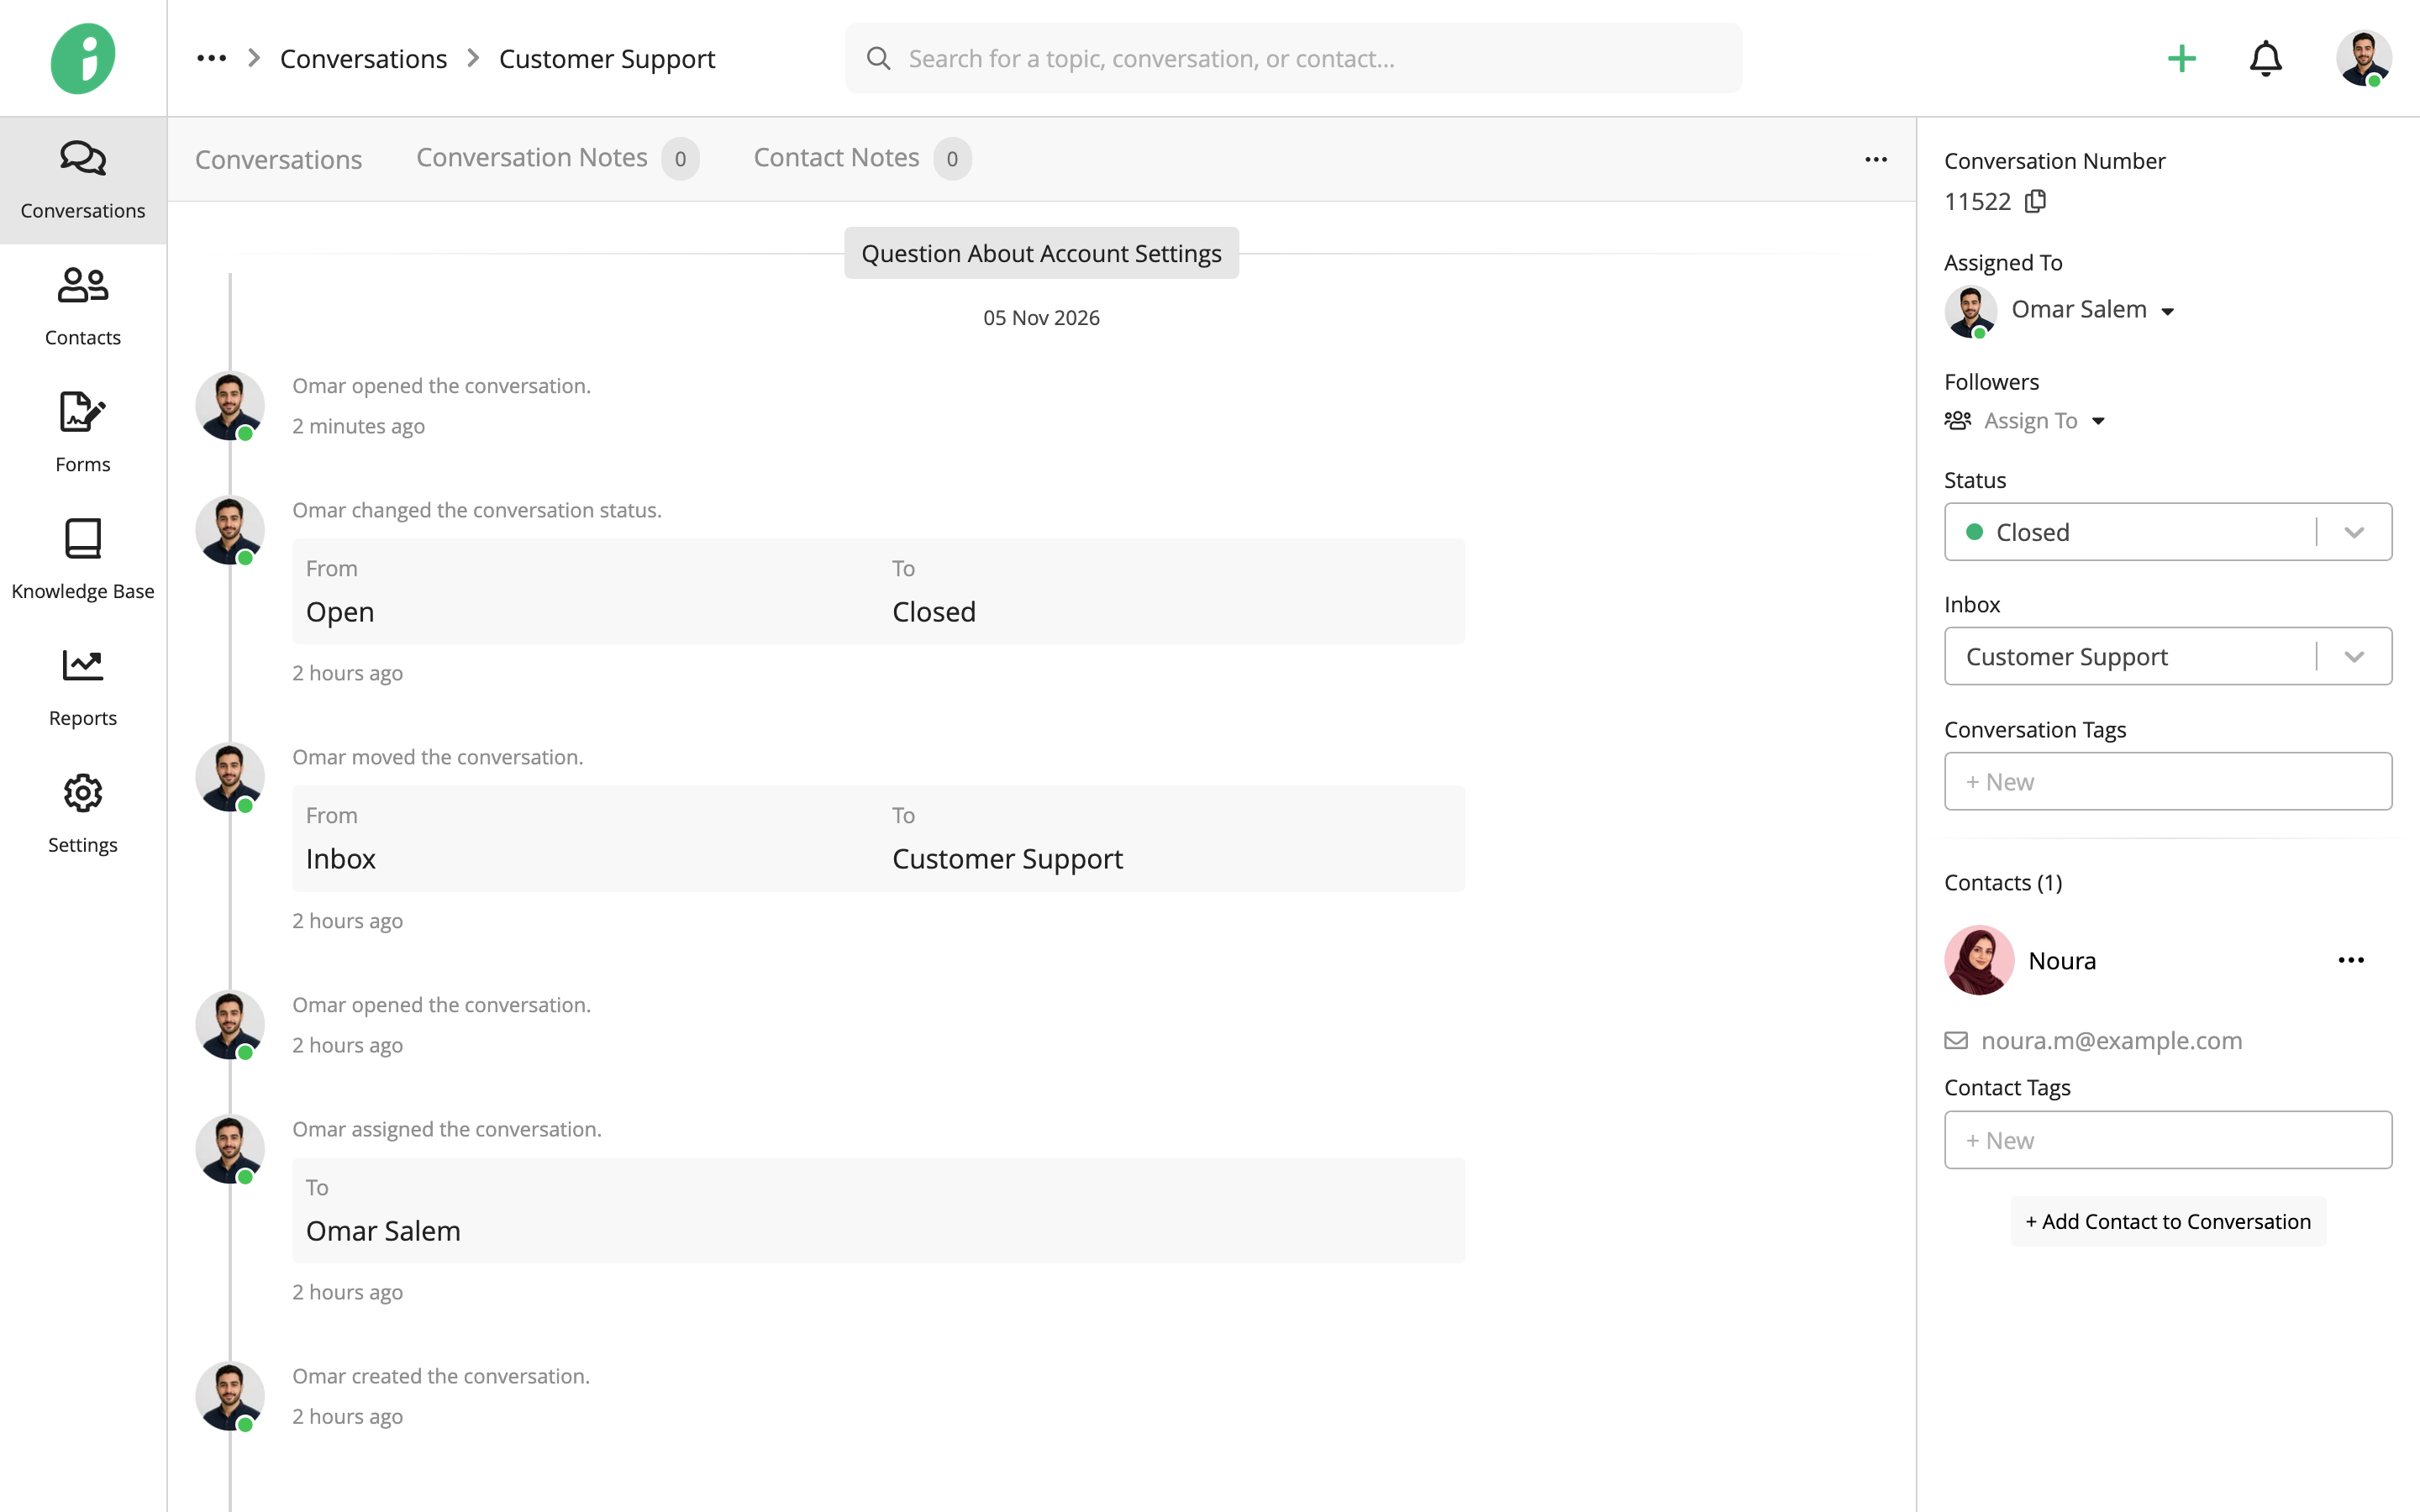
Reply to customer messages, coordinate with agents, and manage conversation details, including assignments, statuses, tags, notes, and activity history.
From your Helpdesk, go to Conversations and open a conversation.
Reply to Messages
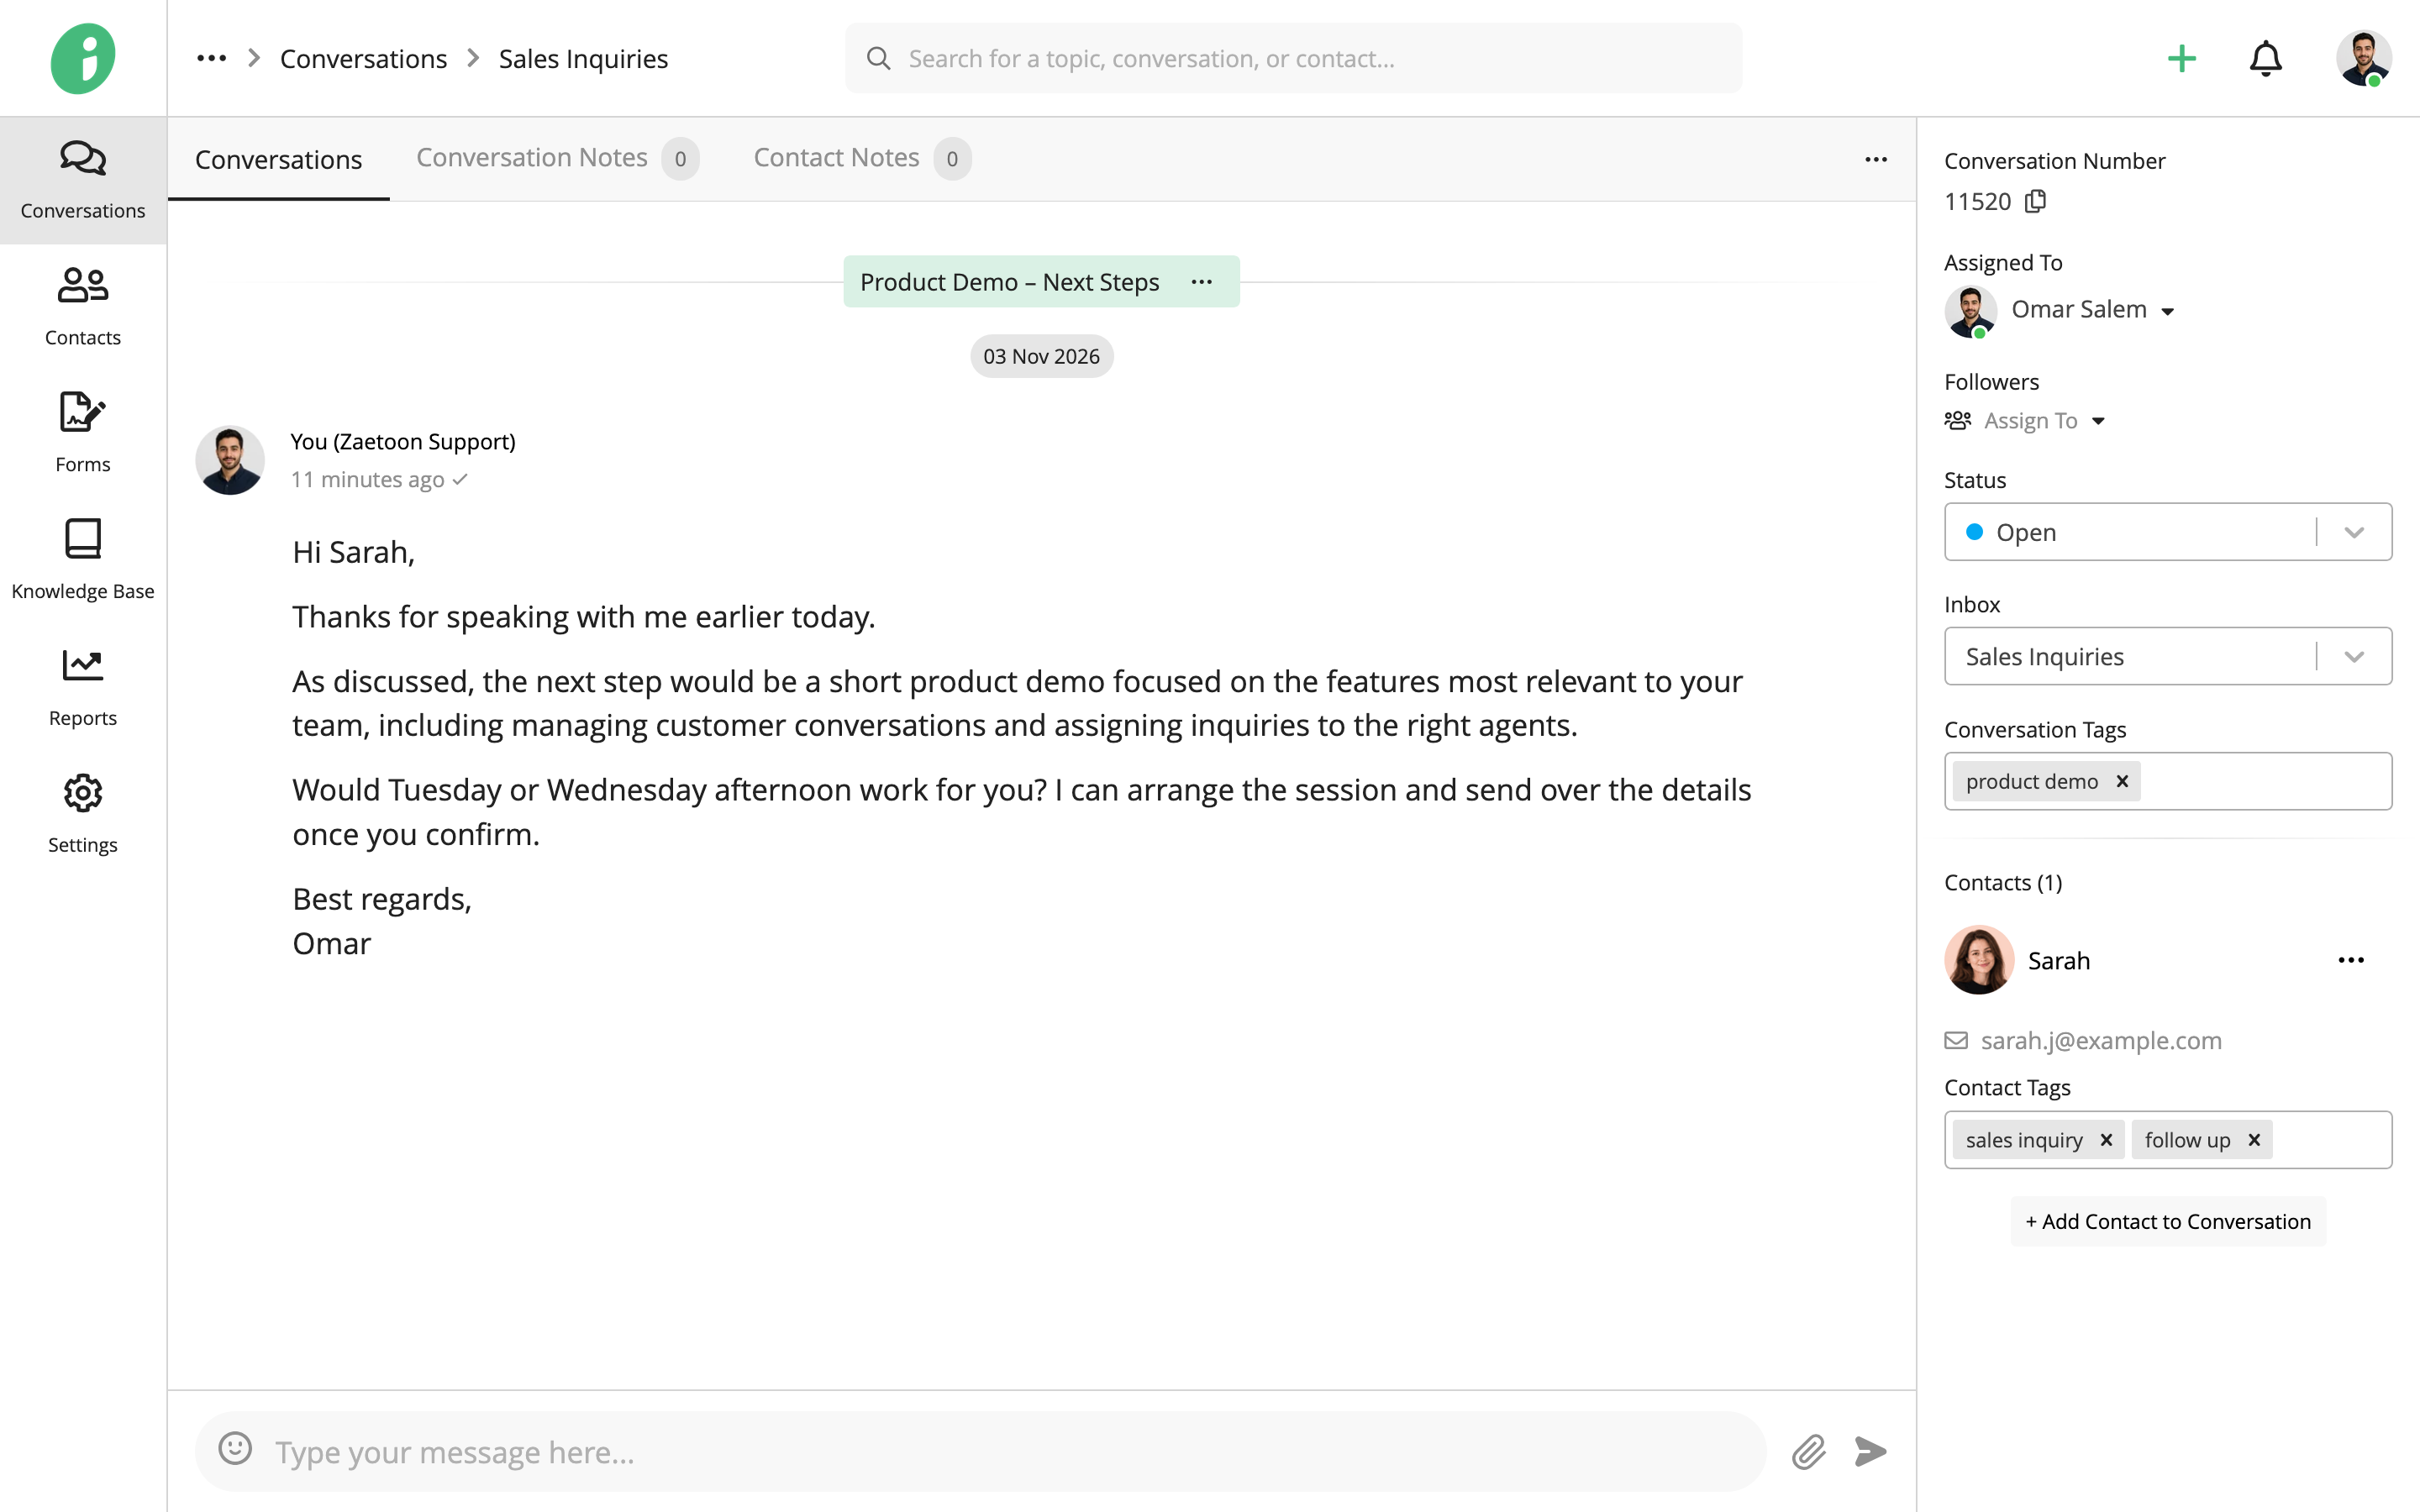
Type your reply in the message field at the bottom of the conversation. Use the attachment icon to include files, then click the send icon to send your message.
Manage the Conversation Title
Click the options menu (⋯) beside the conversation title to access the following options:
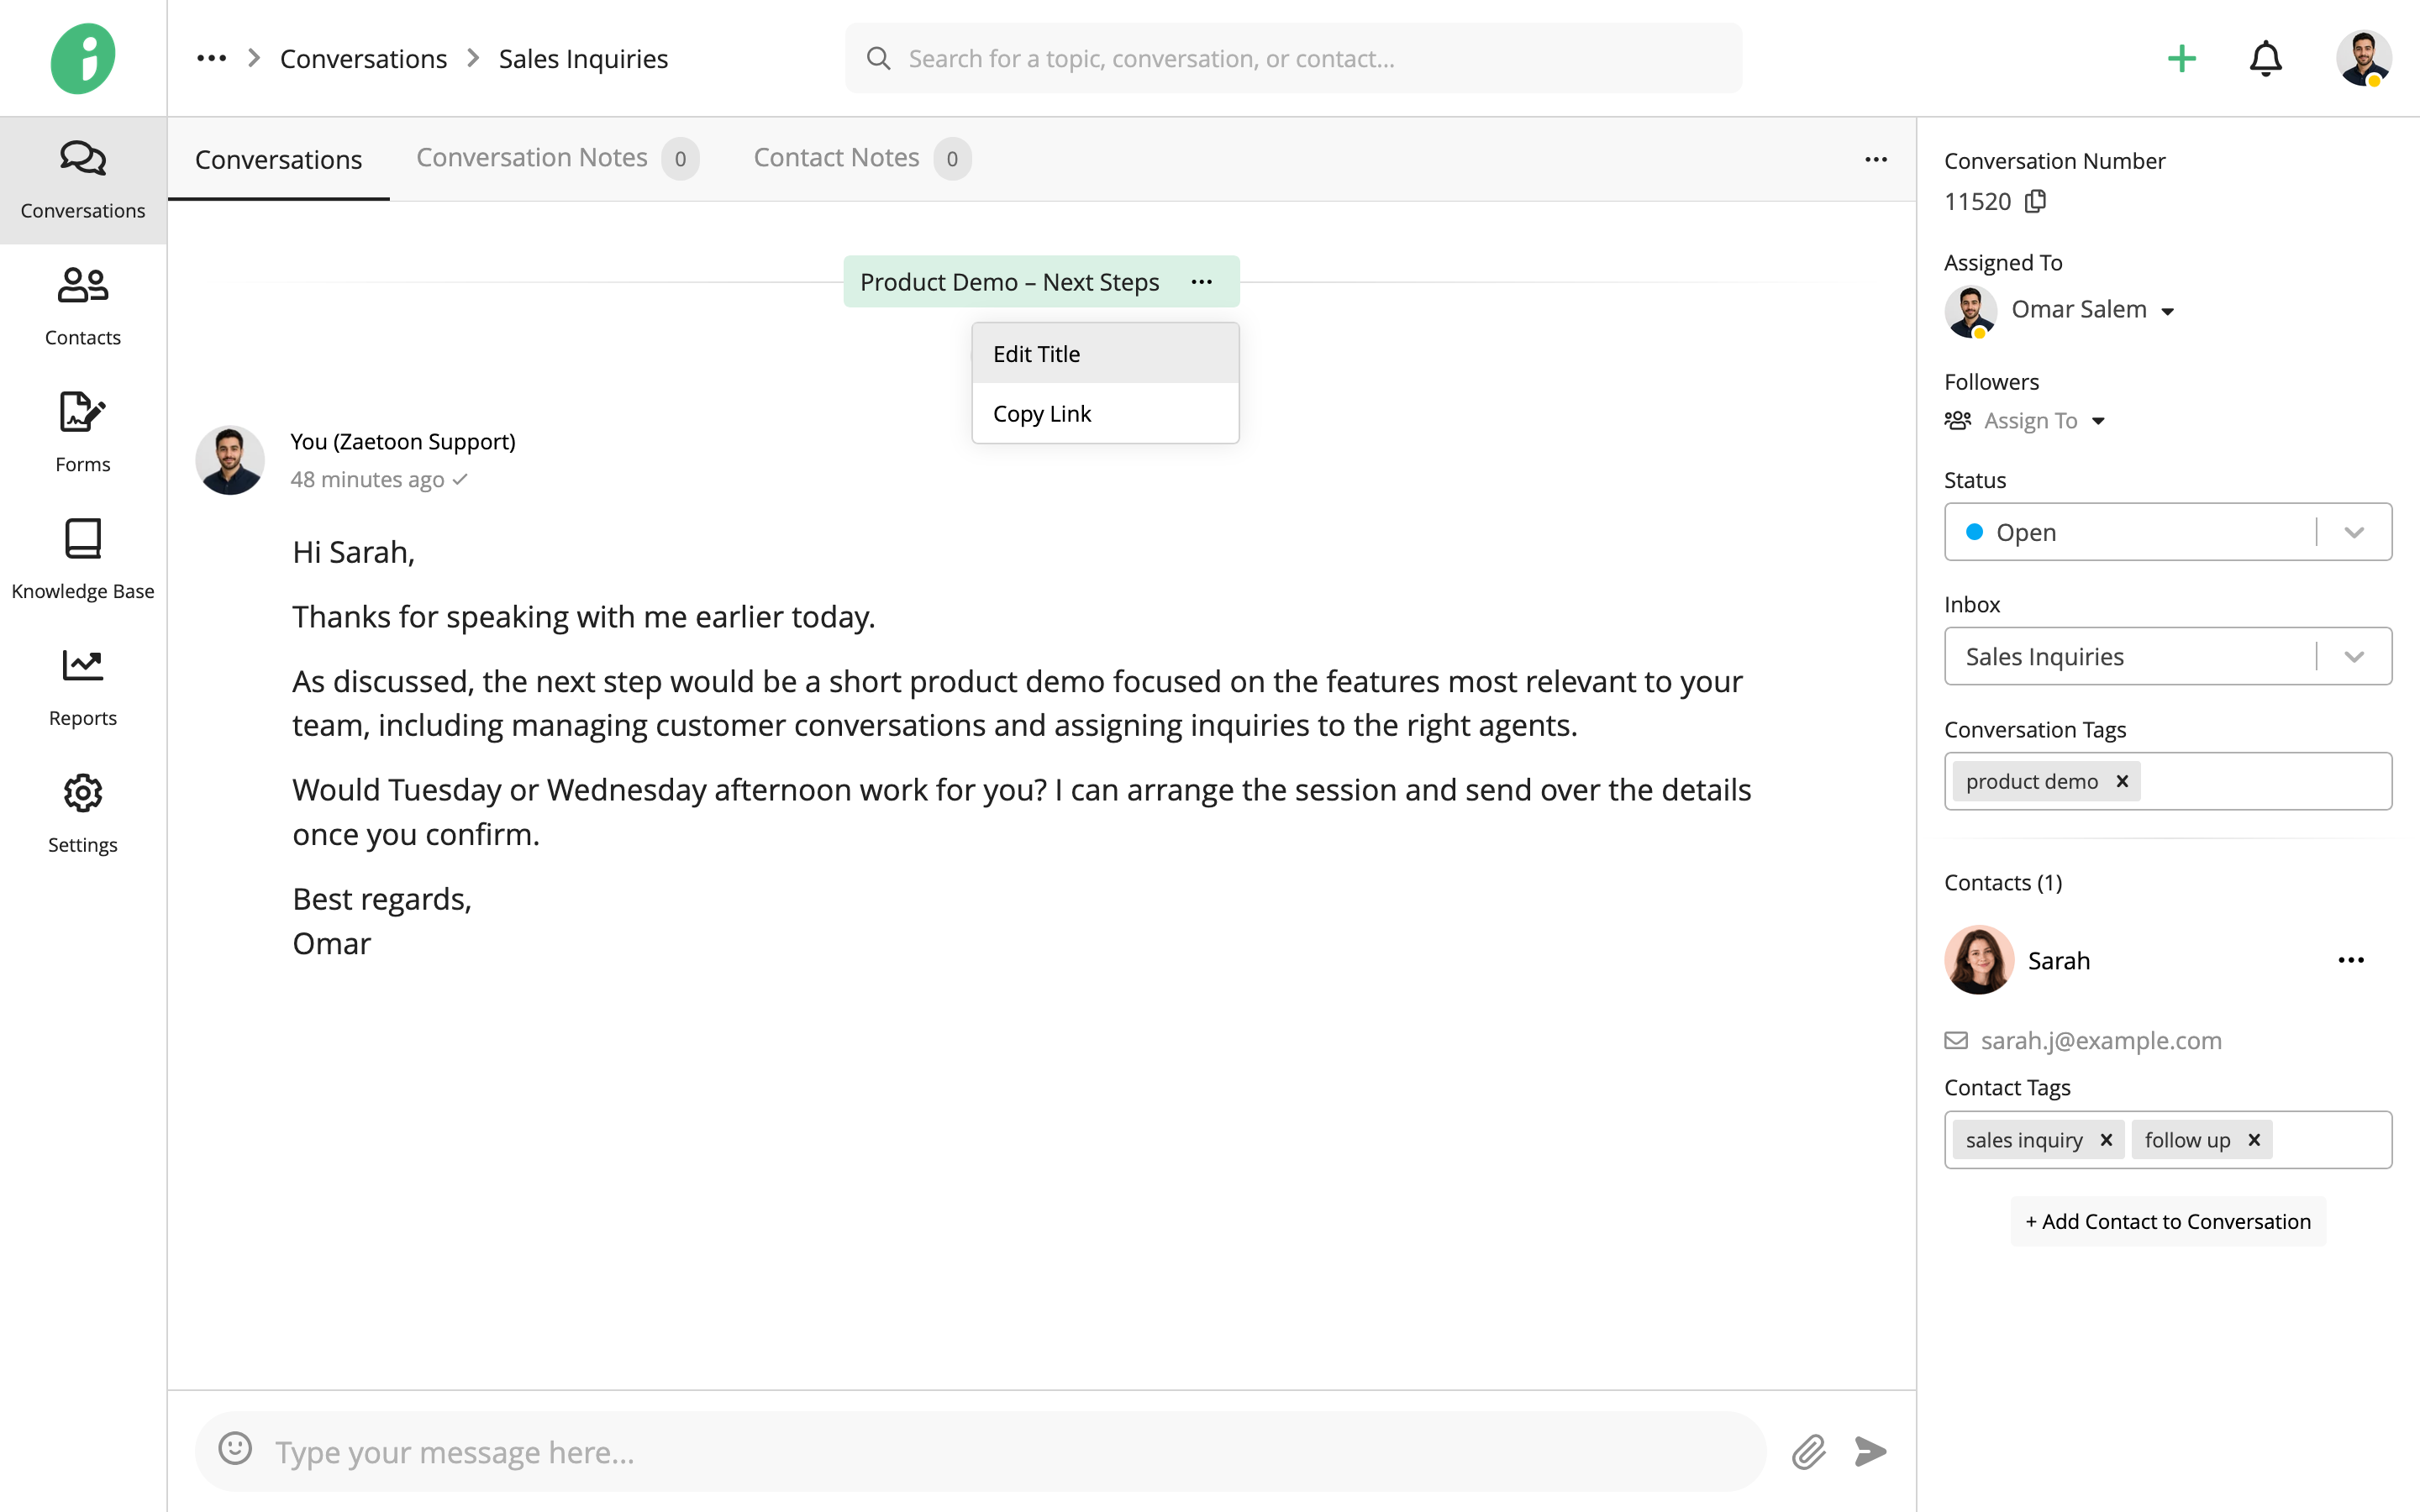
- Edit Title: Change the conversation’s title.
- Copy Link: Copy a direct link to the conversation.
Assign Agents and Followers
Under Assigned To, select the agent responsible for handling the conversation.
Use Followers to add or remove agents who need to follow the conversation.
Update the Conversation Status
Use Status in the right sidebar to update the conversation’s status.
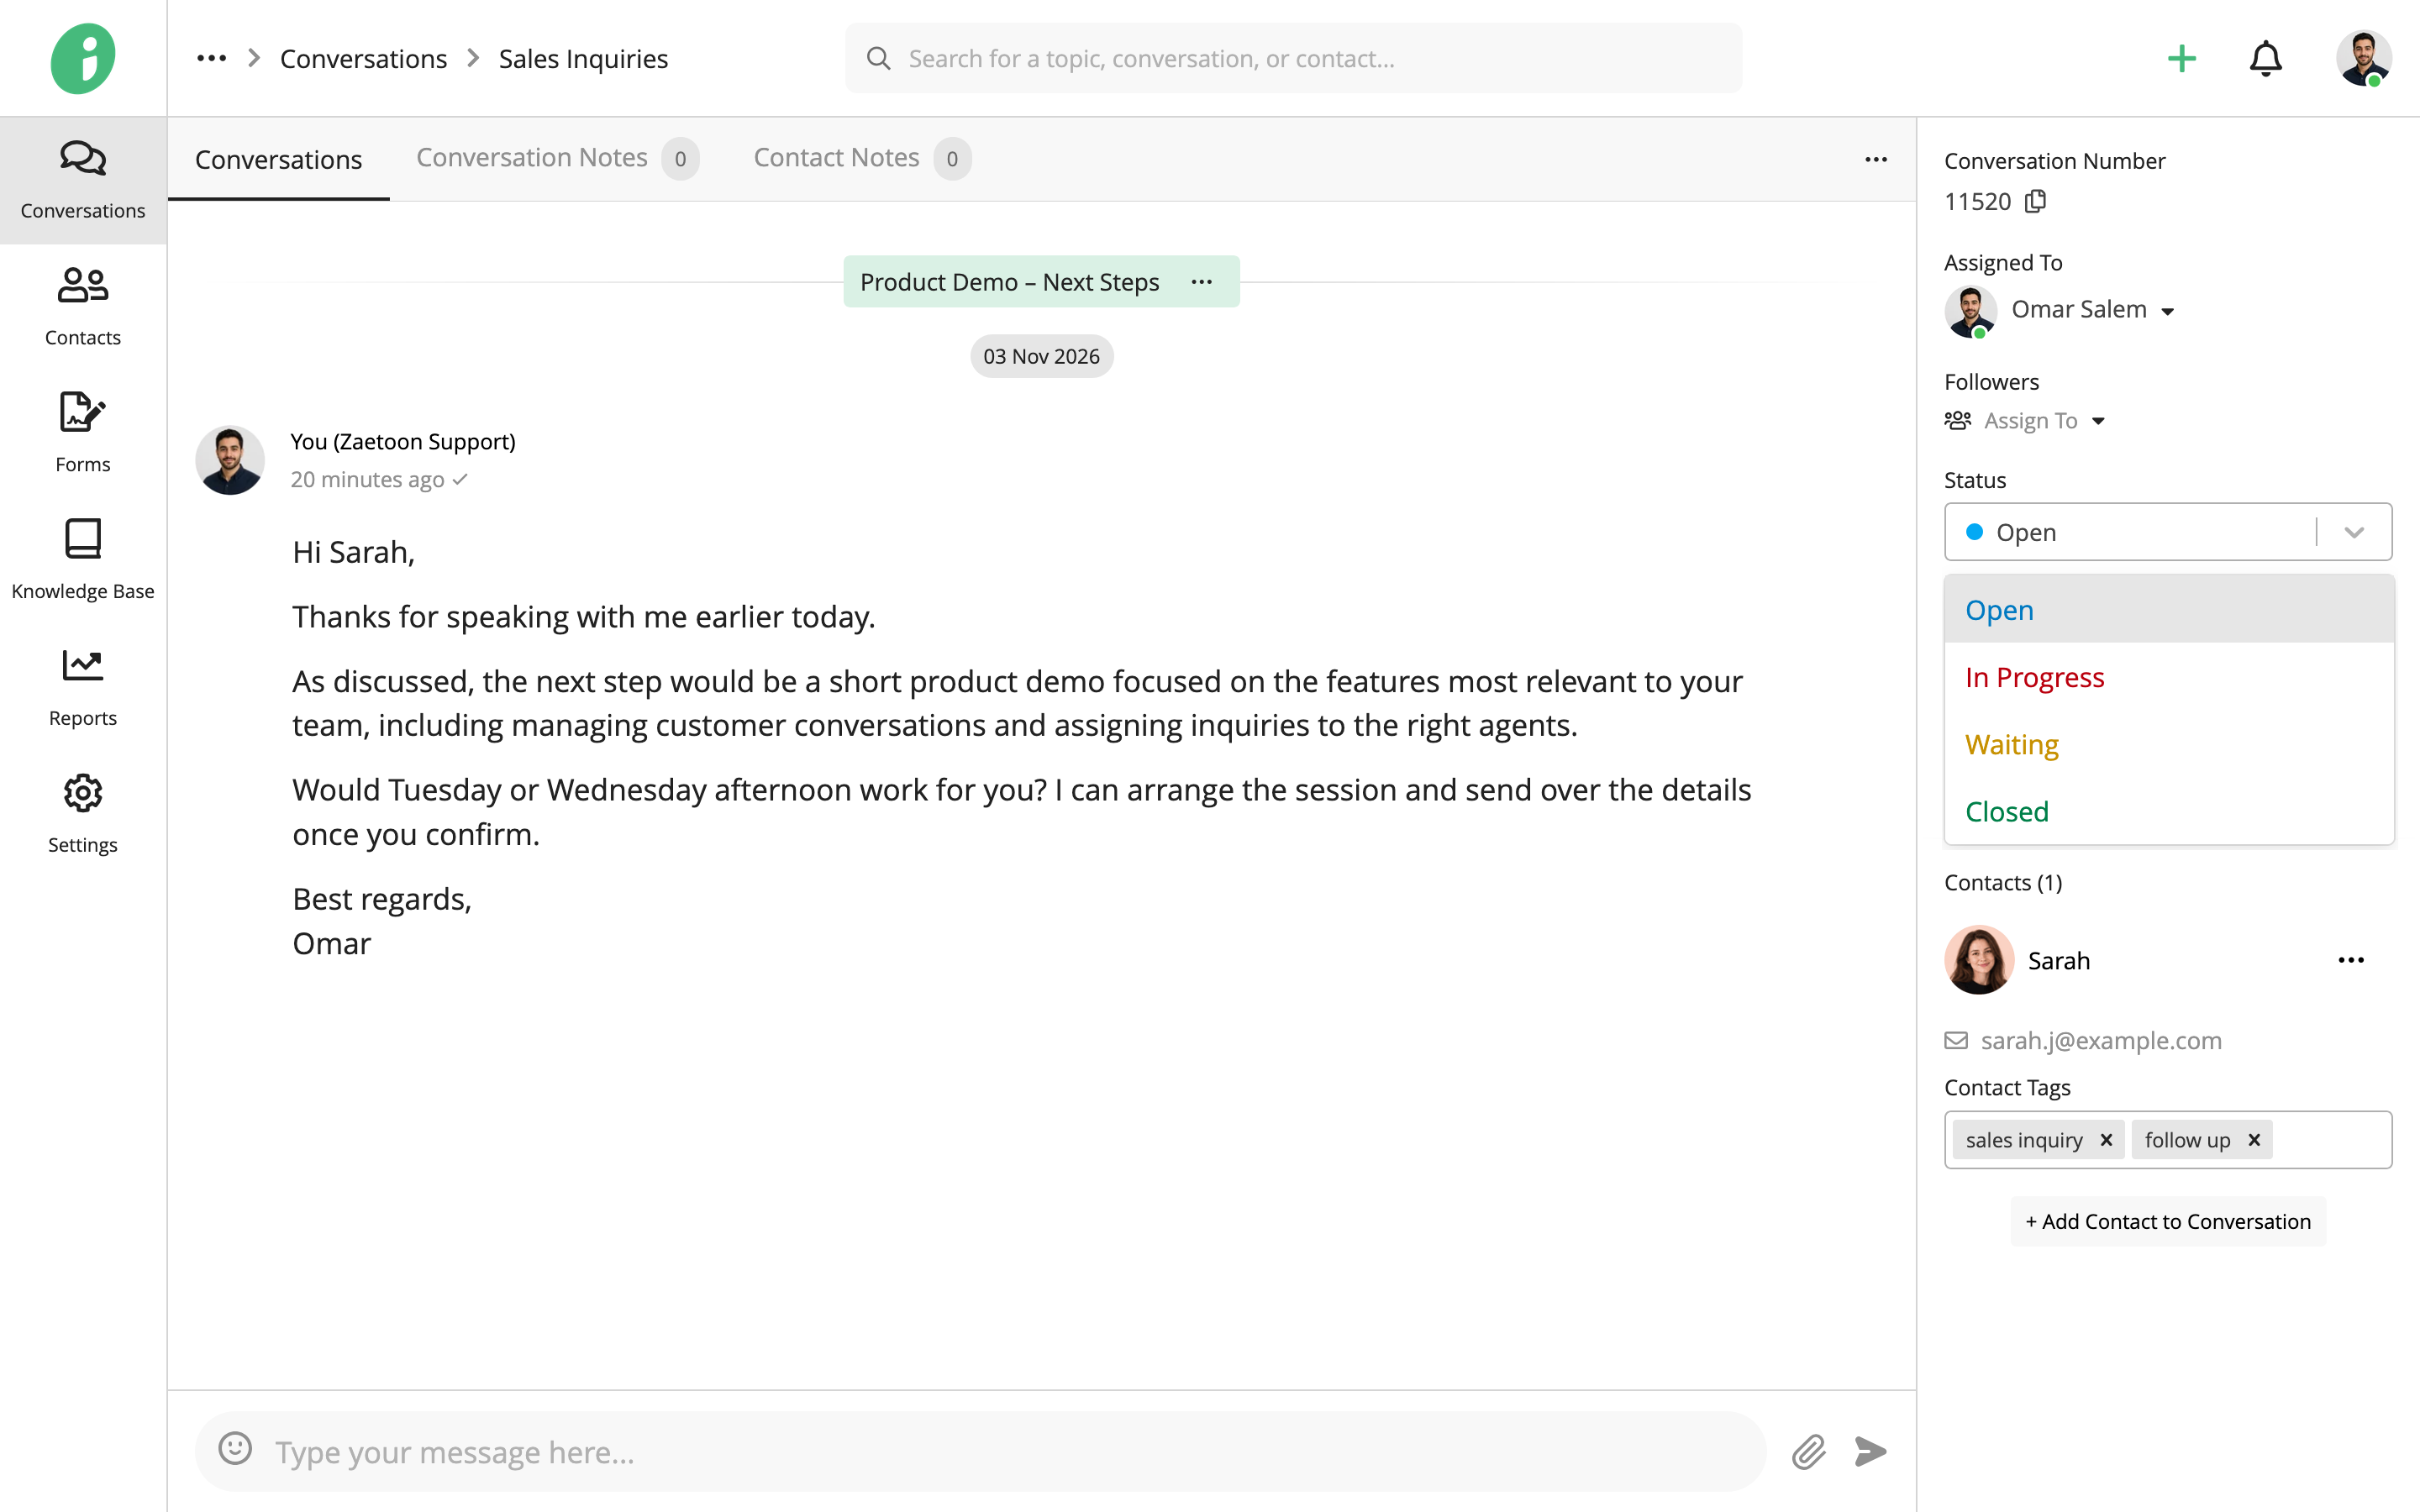
The default statuses are Open, In Progress, Waiting, and Closed.
For more information, see Configure Conversation Statuses.
Change the Inbox
Use Inbox to move the conversation to another inbox.
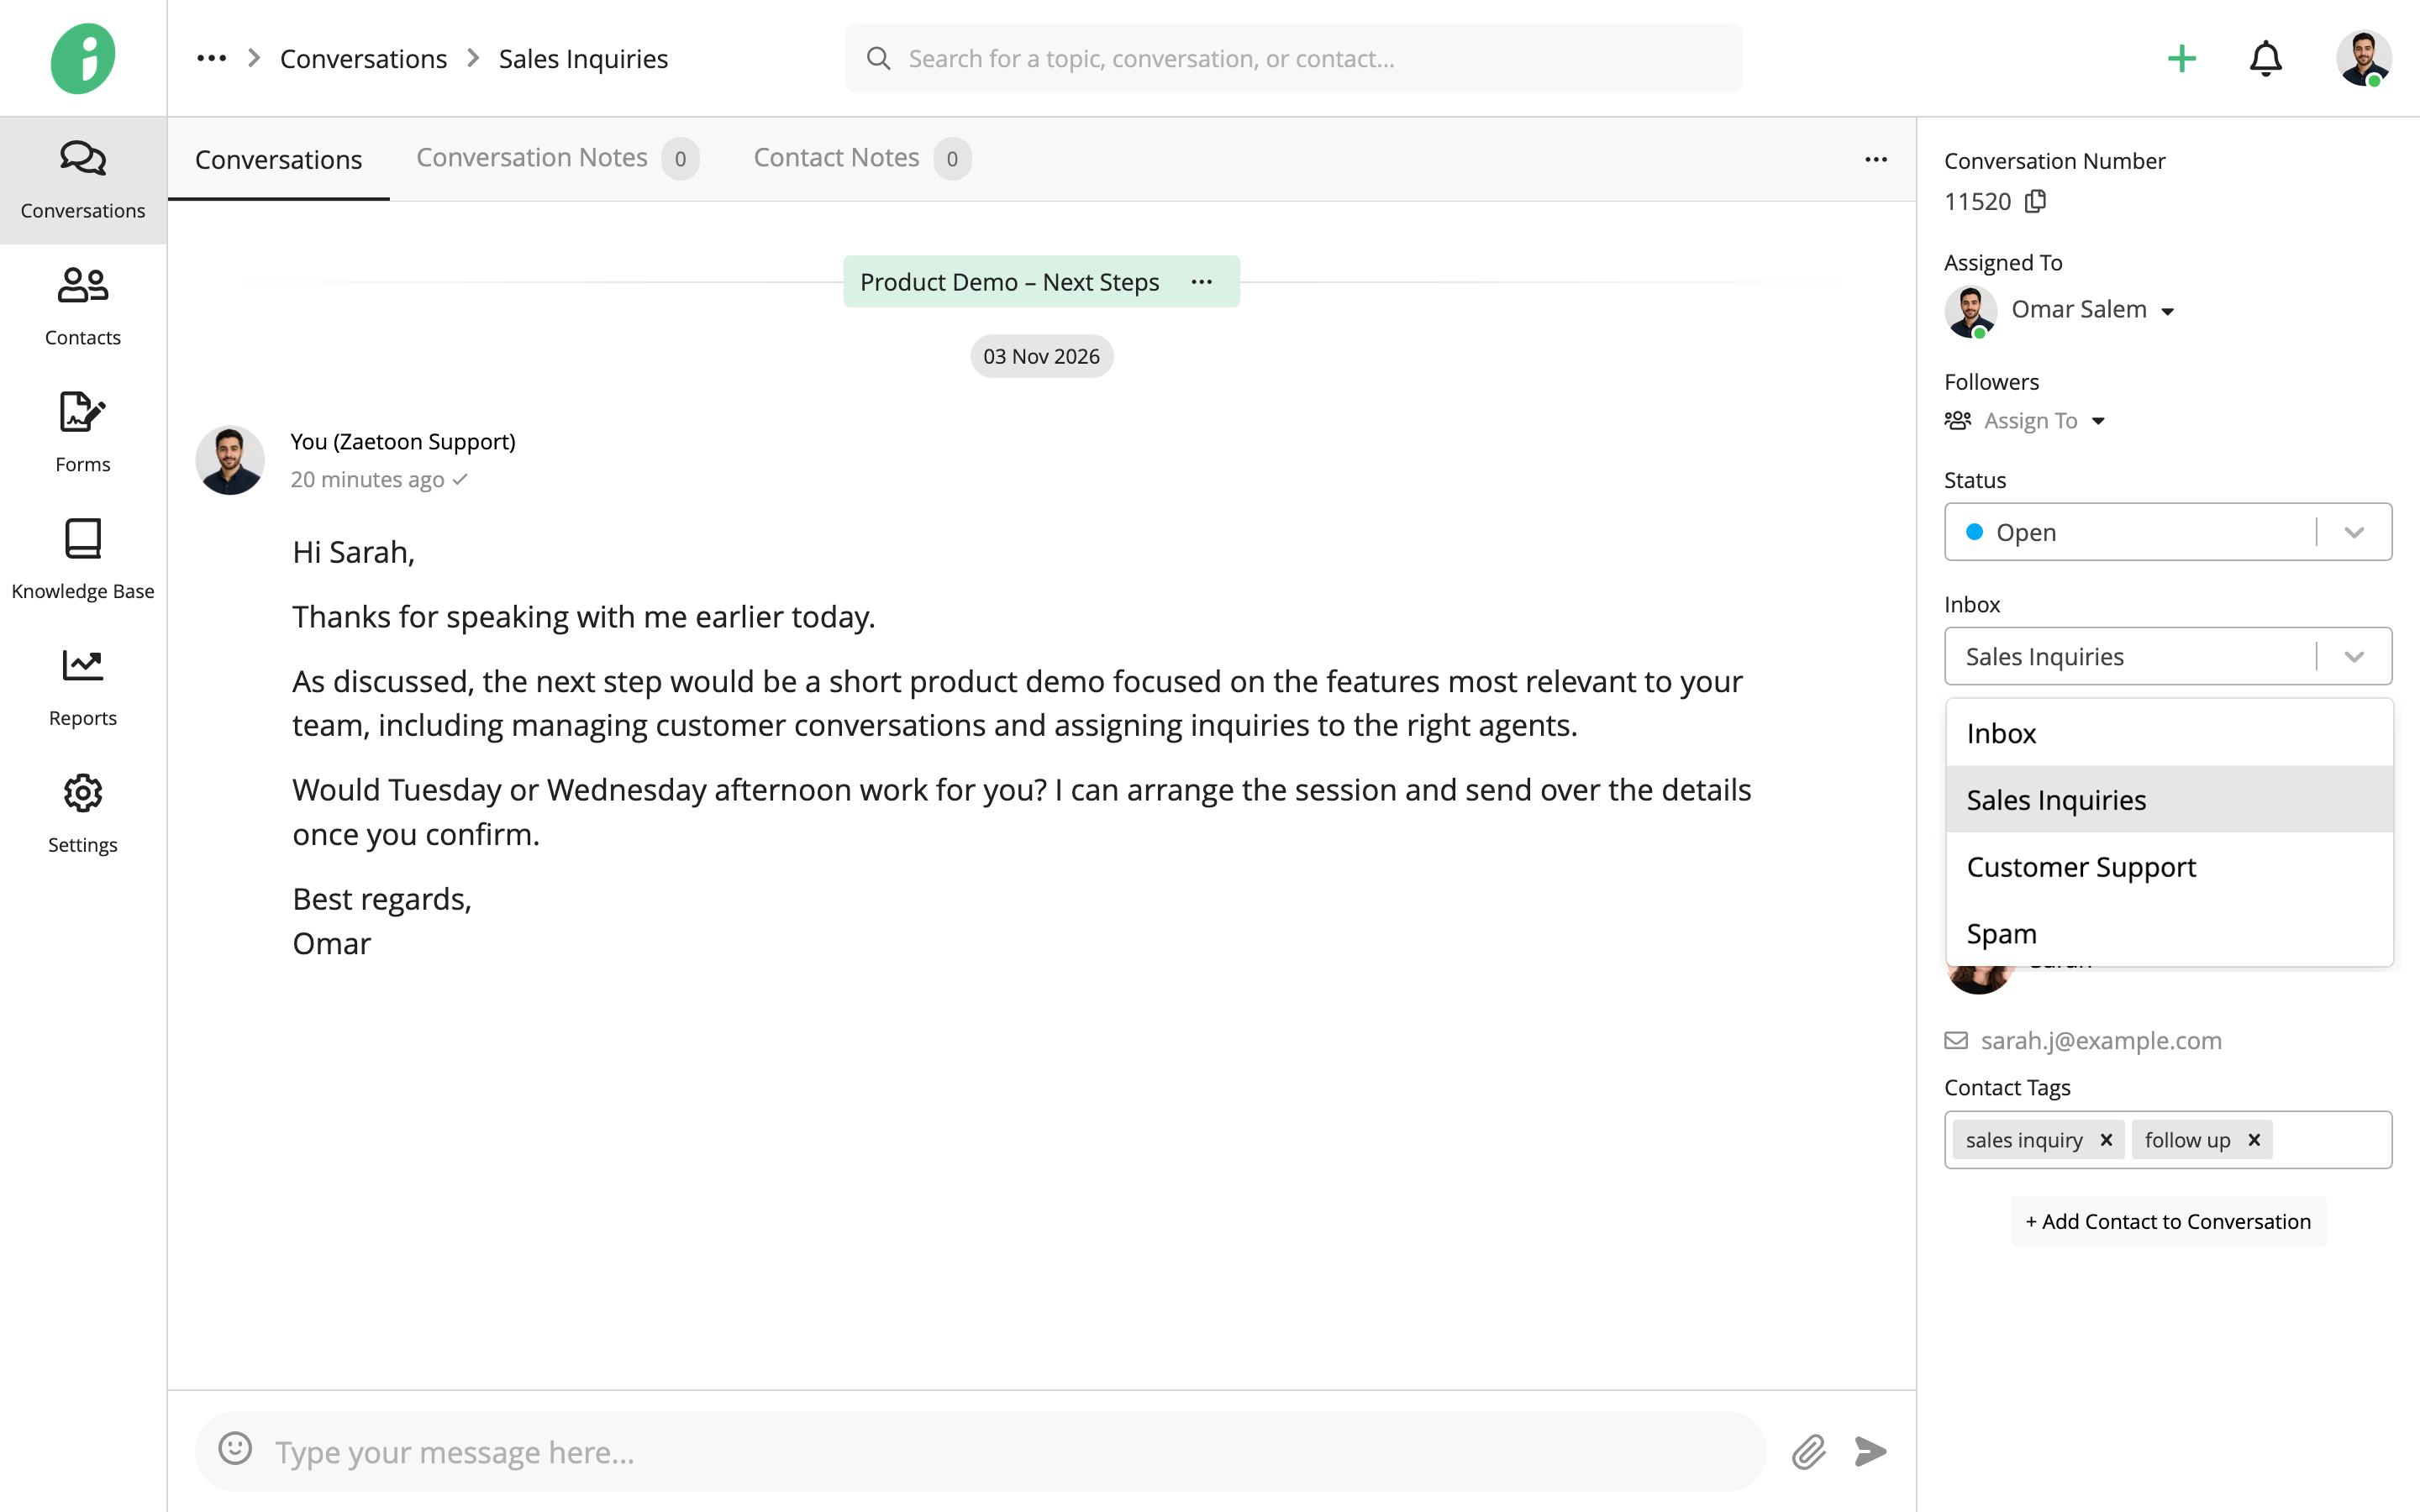
To create or configure inboxes, see Manage Inboxes.
Manage Conversation Tags
Use Conversation Tags to add or remove tags that help categorize and find conversations.
Conversation tags are separate from the tags assigned to individual contacts.
Manage Contacts
The Contacts section in the right sidebar displays the contacts participating in the conversation.
Add Contacts
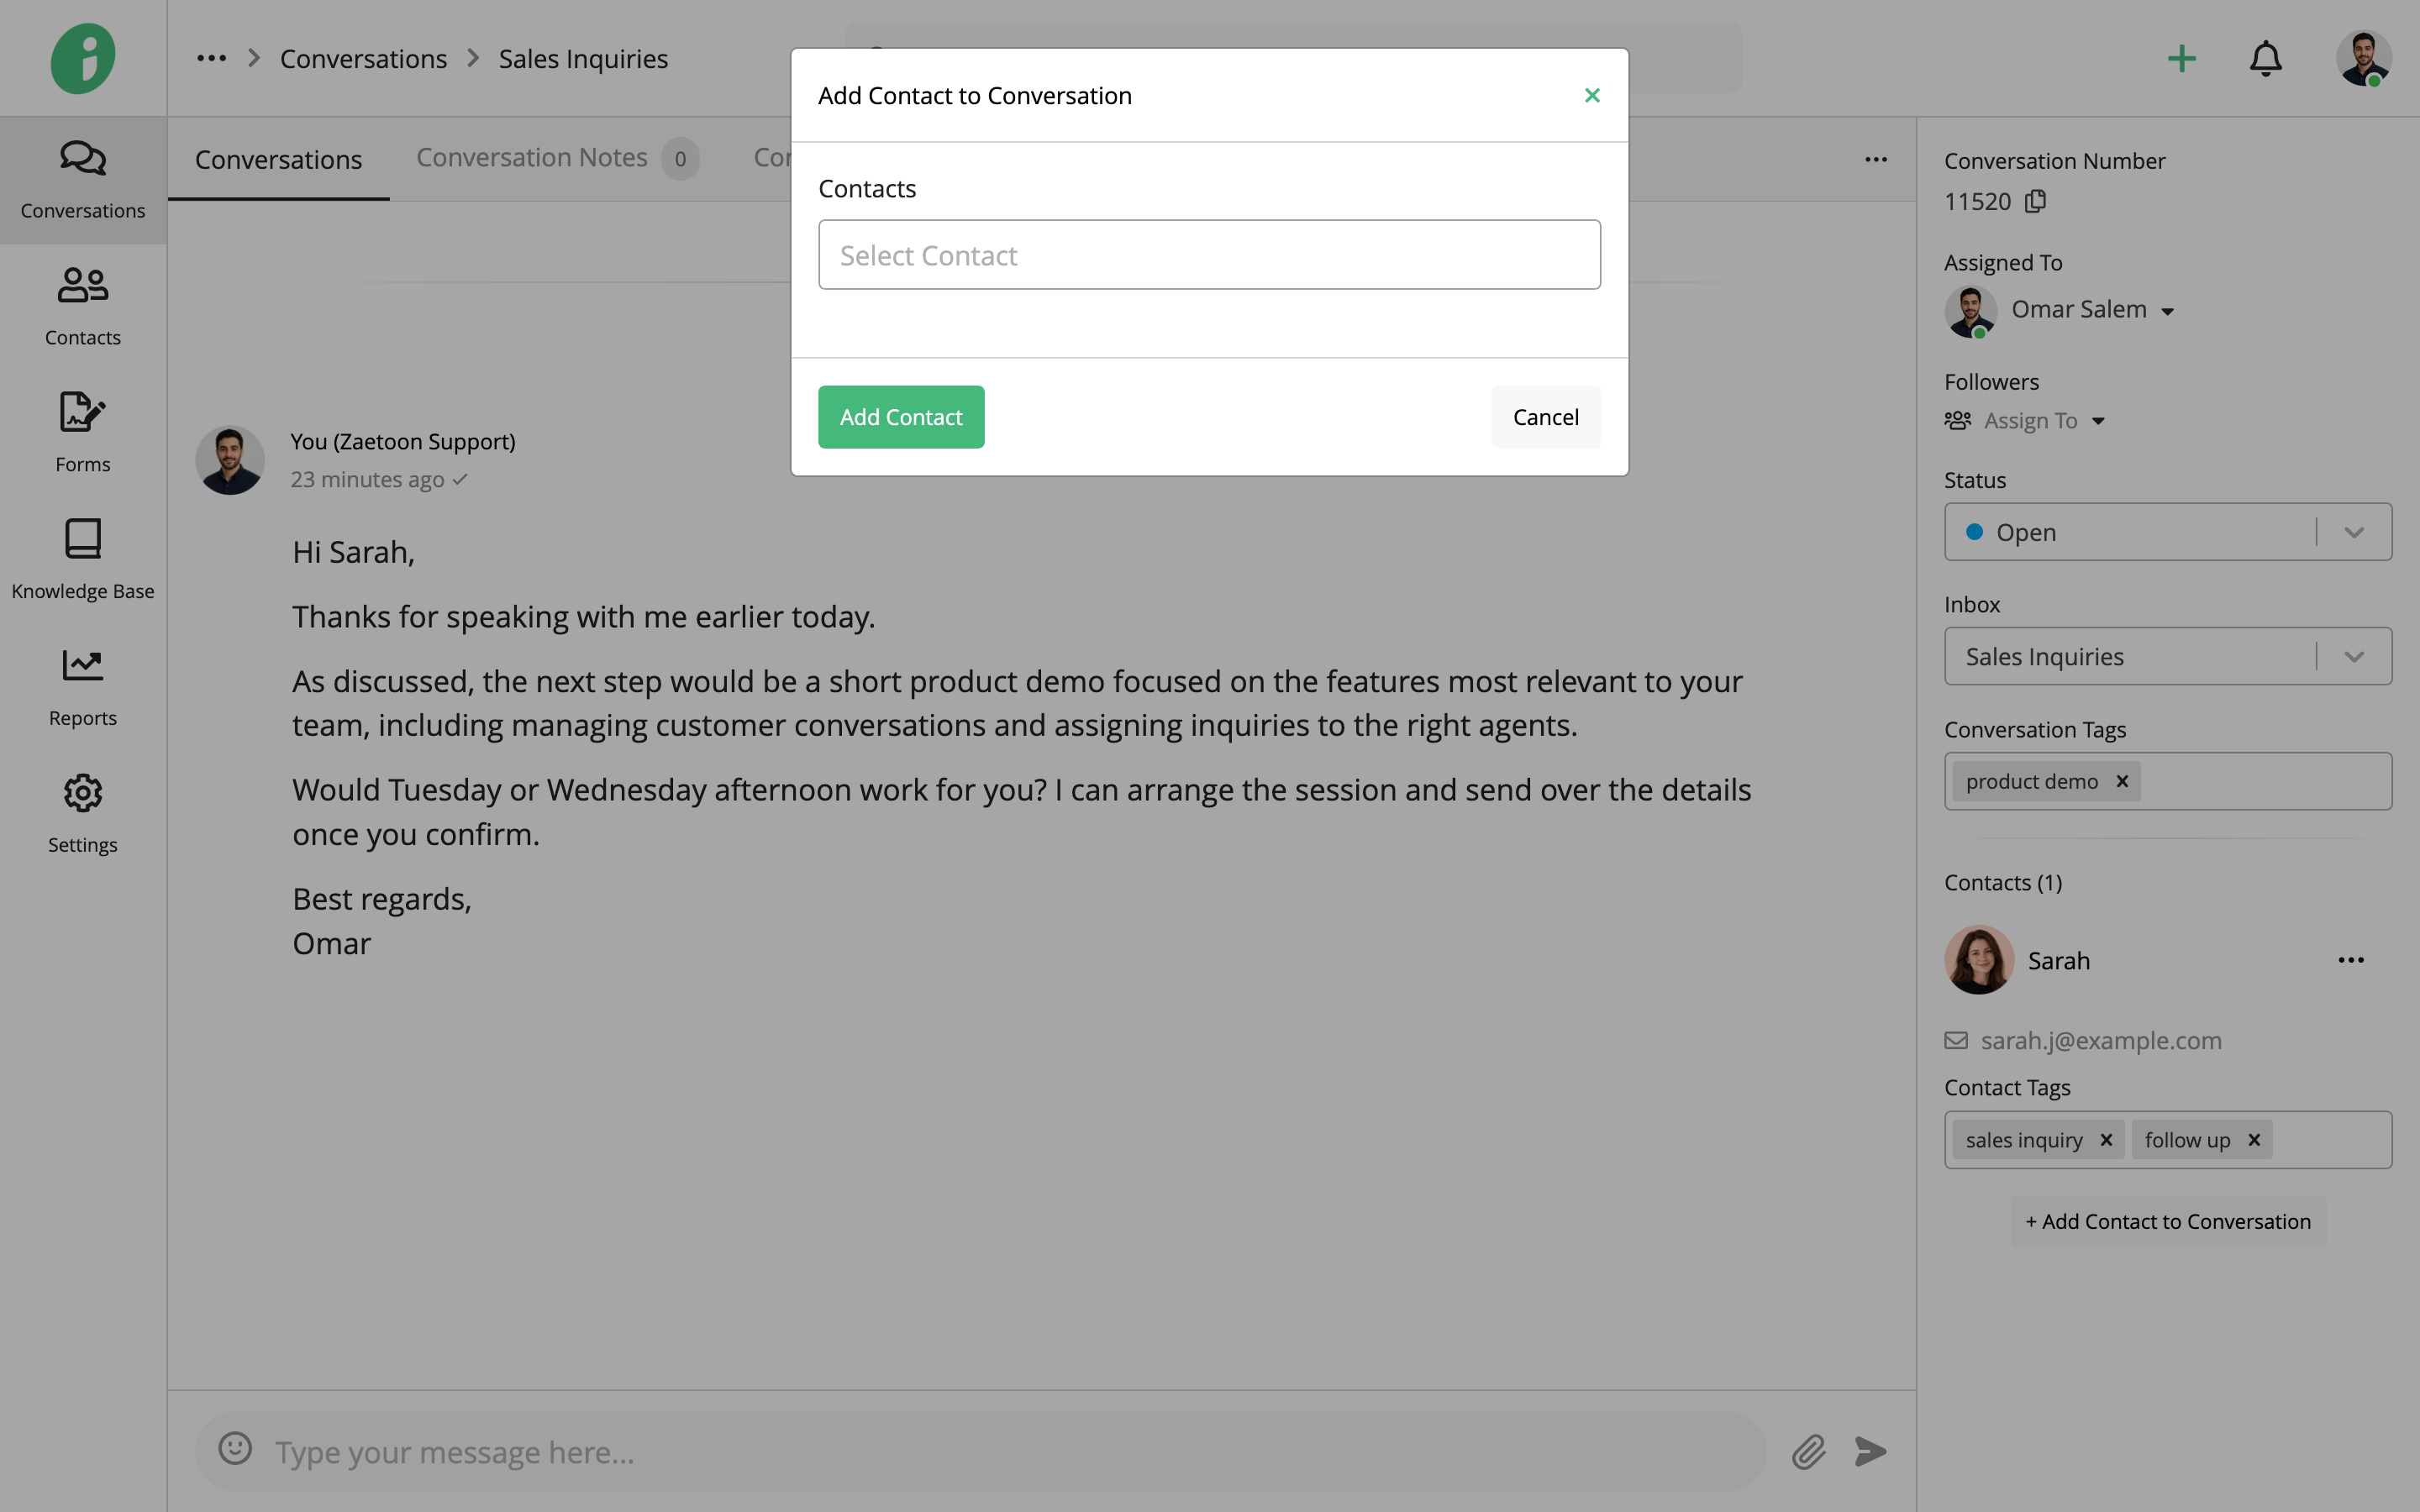
Click Add Contact to Conversation, select one or more contacts, and click Add Contact.
Manage Existing Contacts
Click the options menu (⋯) beside a contact’s name.
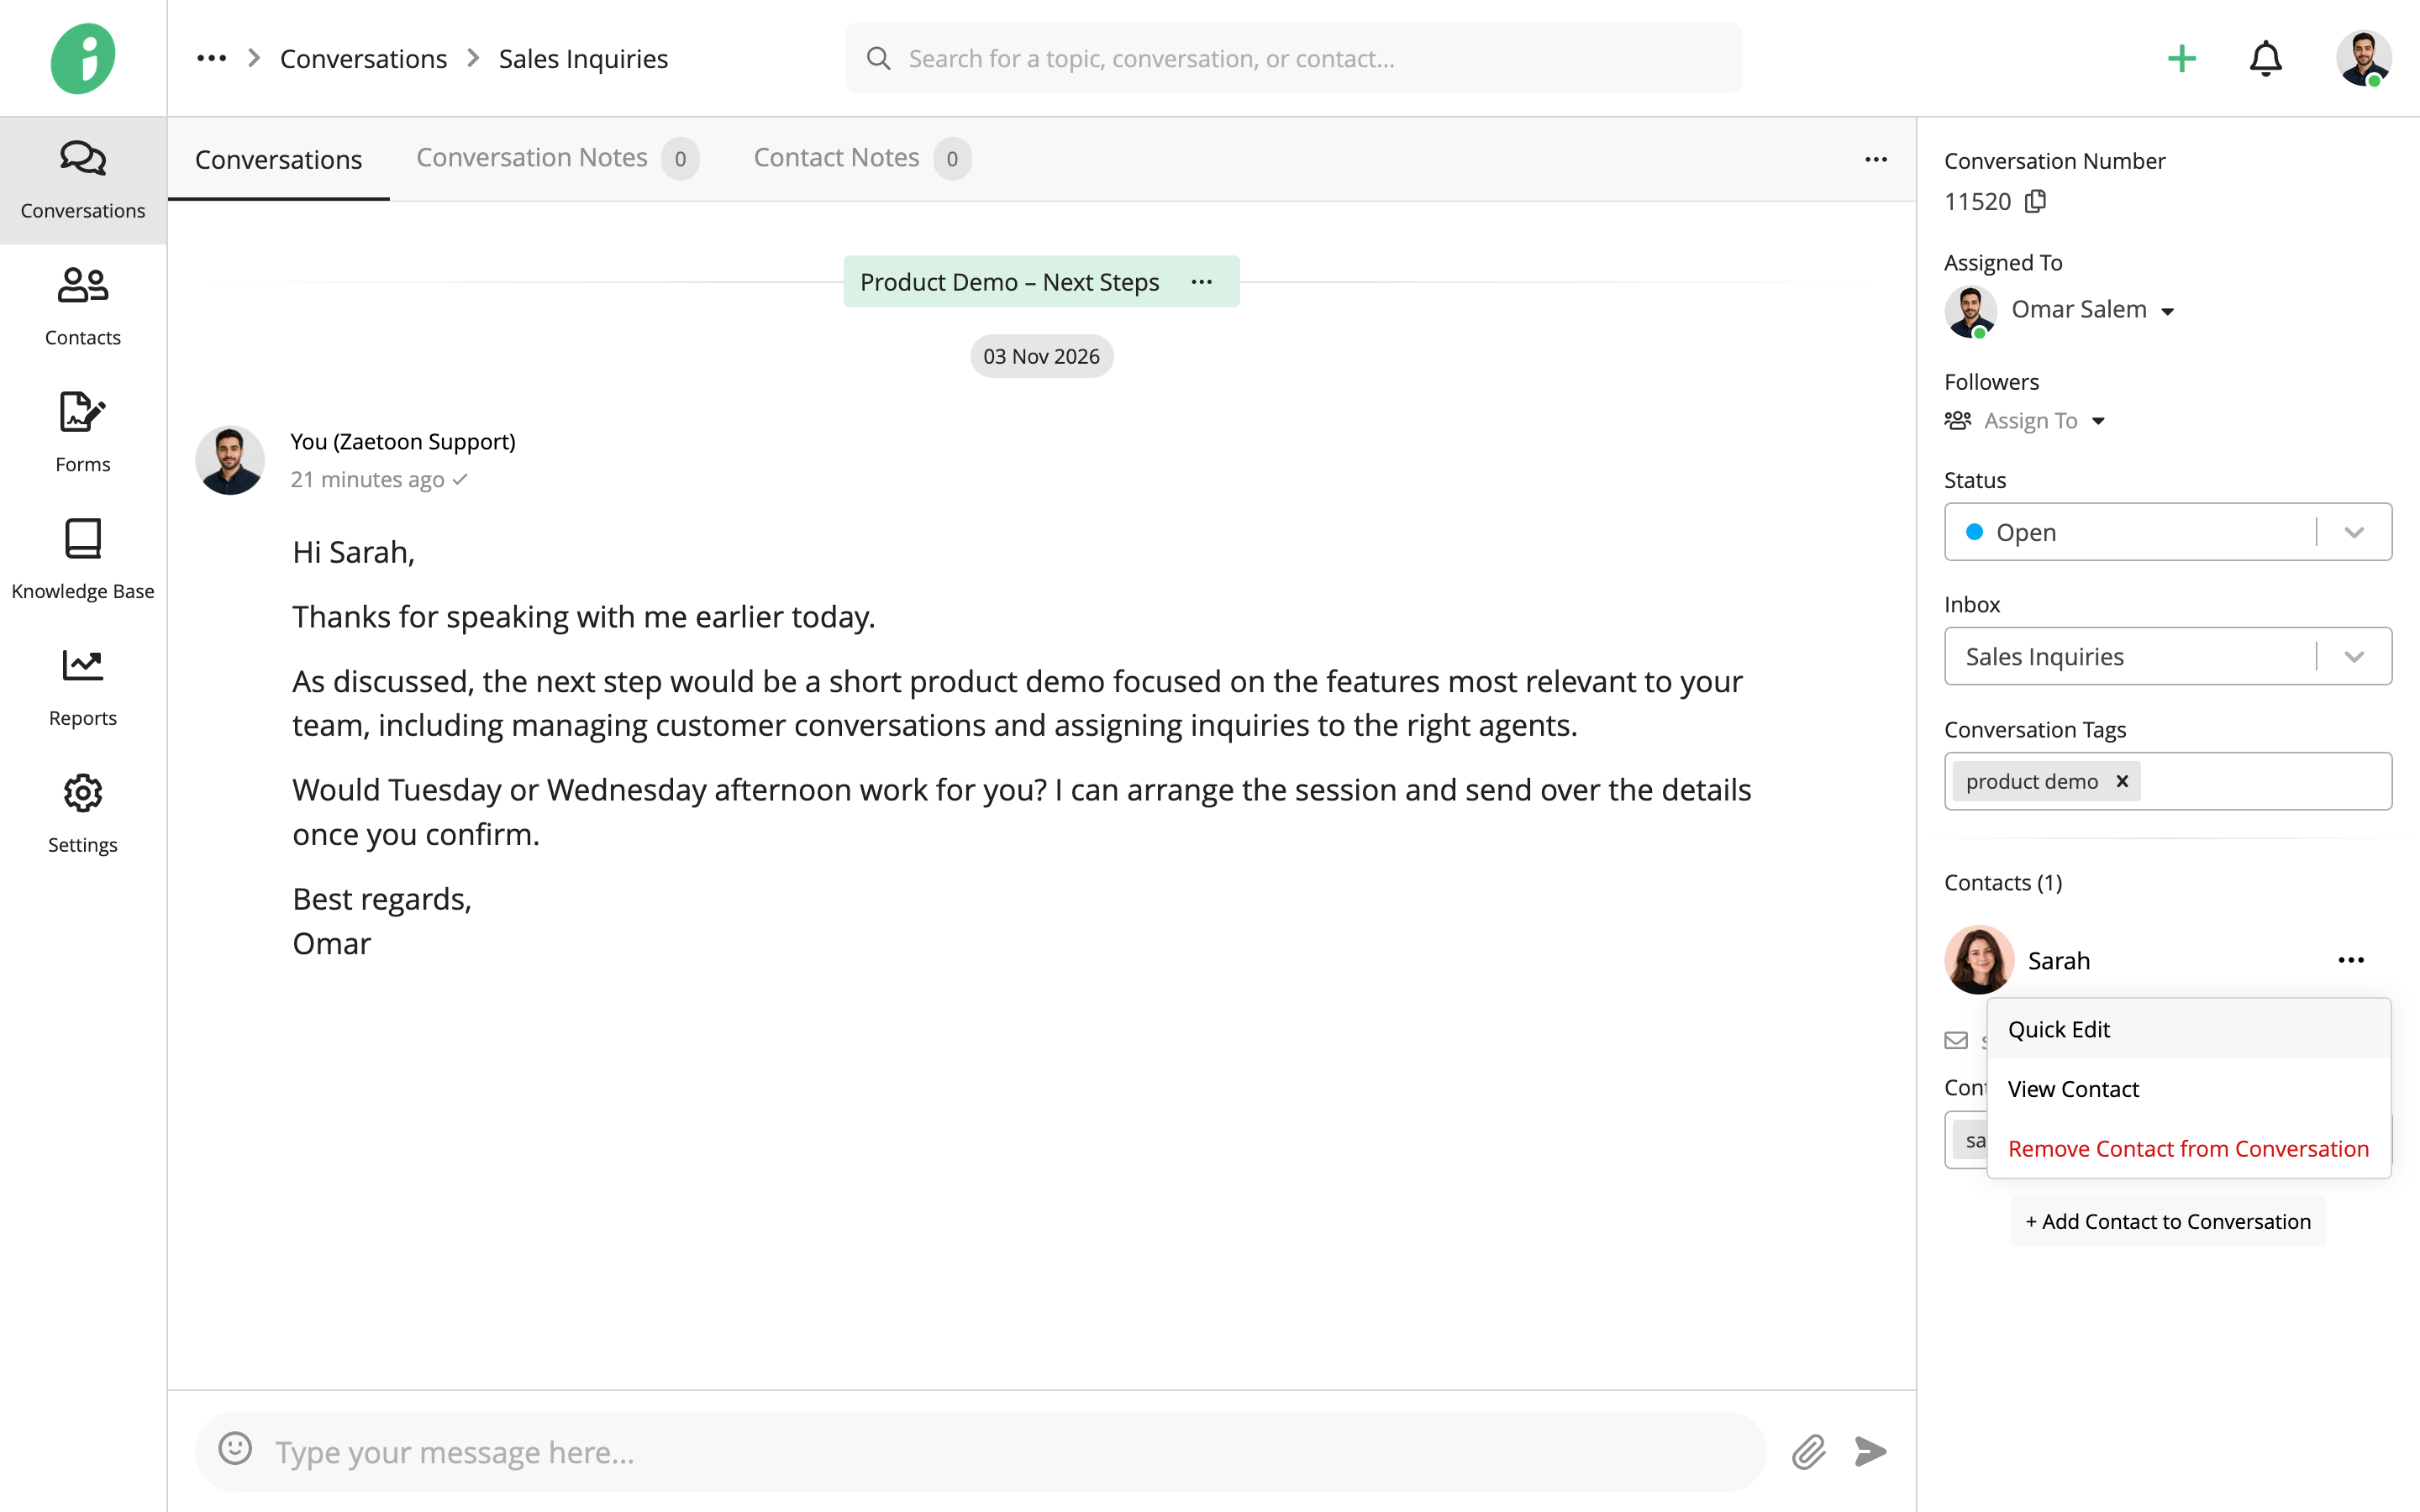
- Quick Edit: Edit the contact’s information without leaving the conversation.
- View Contact: Open the contact’s profile to view their details, conversations, and activity.
- Remove Contact from Conversation
Use Contact Tags to add or remove tags associated with the contact.
For more information about managing contact profiles, see Manage Contacts.
Add Notes
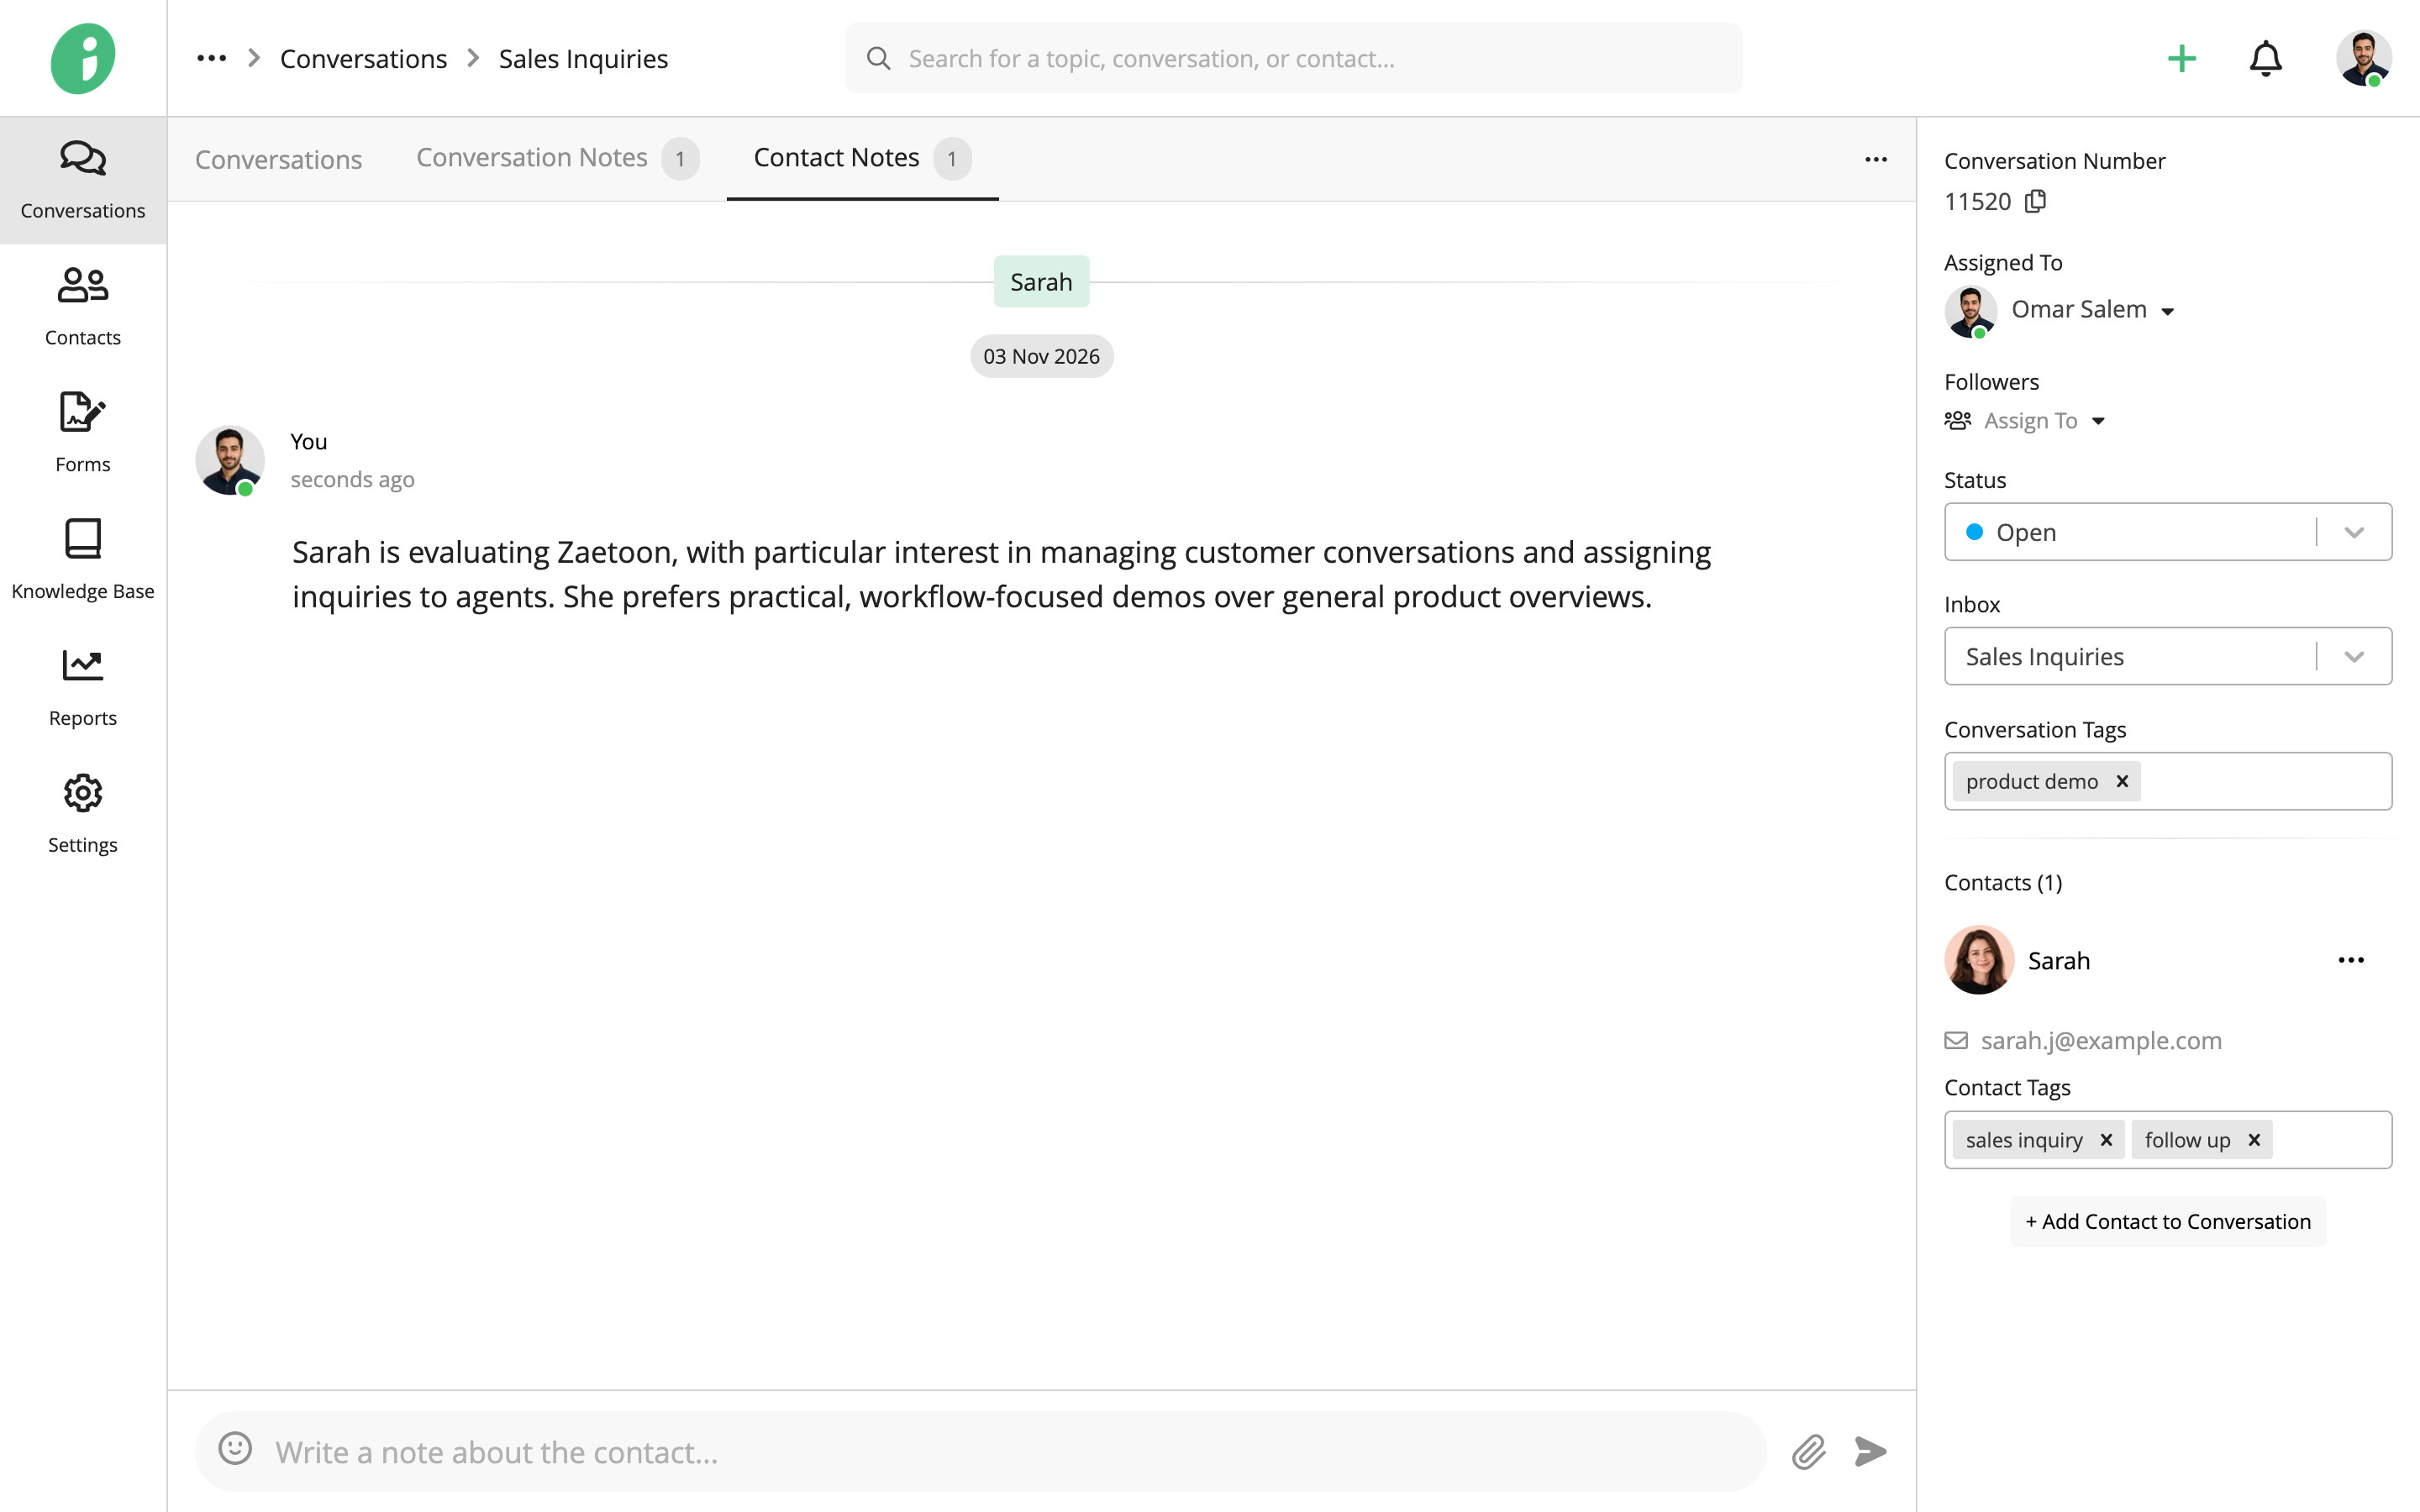
Use notes to record information that helps your team manage conversations and contacts.
Conversation Notes
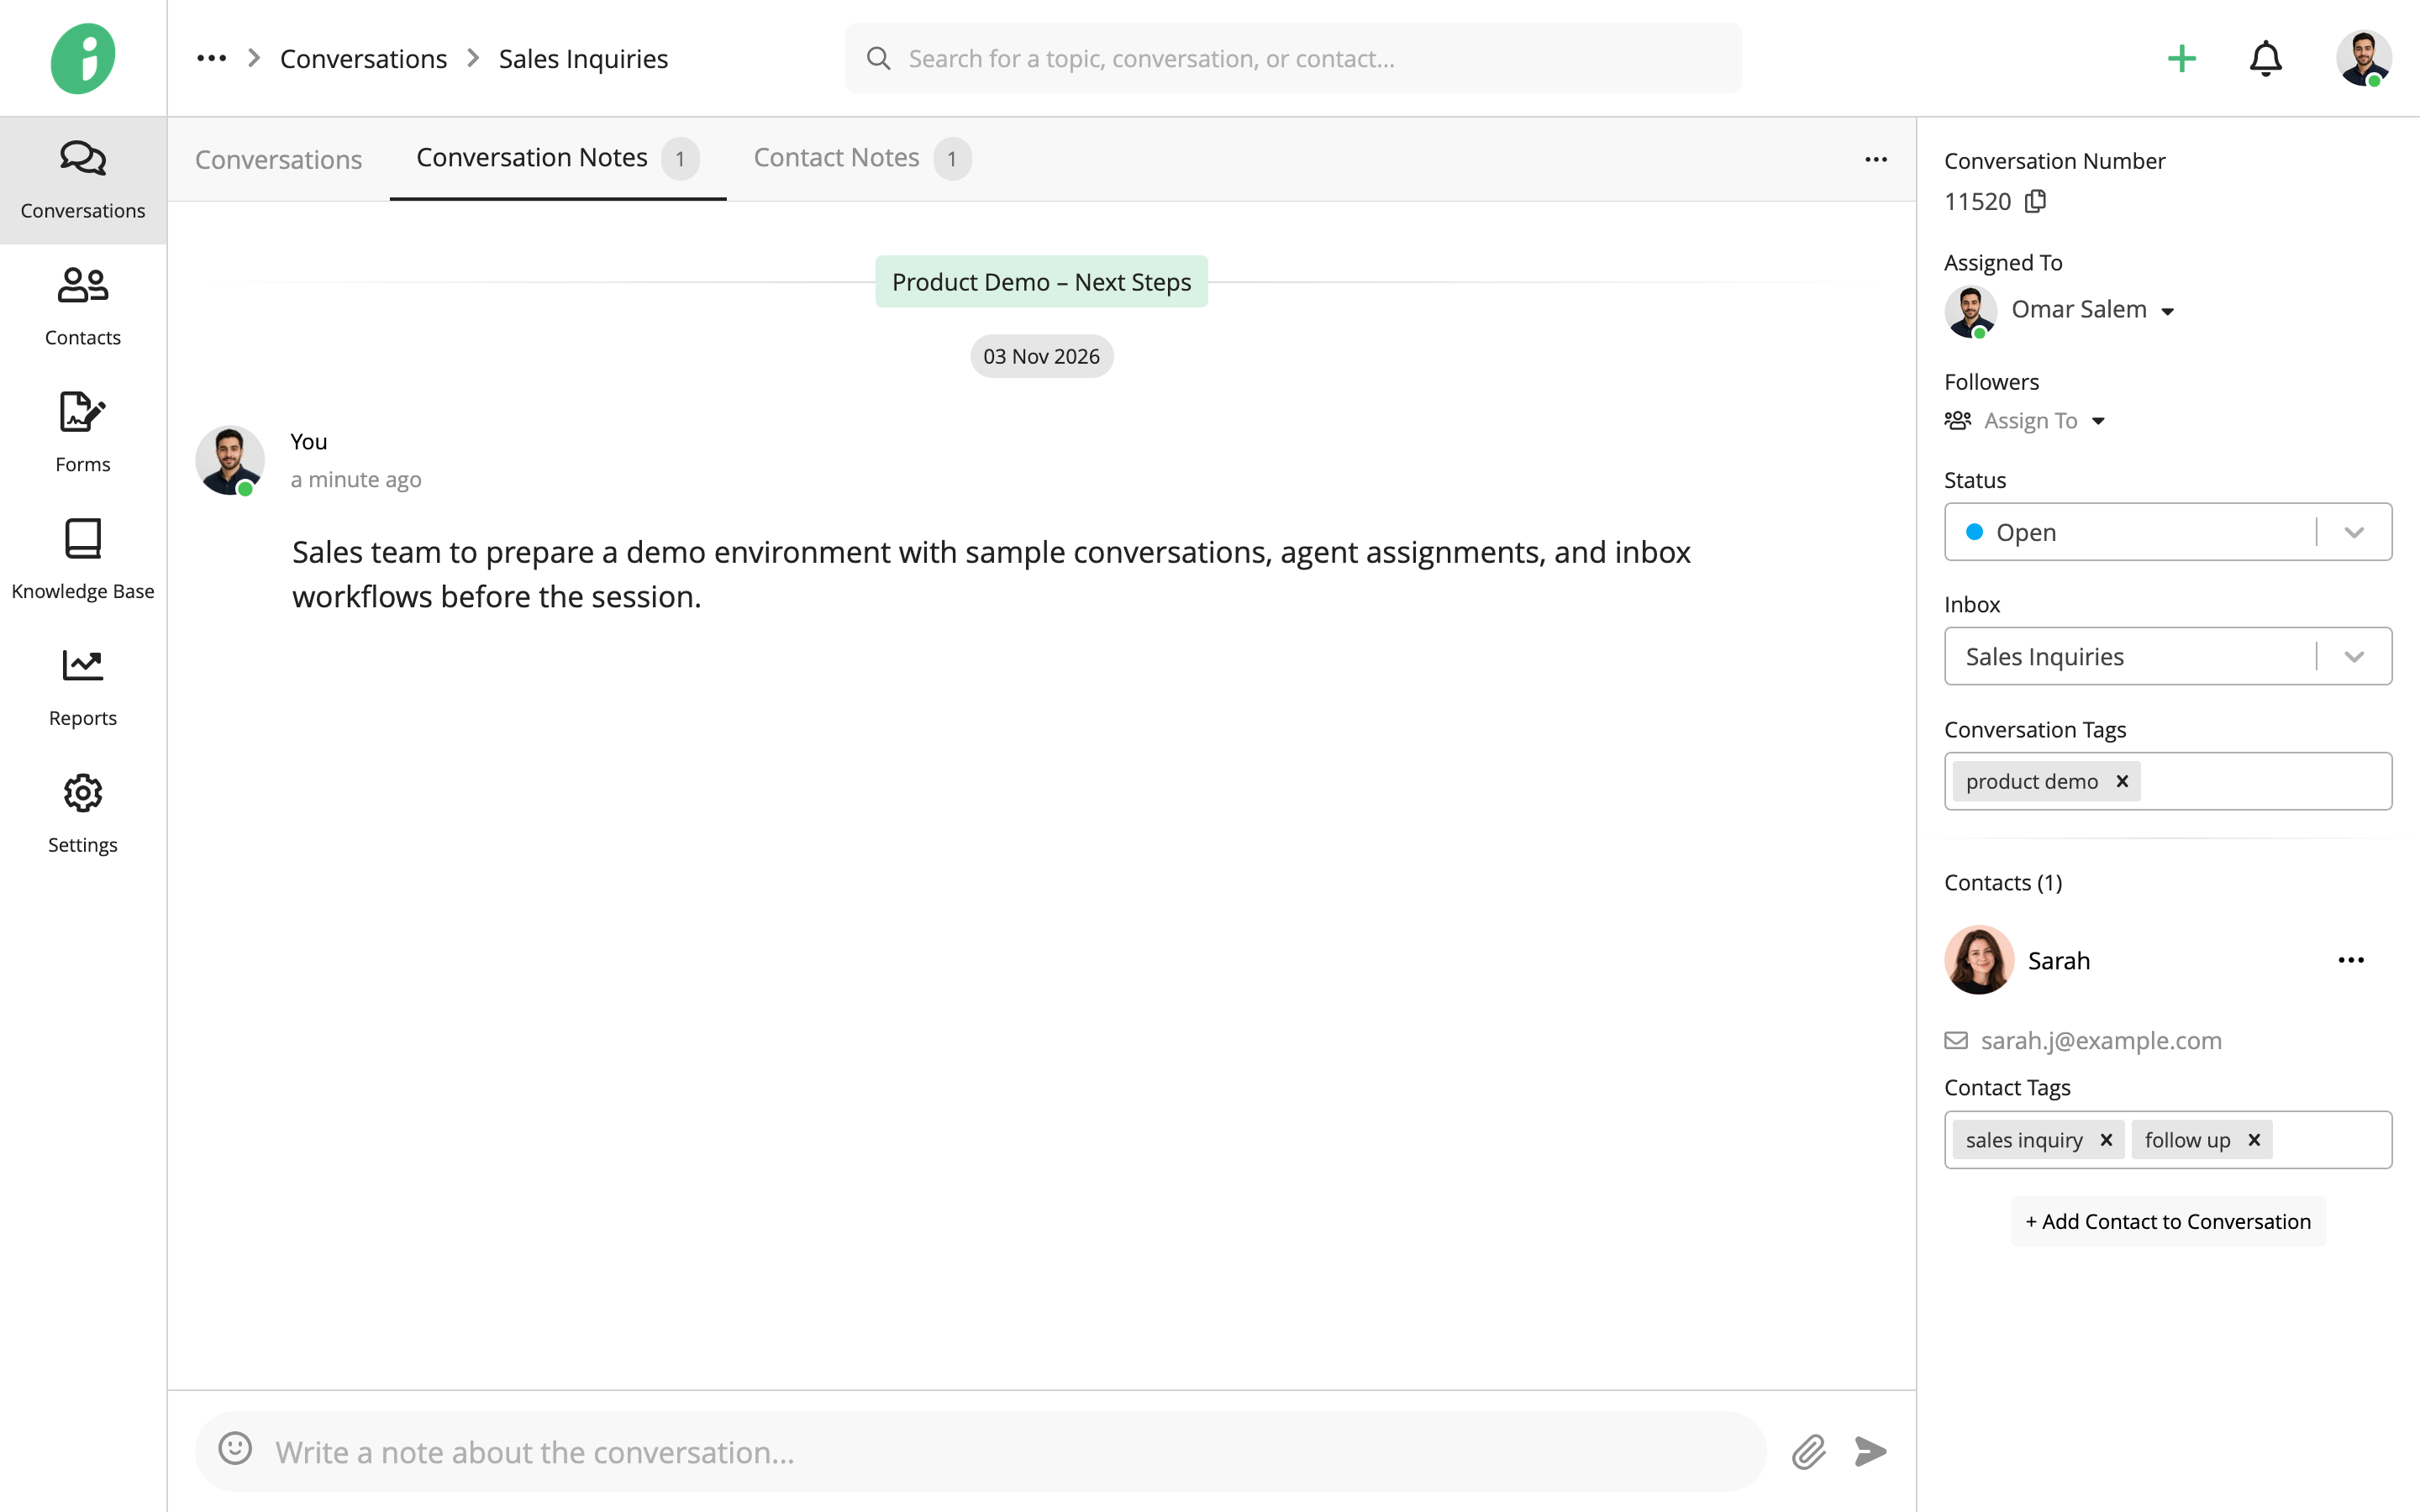
Select the Conversation Notes tab to record information specific to the current conversation. Enter your note in the field at the bottom and click the send icon.
Contact Notes
Select the Contact Notes tab to record information associated with the contact, such as preferences or details useful in future interactions. Enter your note in the field at the bottom and click the send icon.
View Conversation History
Conversation history is available on select subscription plans. It provides a chronological record of changes made to a conversation and its contact details.
Click the options menu (⋯) in the upper-right corner of the conversation and select History.
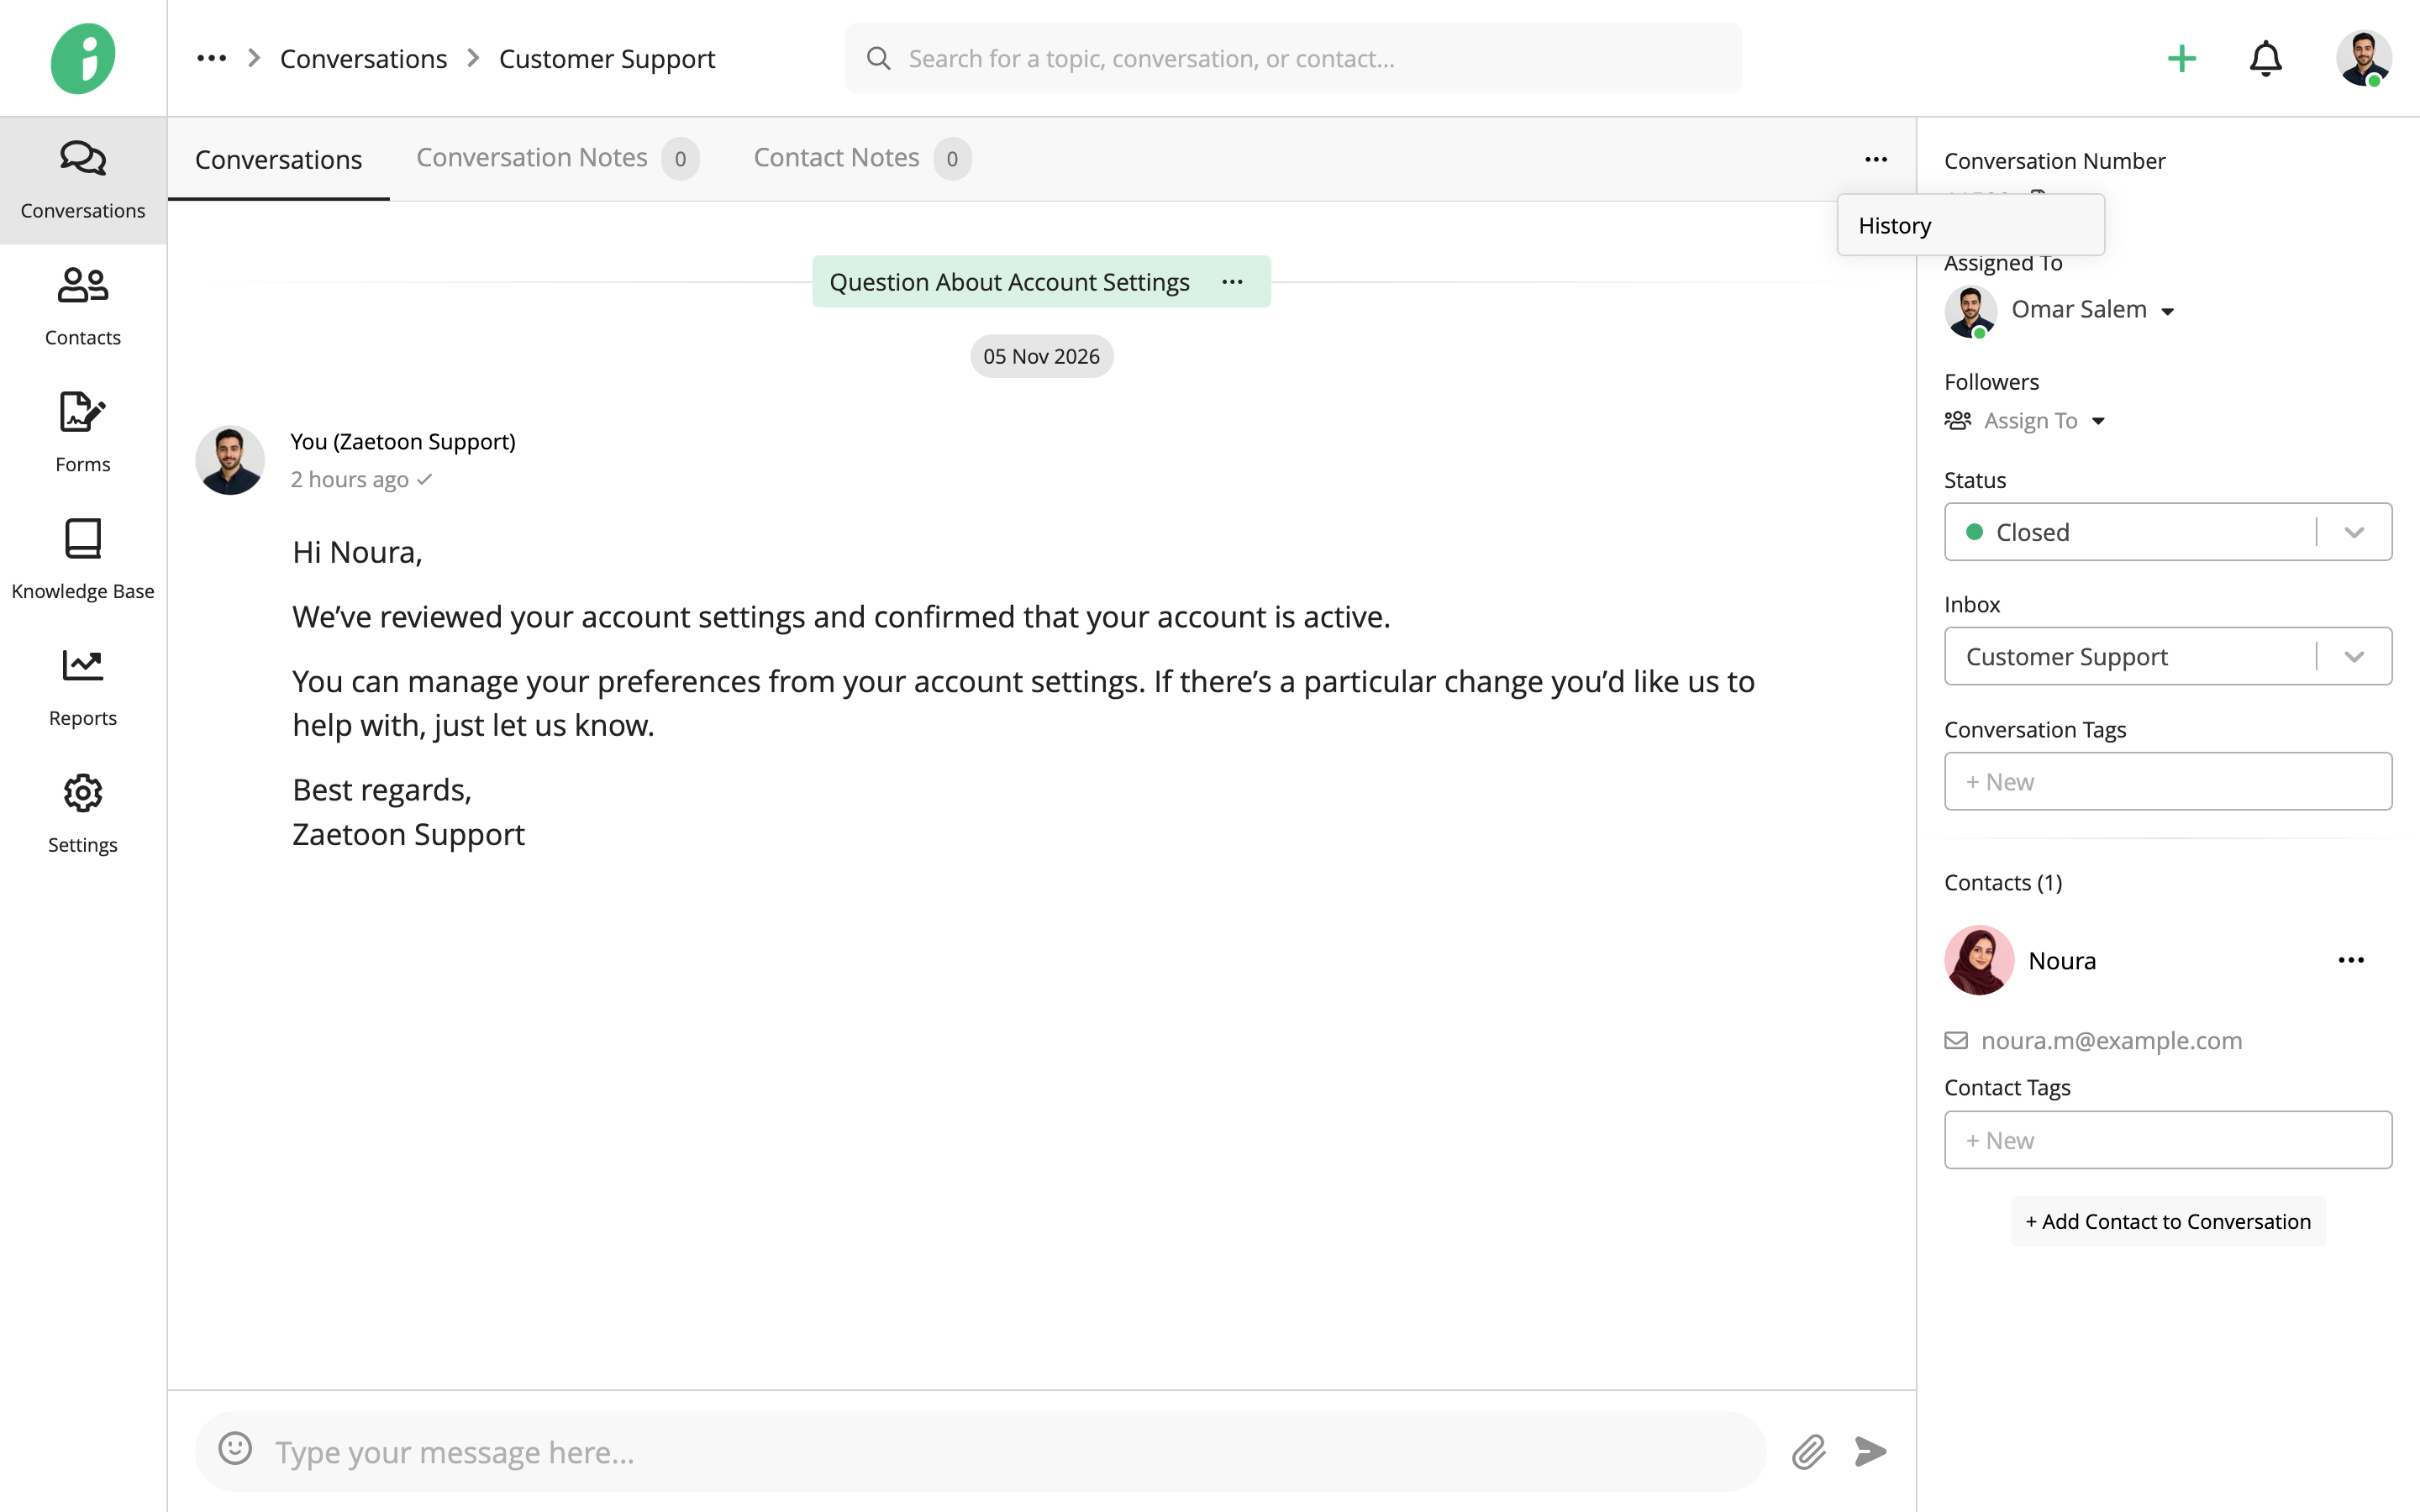
Review the activity timeline to track changes to conversation statuses, tags, titles, assigned agents, and other conversation details.