You can import and export contacts in your Zaetoon Helpdesk using CSV files to add or update contacts in bulk, transfer contact data, and keep backups.
Export Contacts
From your Helpdesk, go to Contacts → All Contacts.
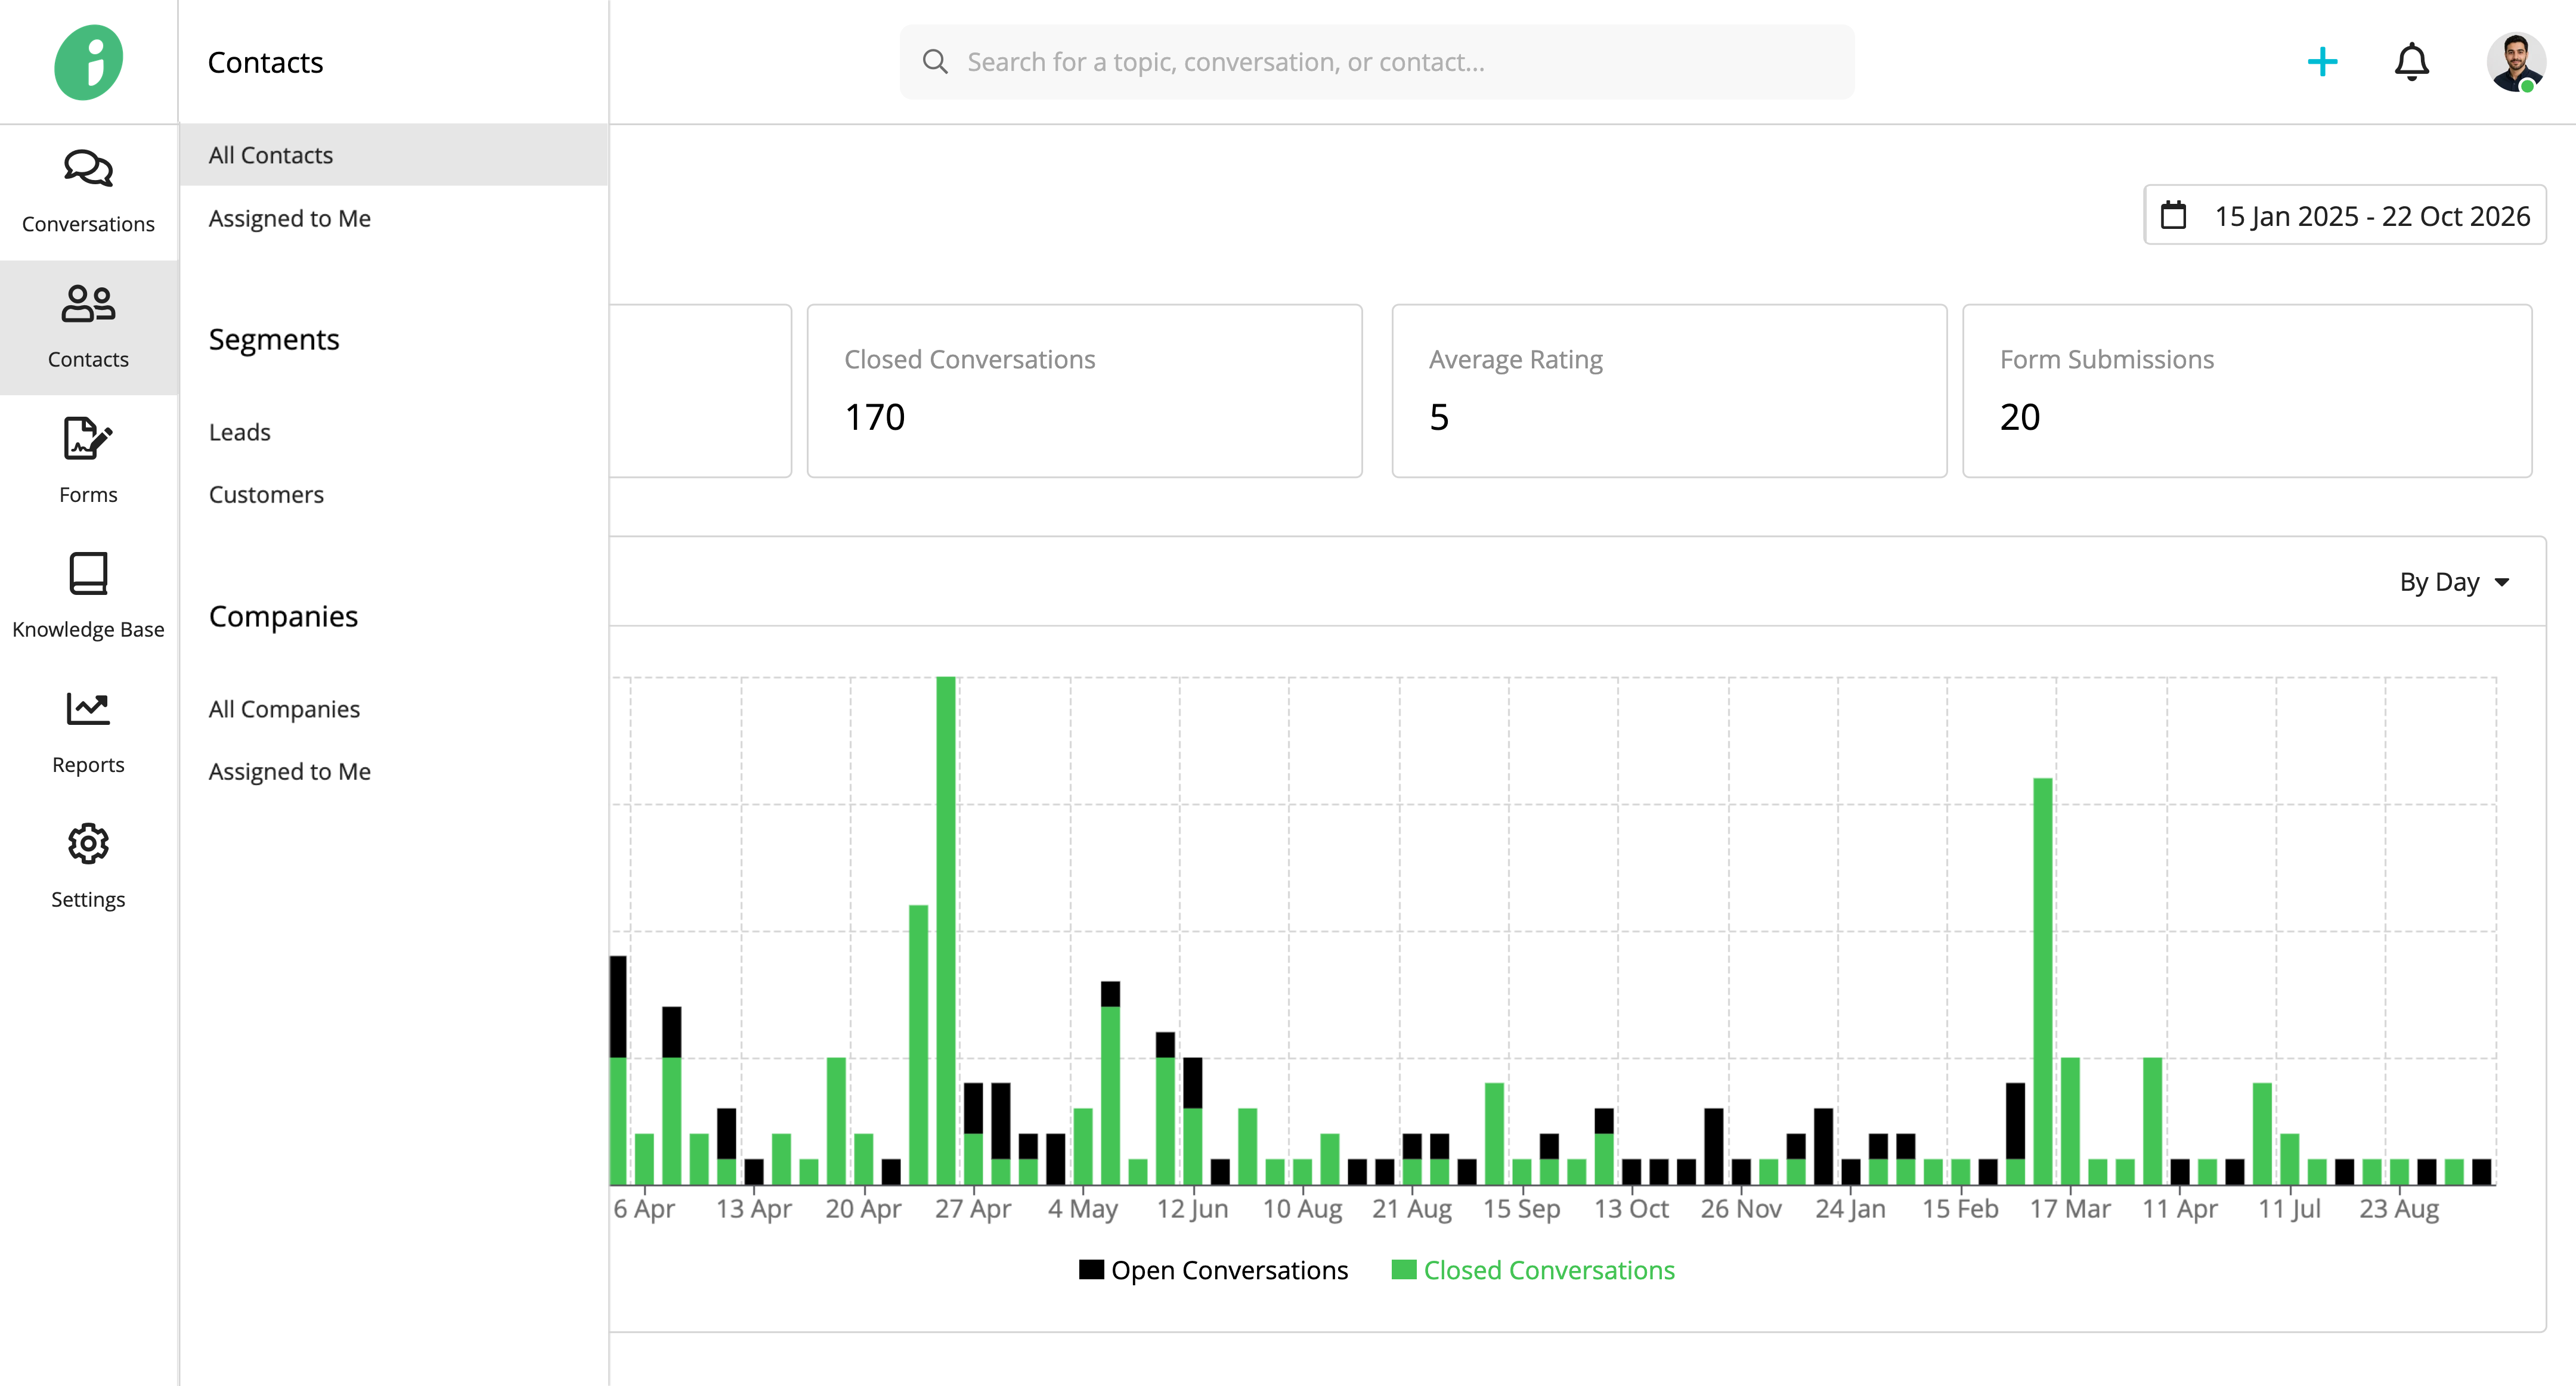
Click Data in the top-right corner and select Export Contacts.
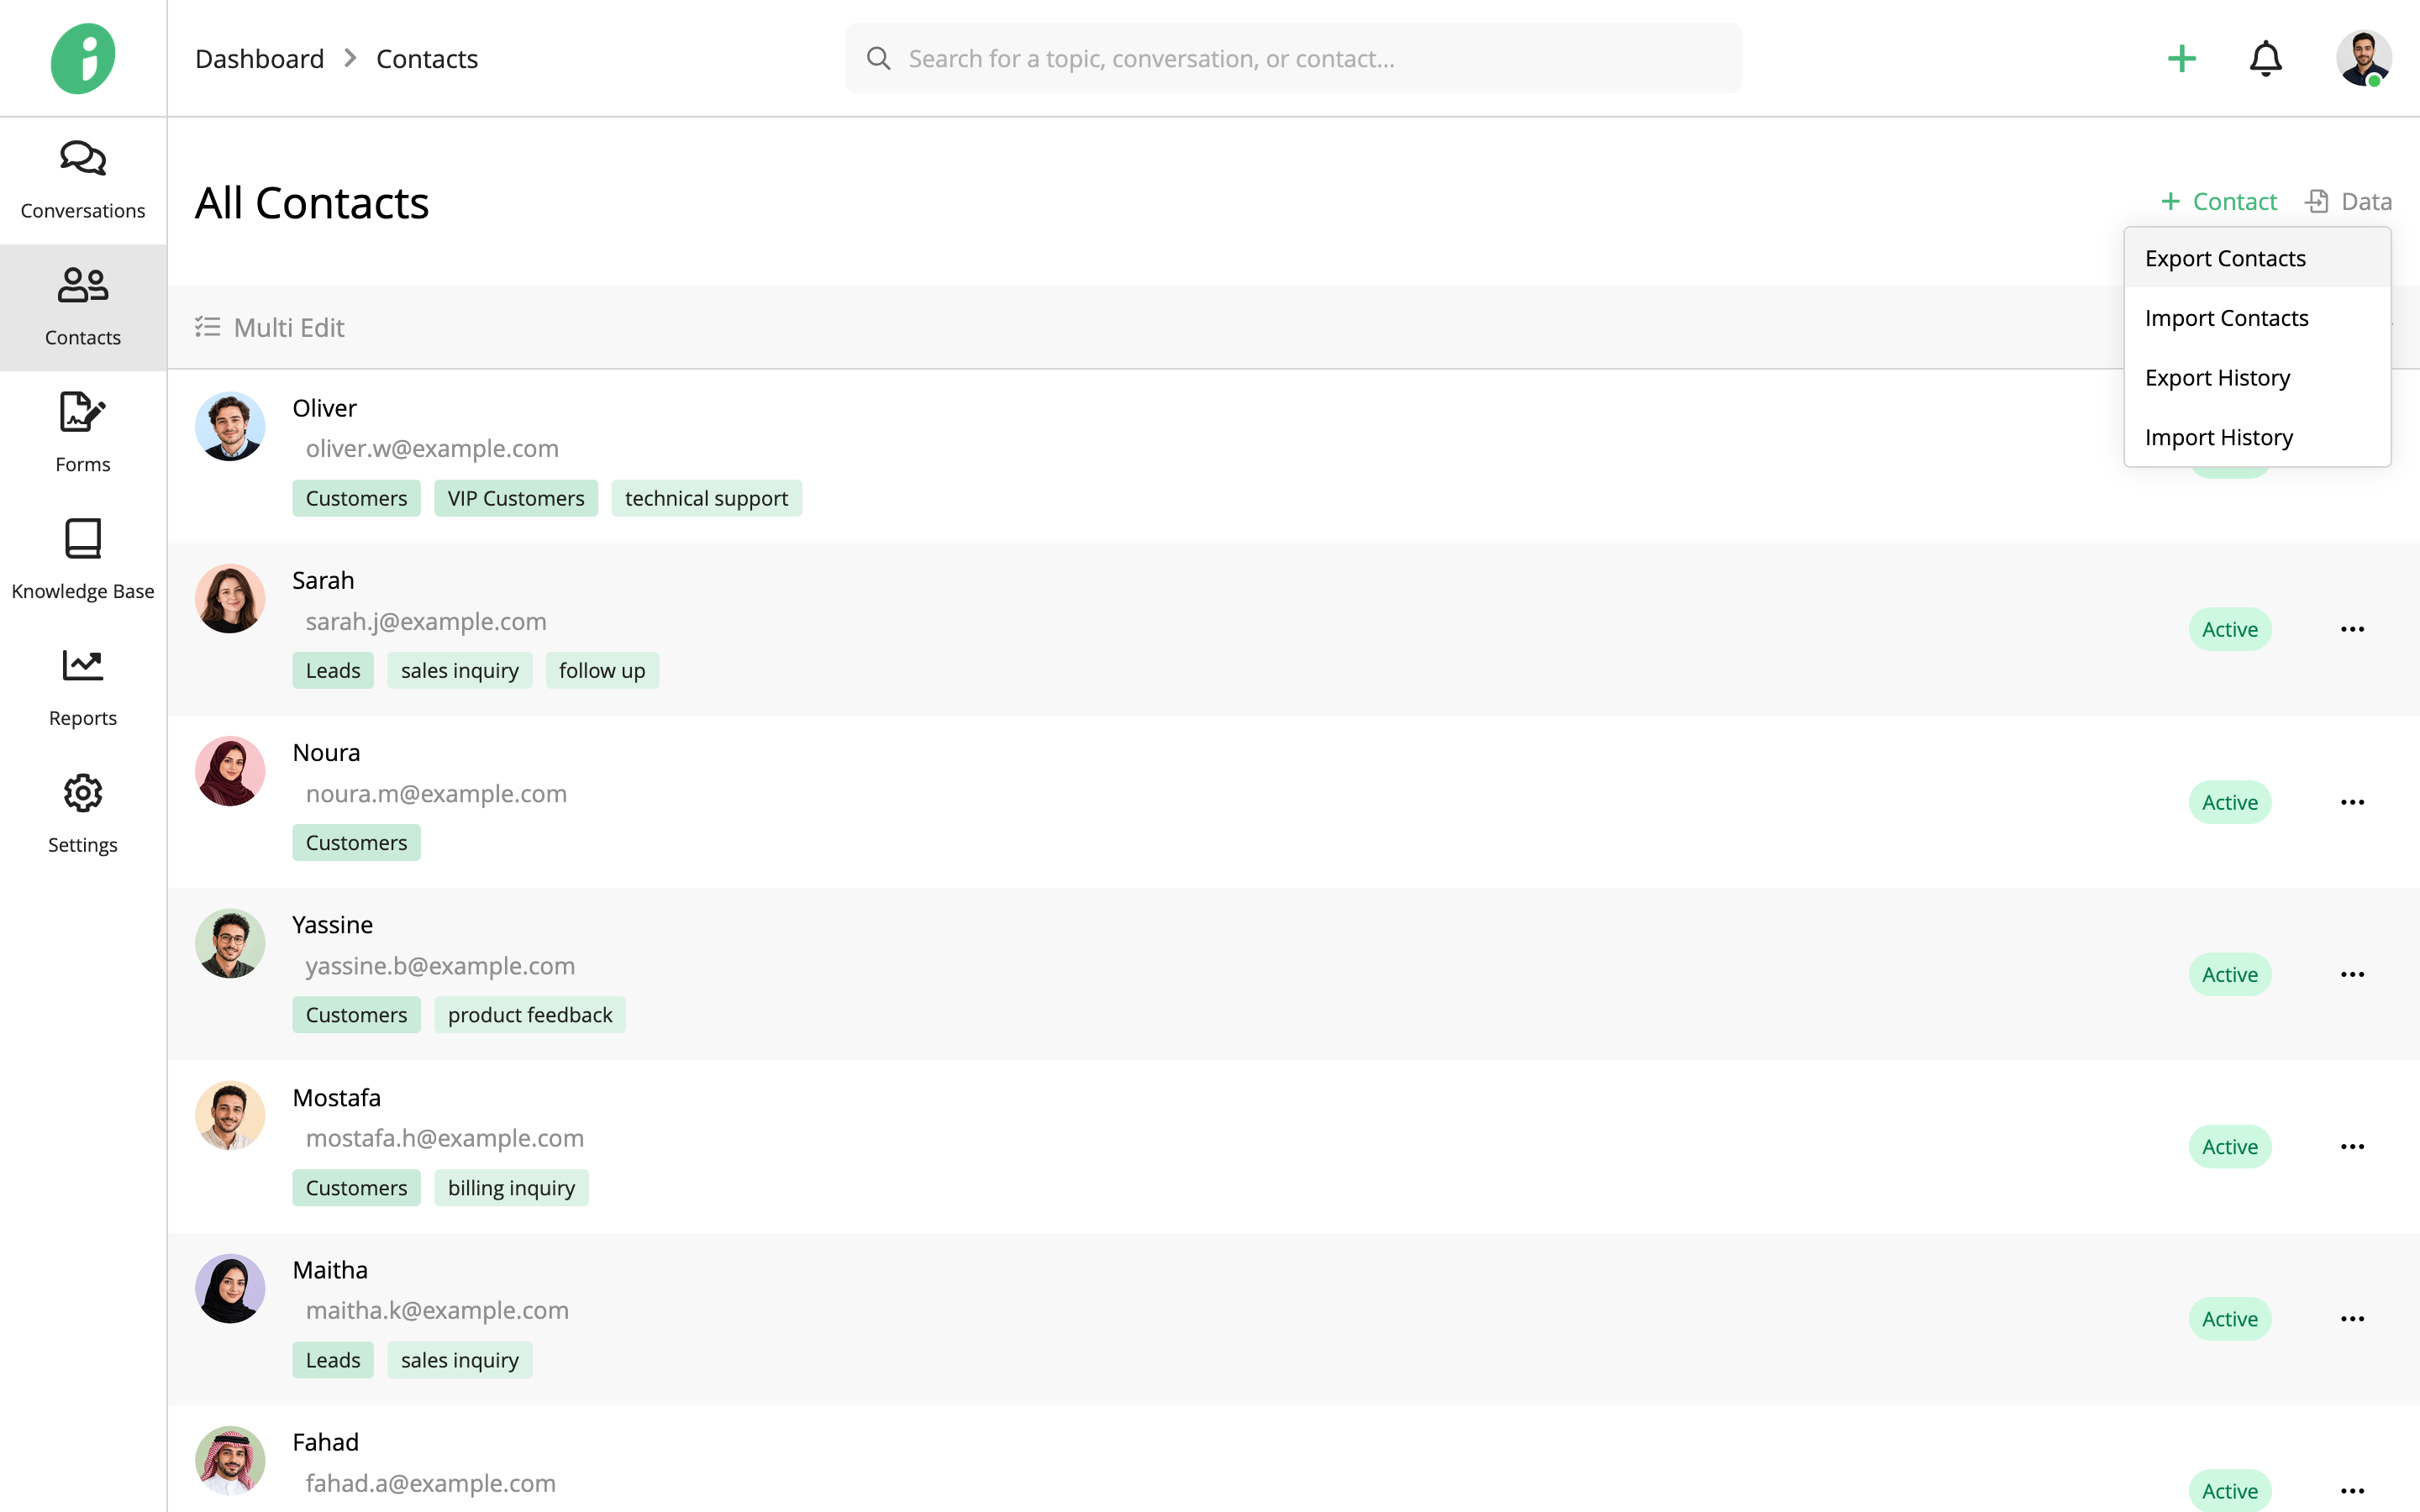
In the Export Contacts window, configure the following:
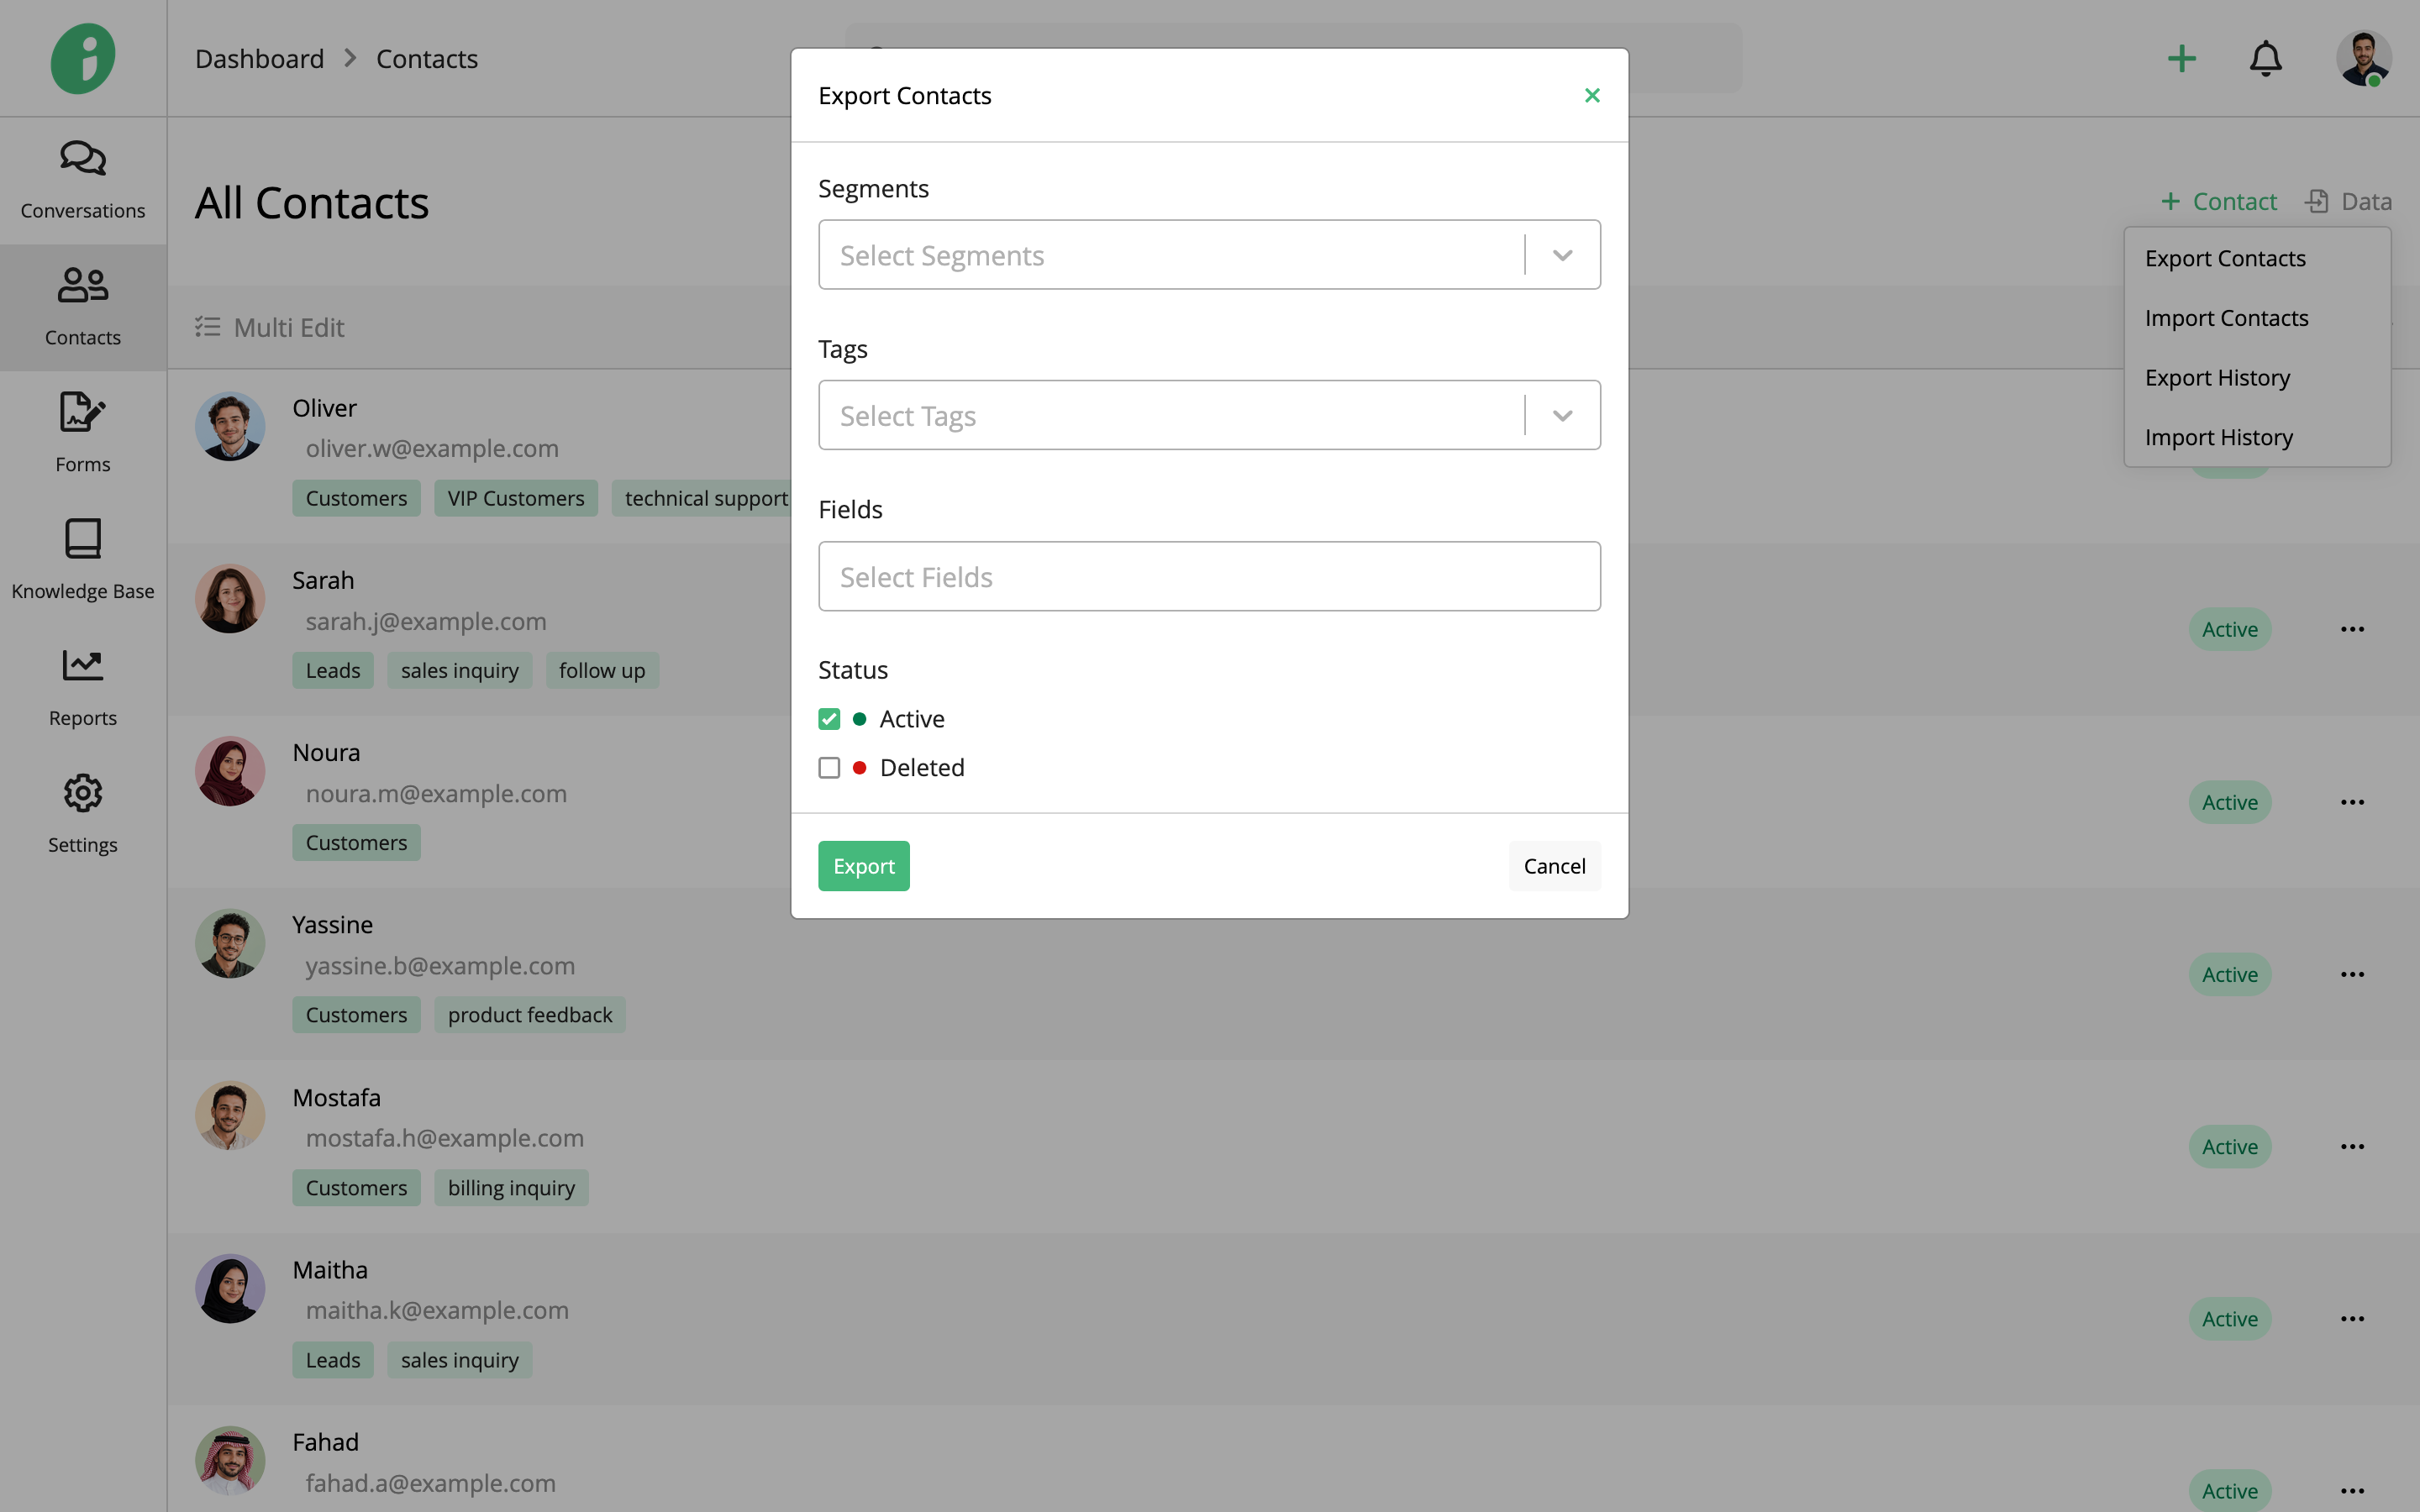
- Segments: Select the contact segments you want to export.
- Tags: Select tags to filter the contacts included in the export.
- Fields: Select the contact fields you want to include in the CSV file.
- Status: Choose whether to export Active contacts, Deleted contacts, or both.
Note: Leaving a filter unselected includes all contacts for that filter. For example, if you don’t select a segment, contacts from all segments will be included in the export.
You can export contacts from default or custom segments and include both standard and custom contact fields.
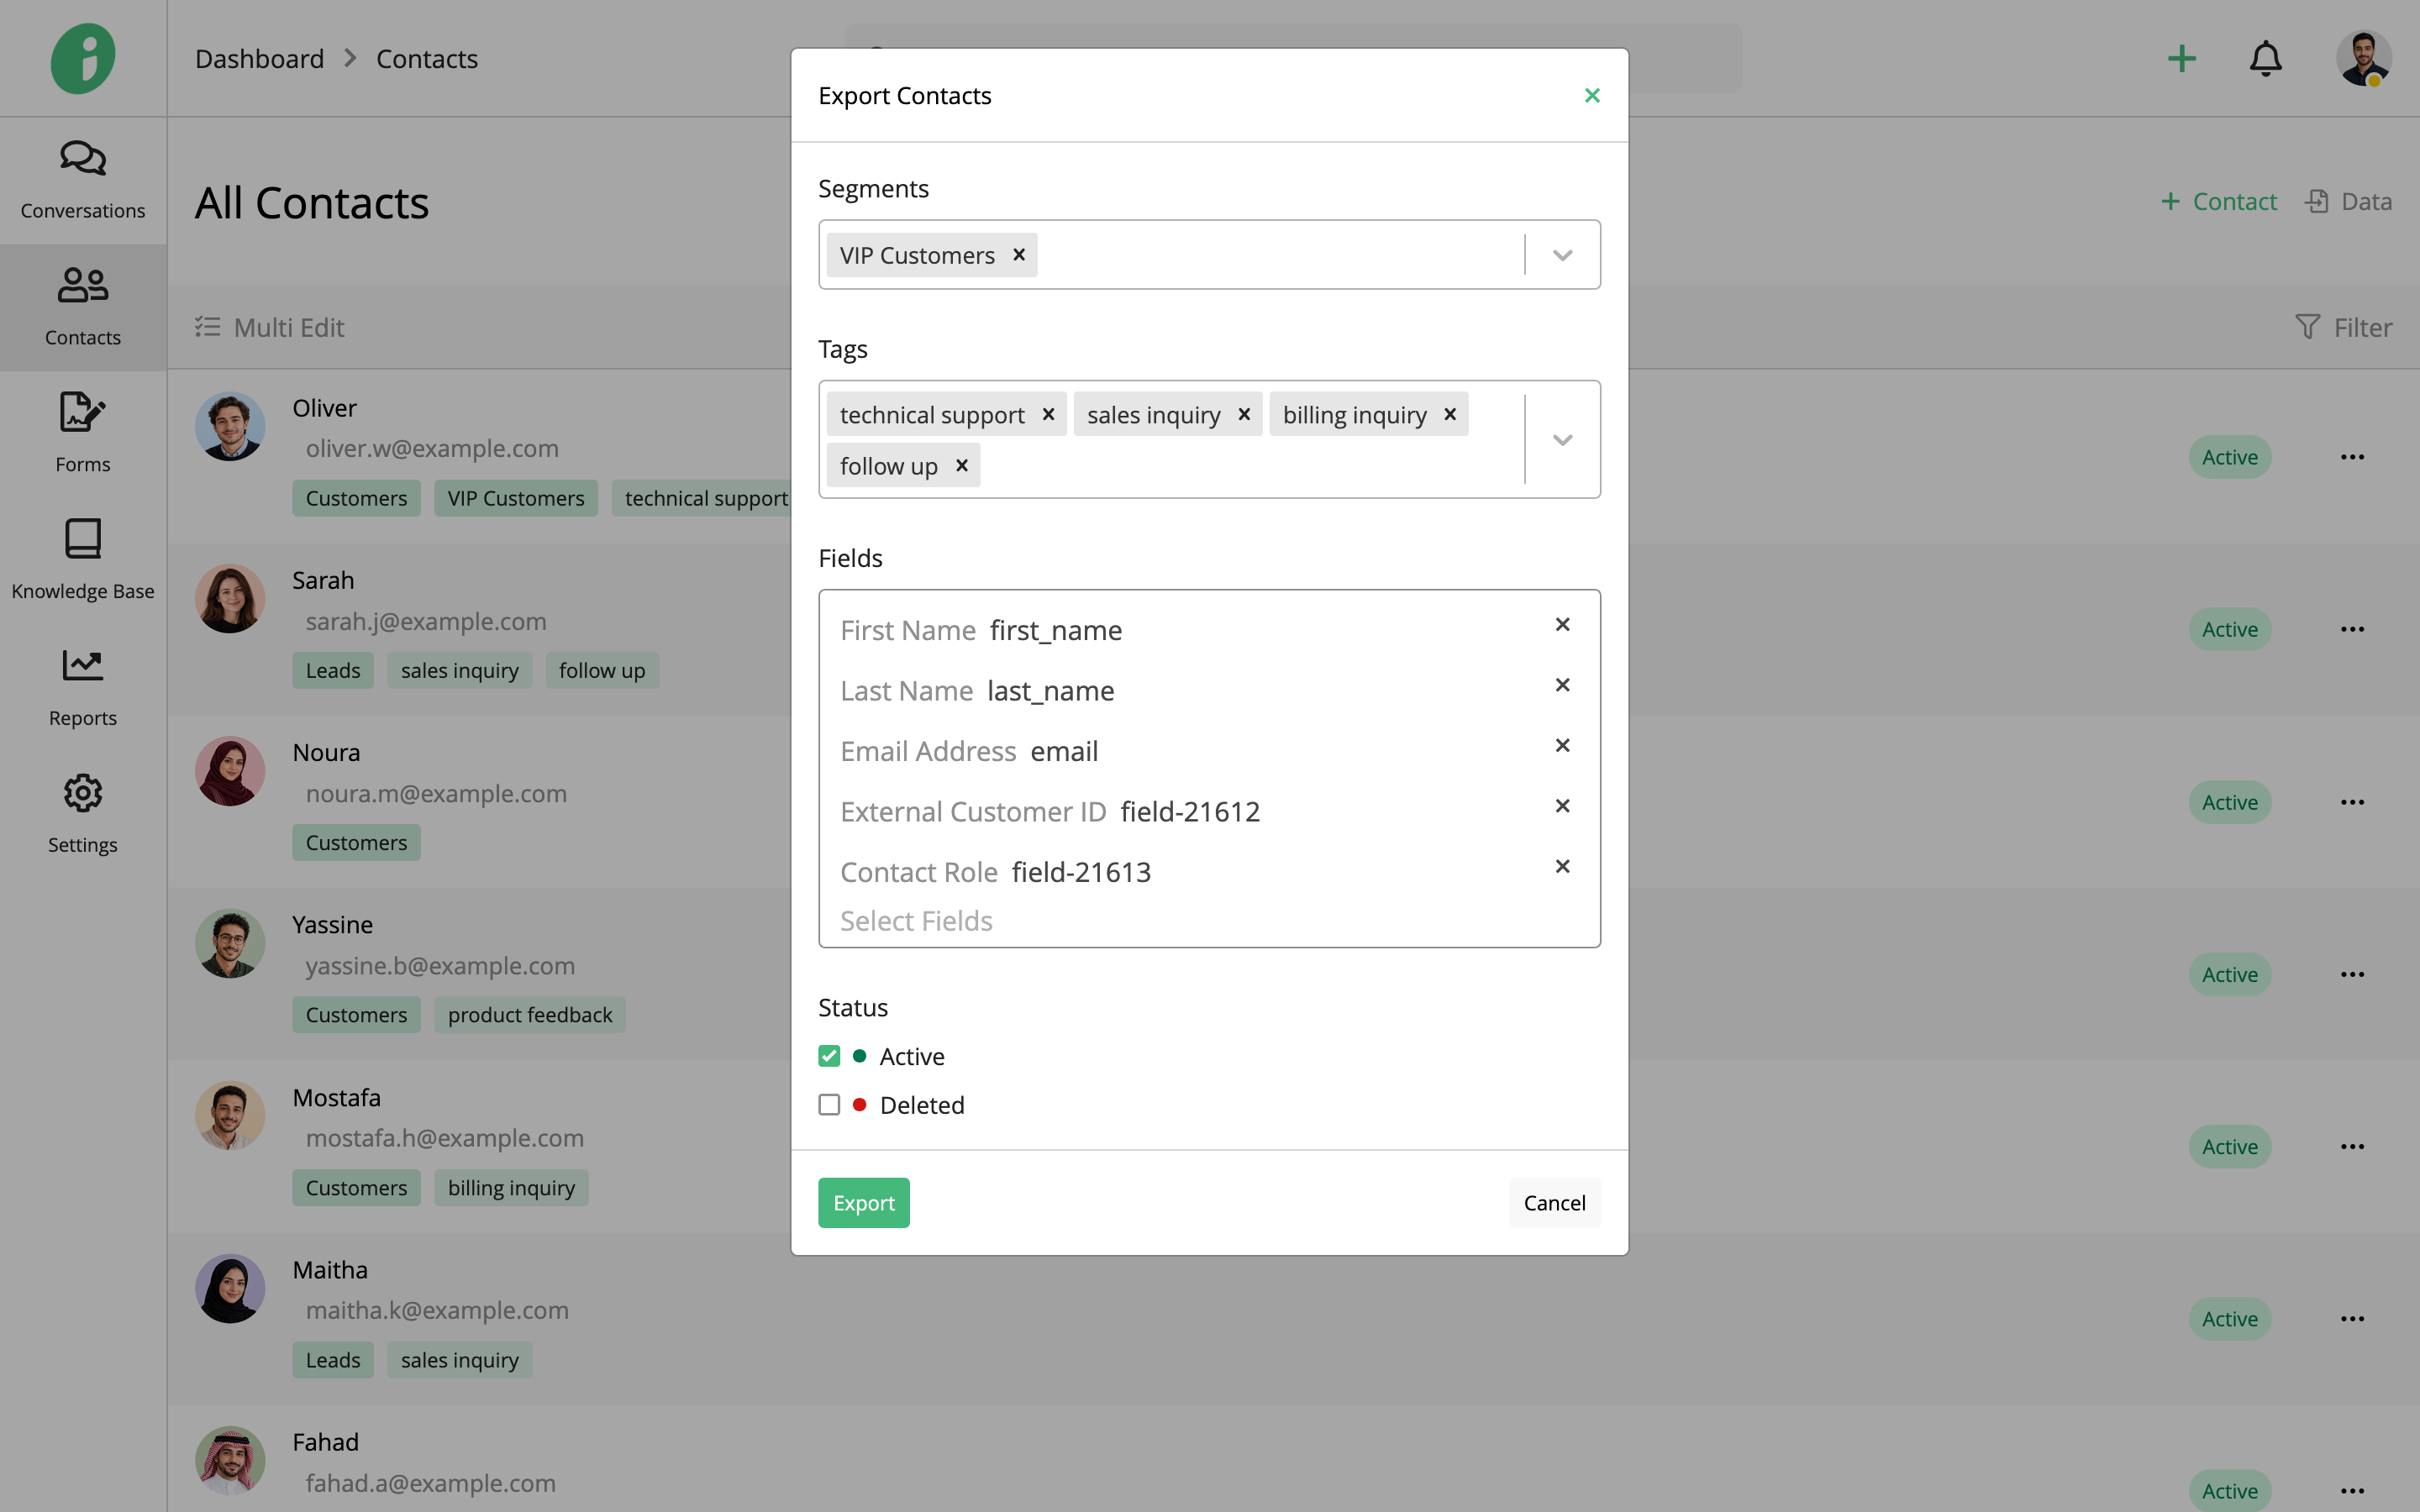
Click Export to download the selected contact information as a CSV file.
You’ll be redirected to the Export History page, where you can view the export status.
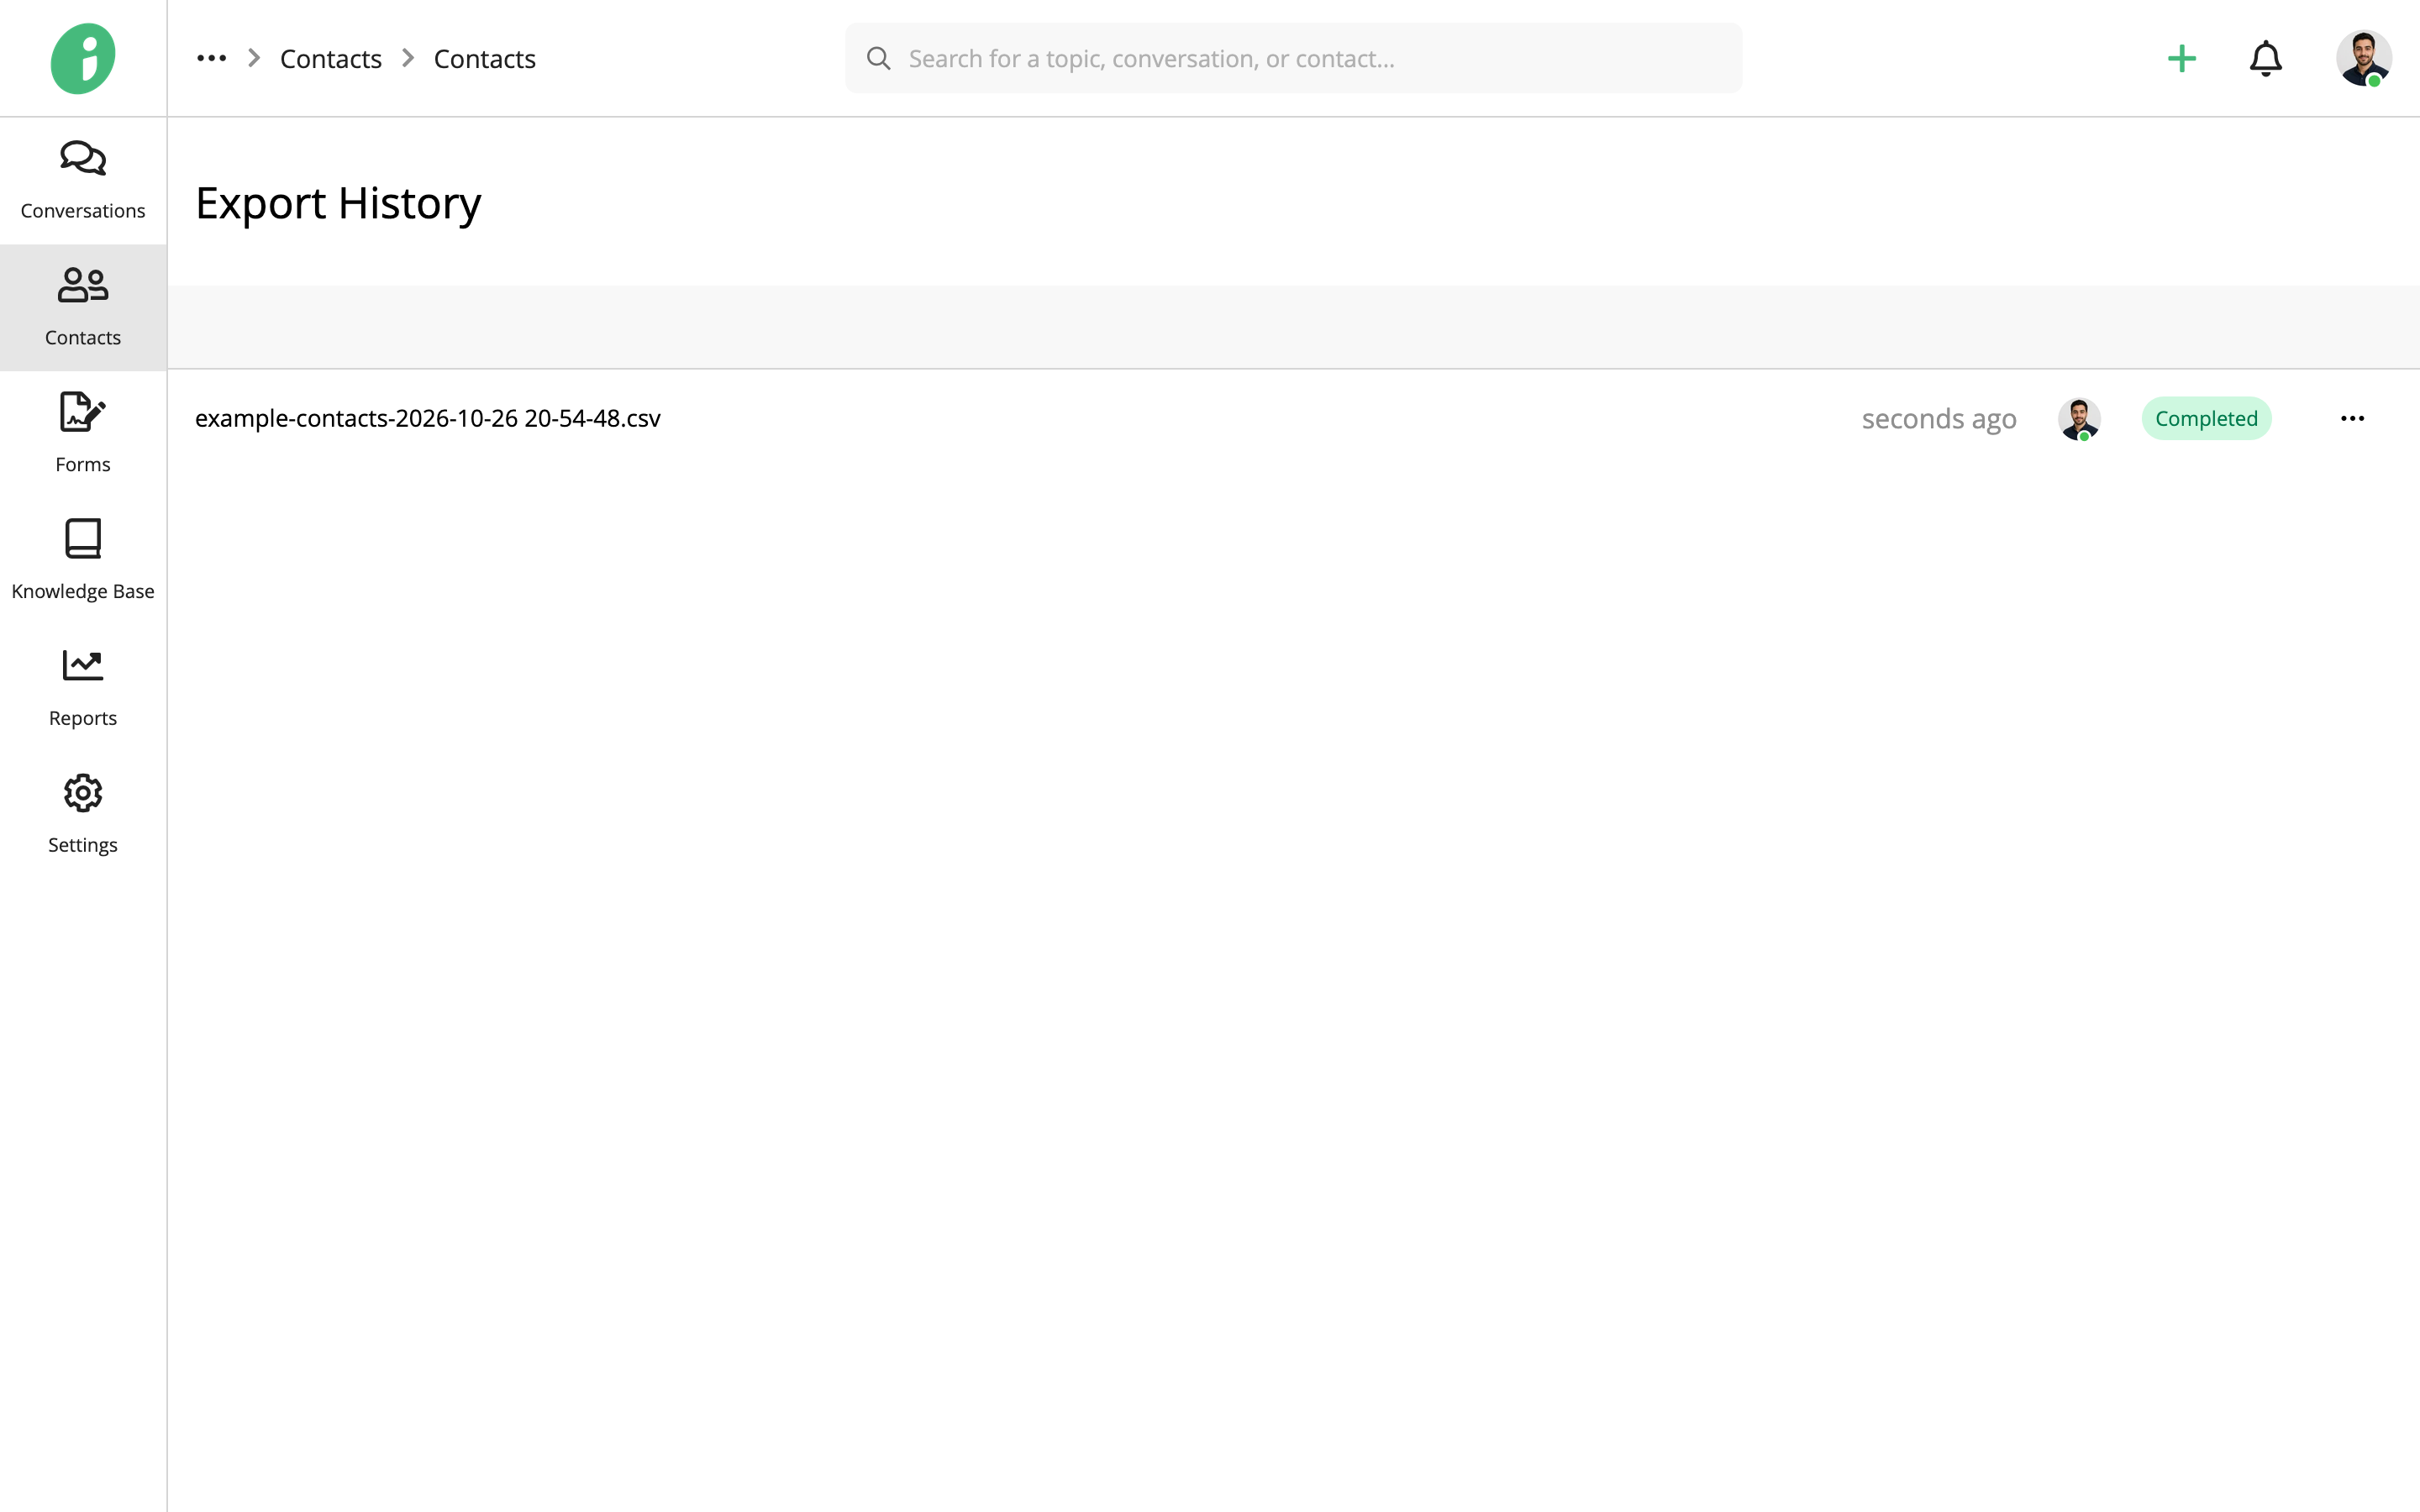
View Export History
To access your export history later, go to Contacts → All Contacts.
Click Data in the top-right corner and select Export History.
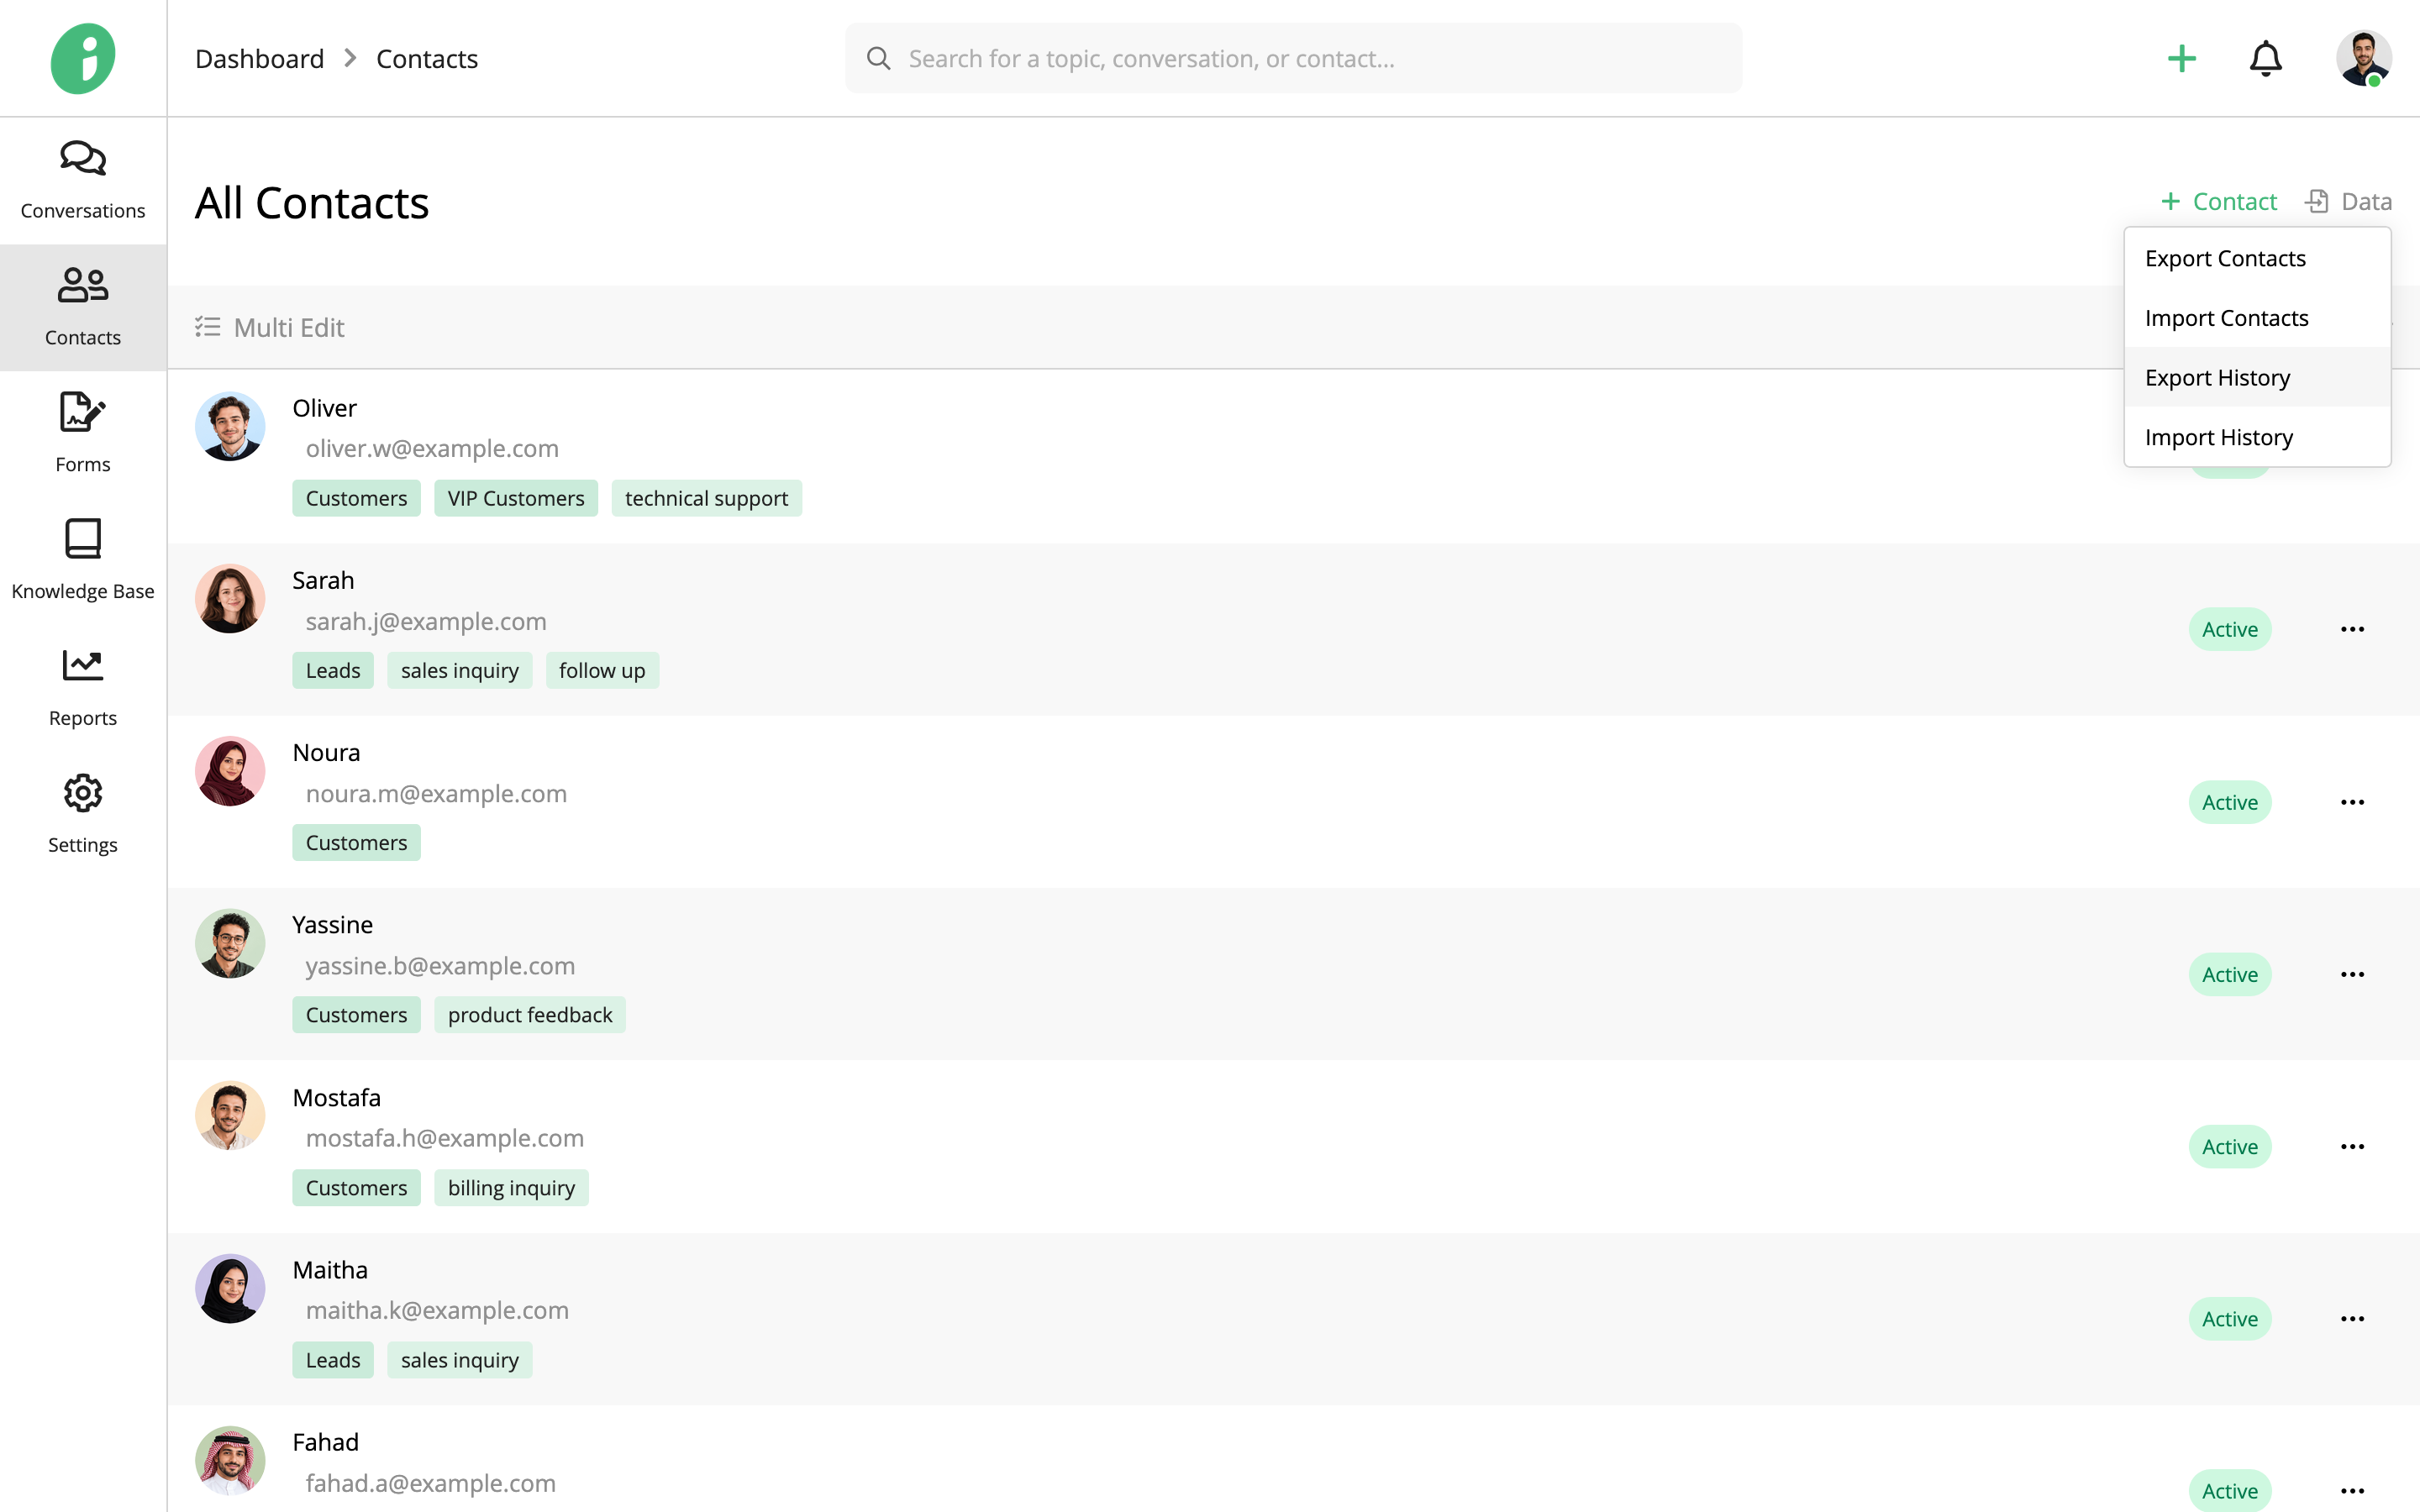
The Export History page displays previous exports and their statuses.
To manage an export, open its options menu and select:
- Download: Download the exported CSV file again.
- Delete: Delete the export from the history list.
Import Contacts
From your Helpdesk, go to Contacts → All Contacts.
Click Data in the top-right corner and select Import Contacts.
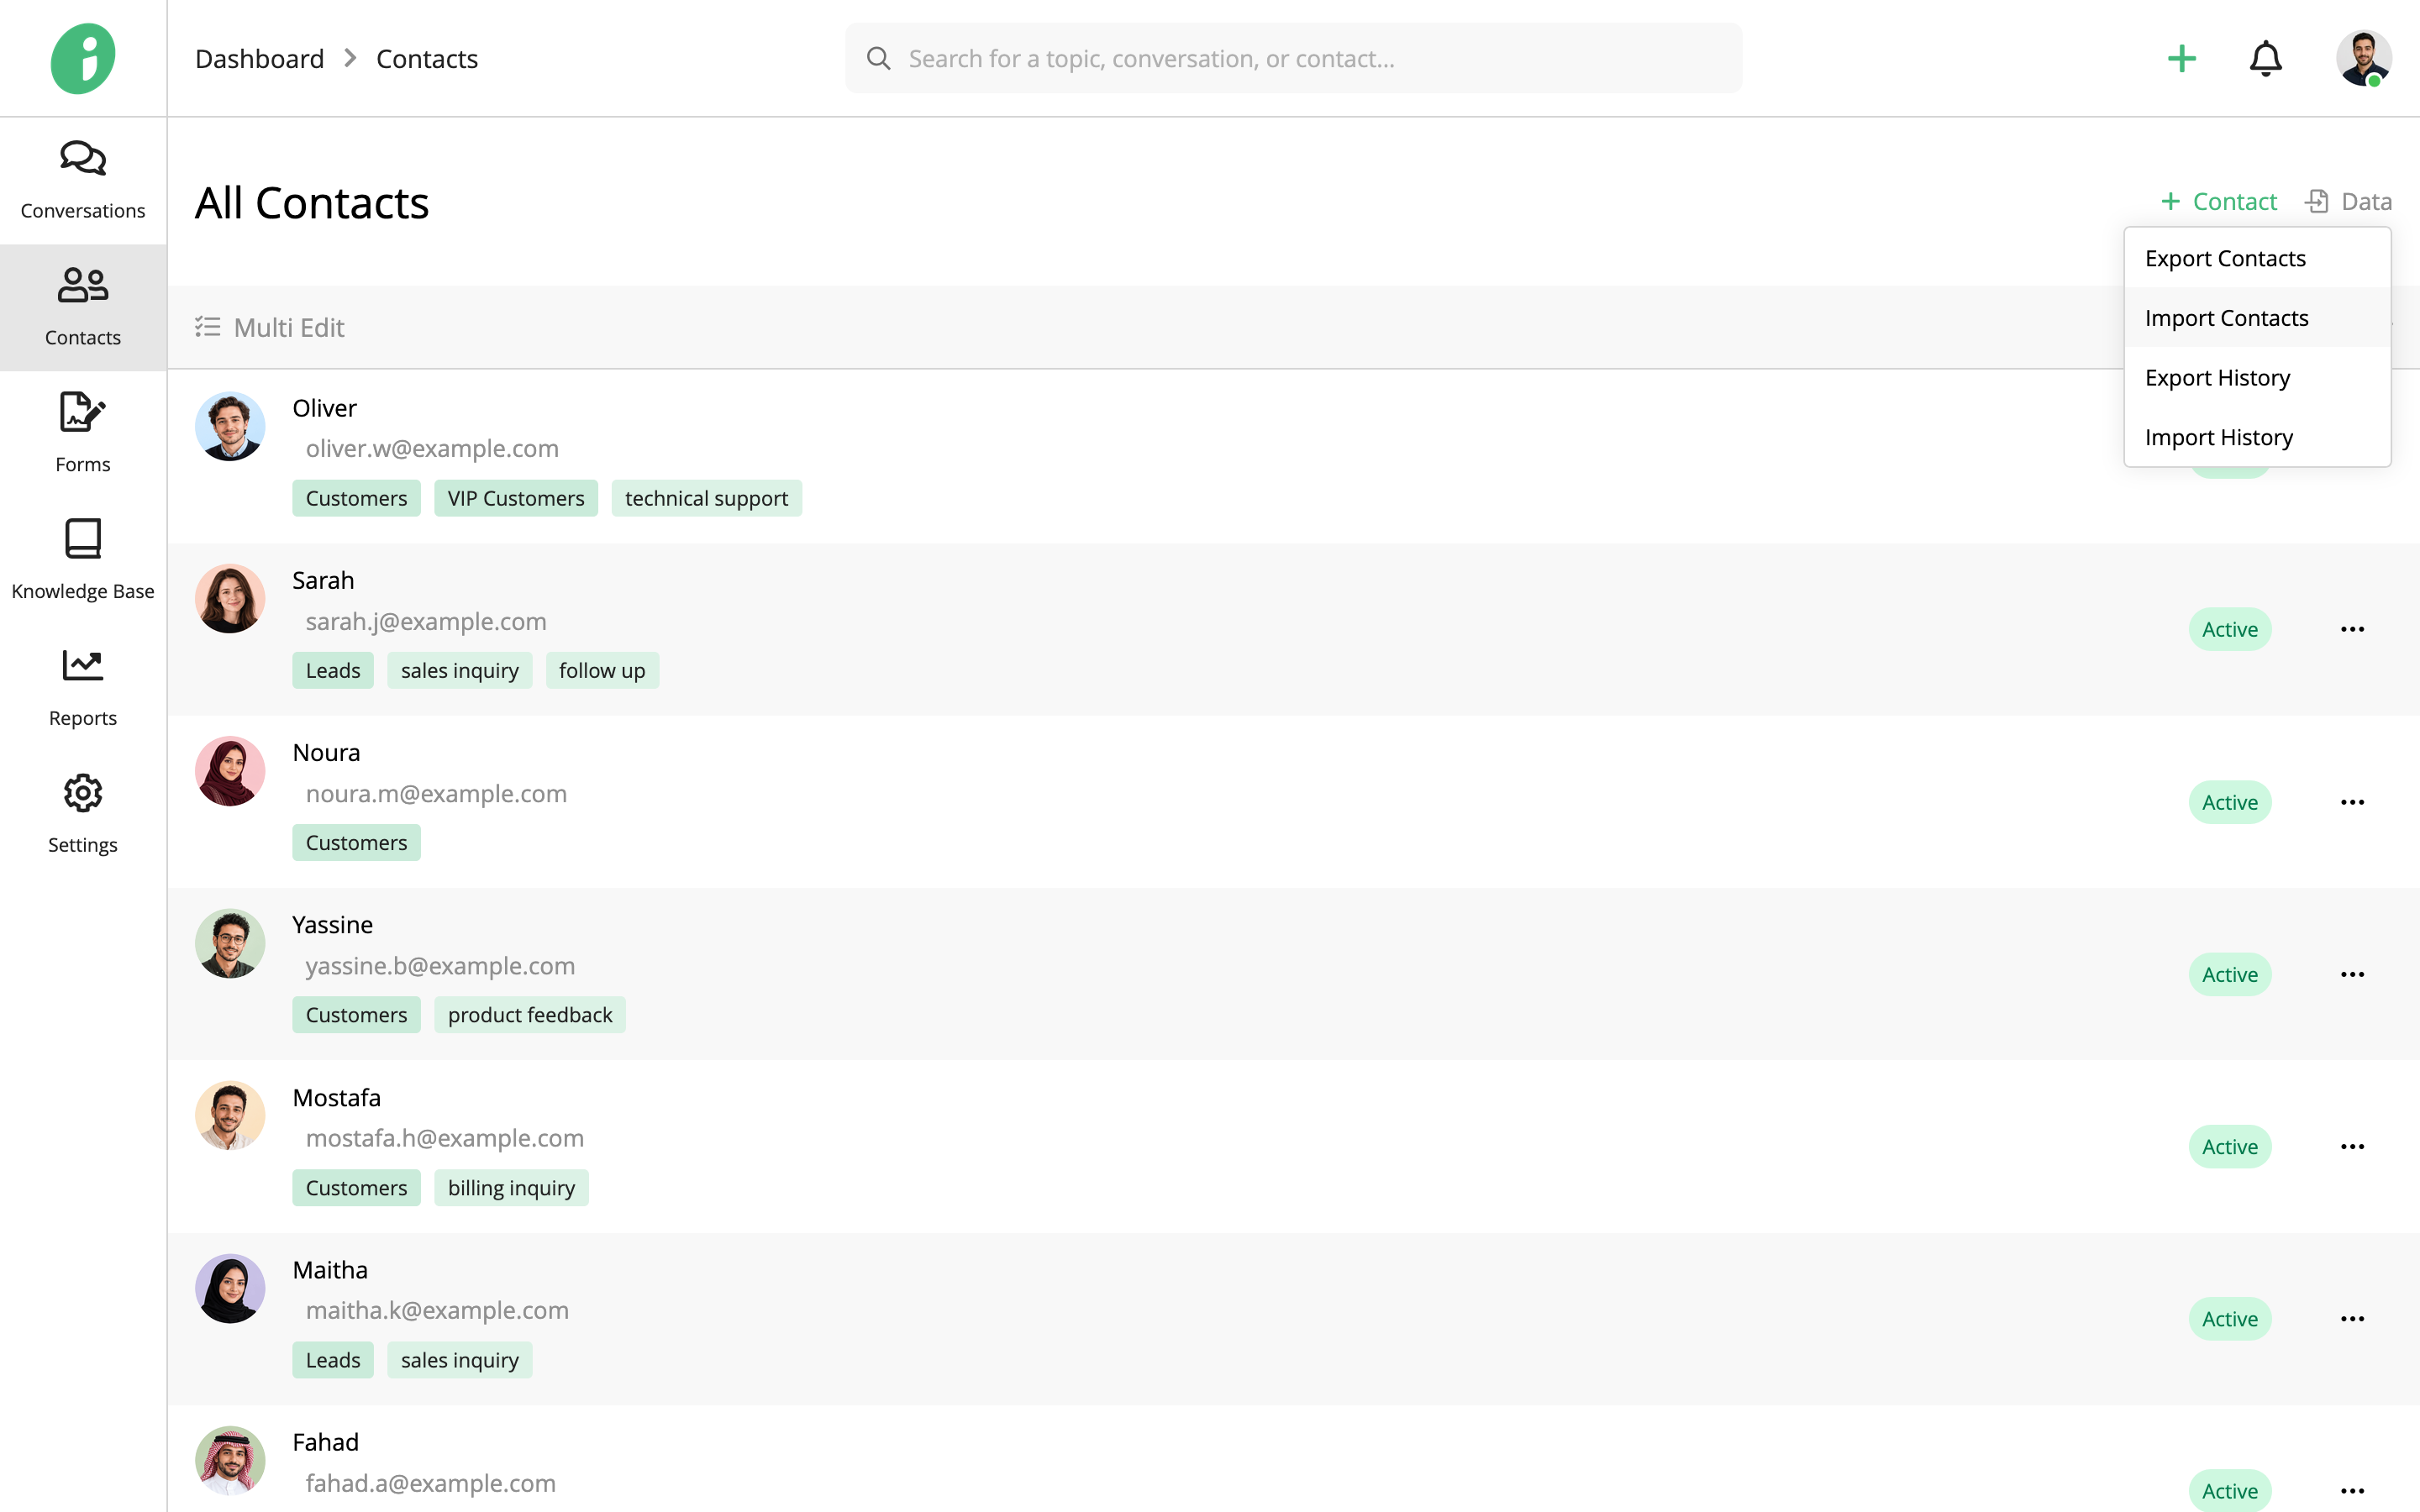
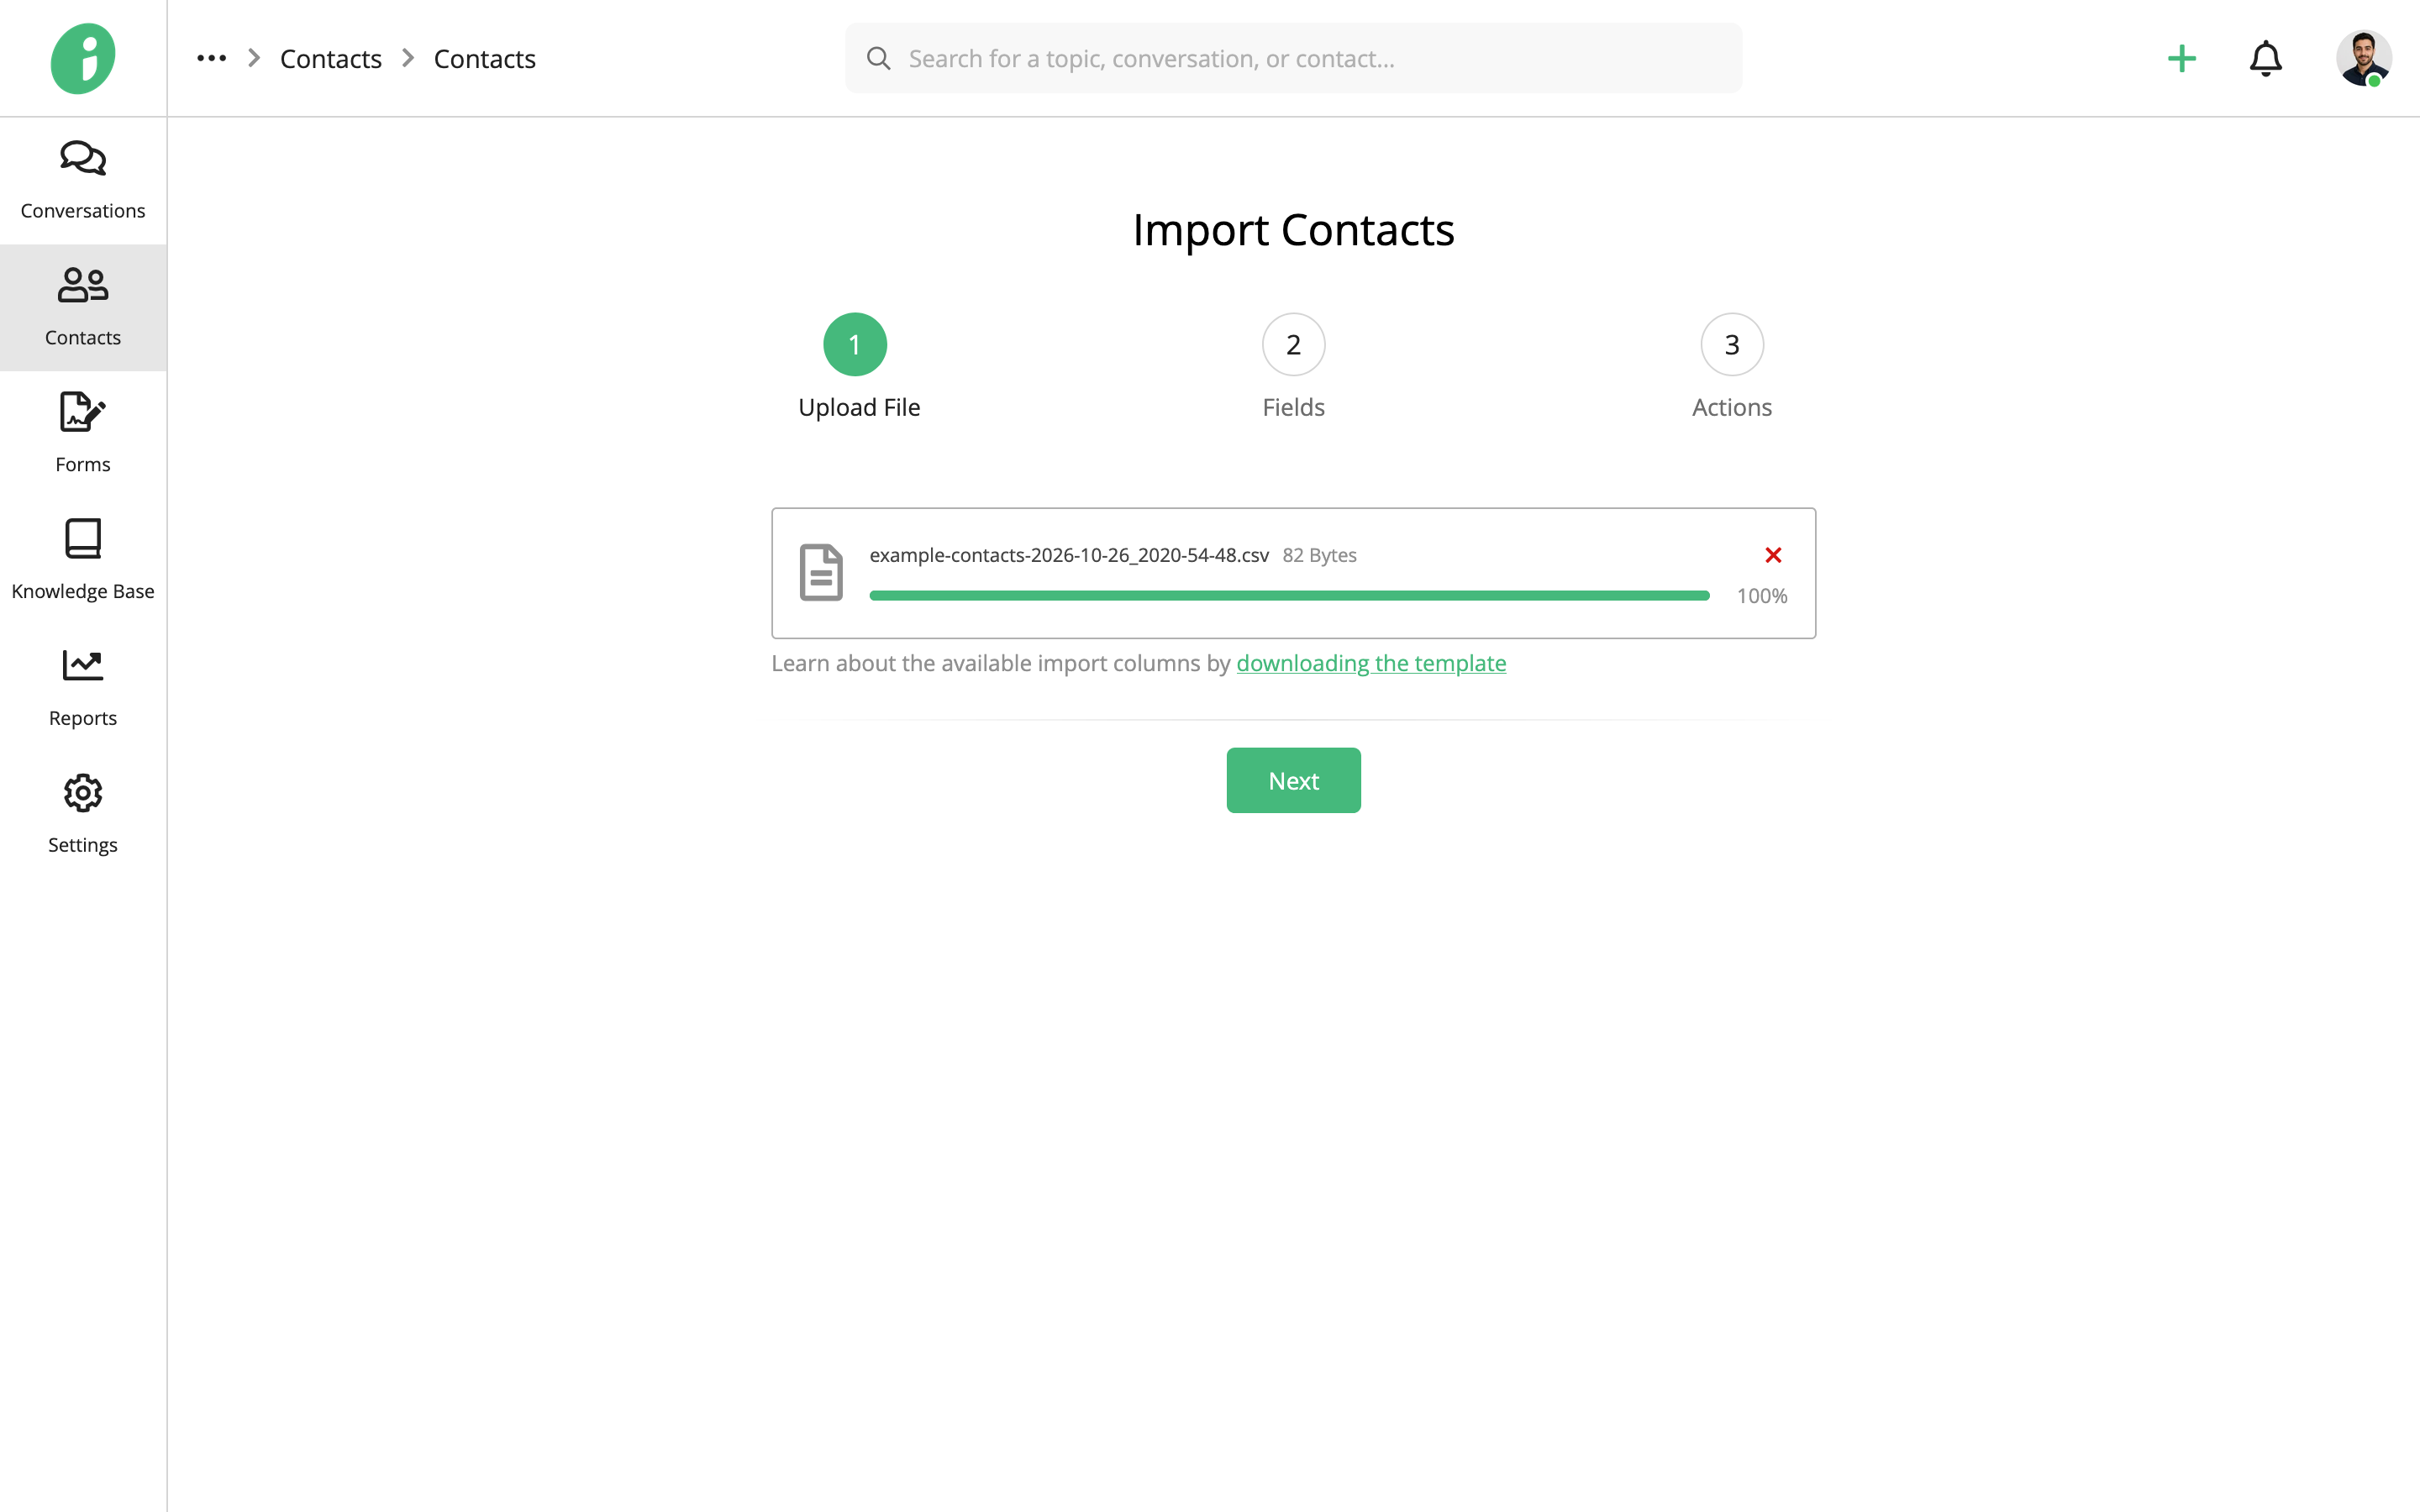
Upload File
In the Upload File step, upload the CSV file containing the contacts you want to import.
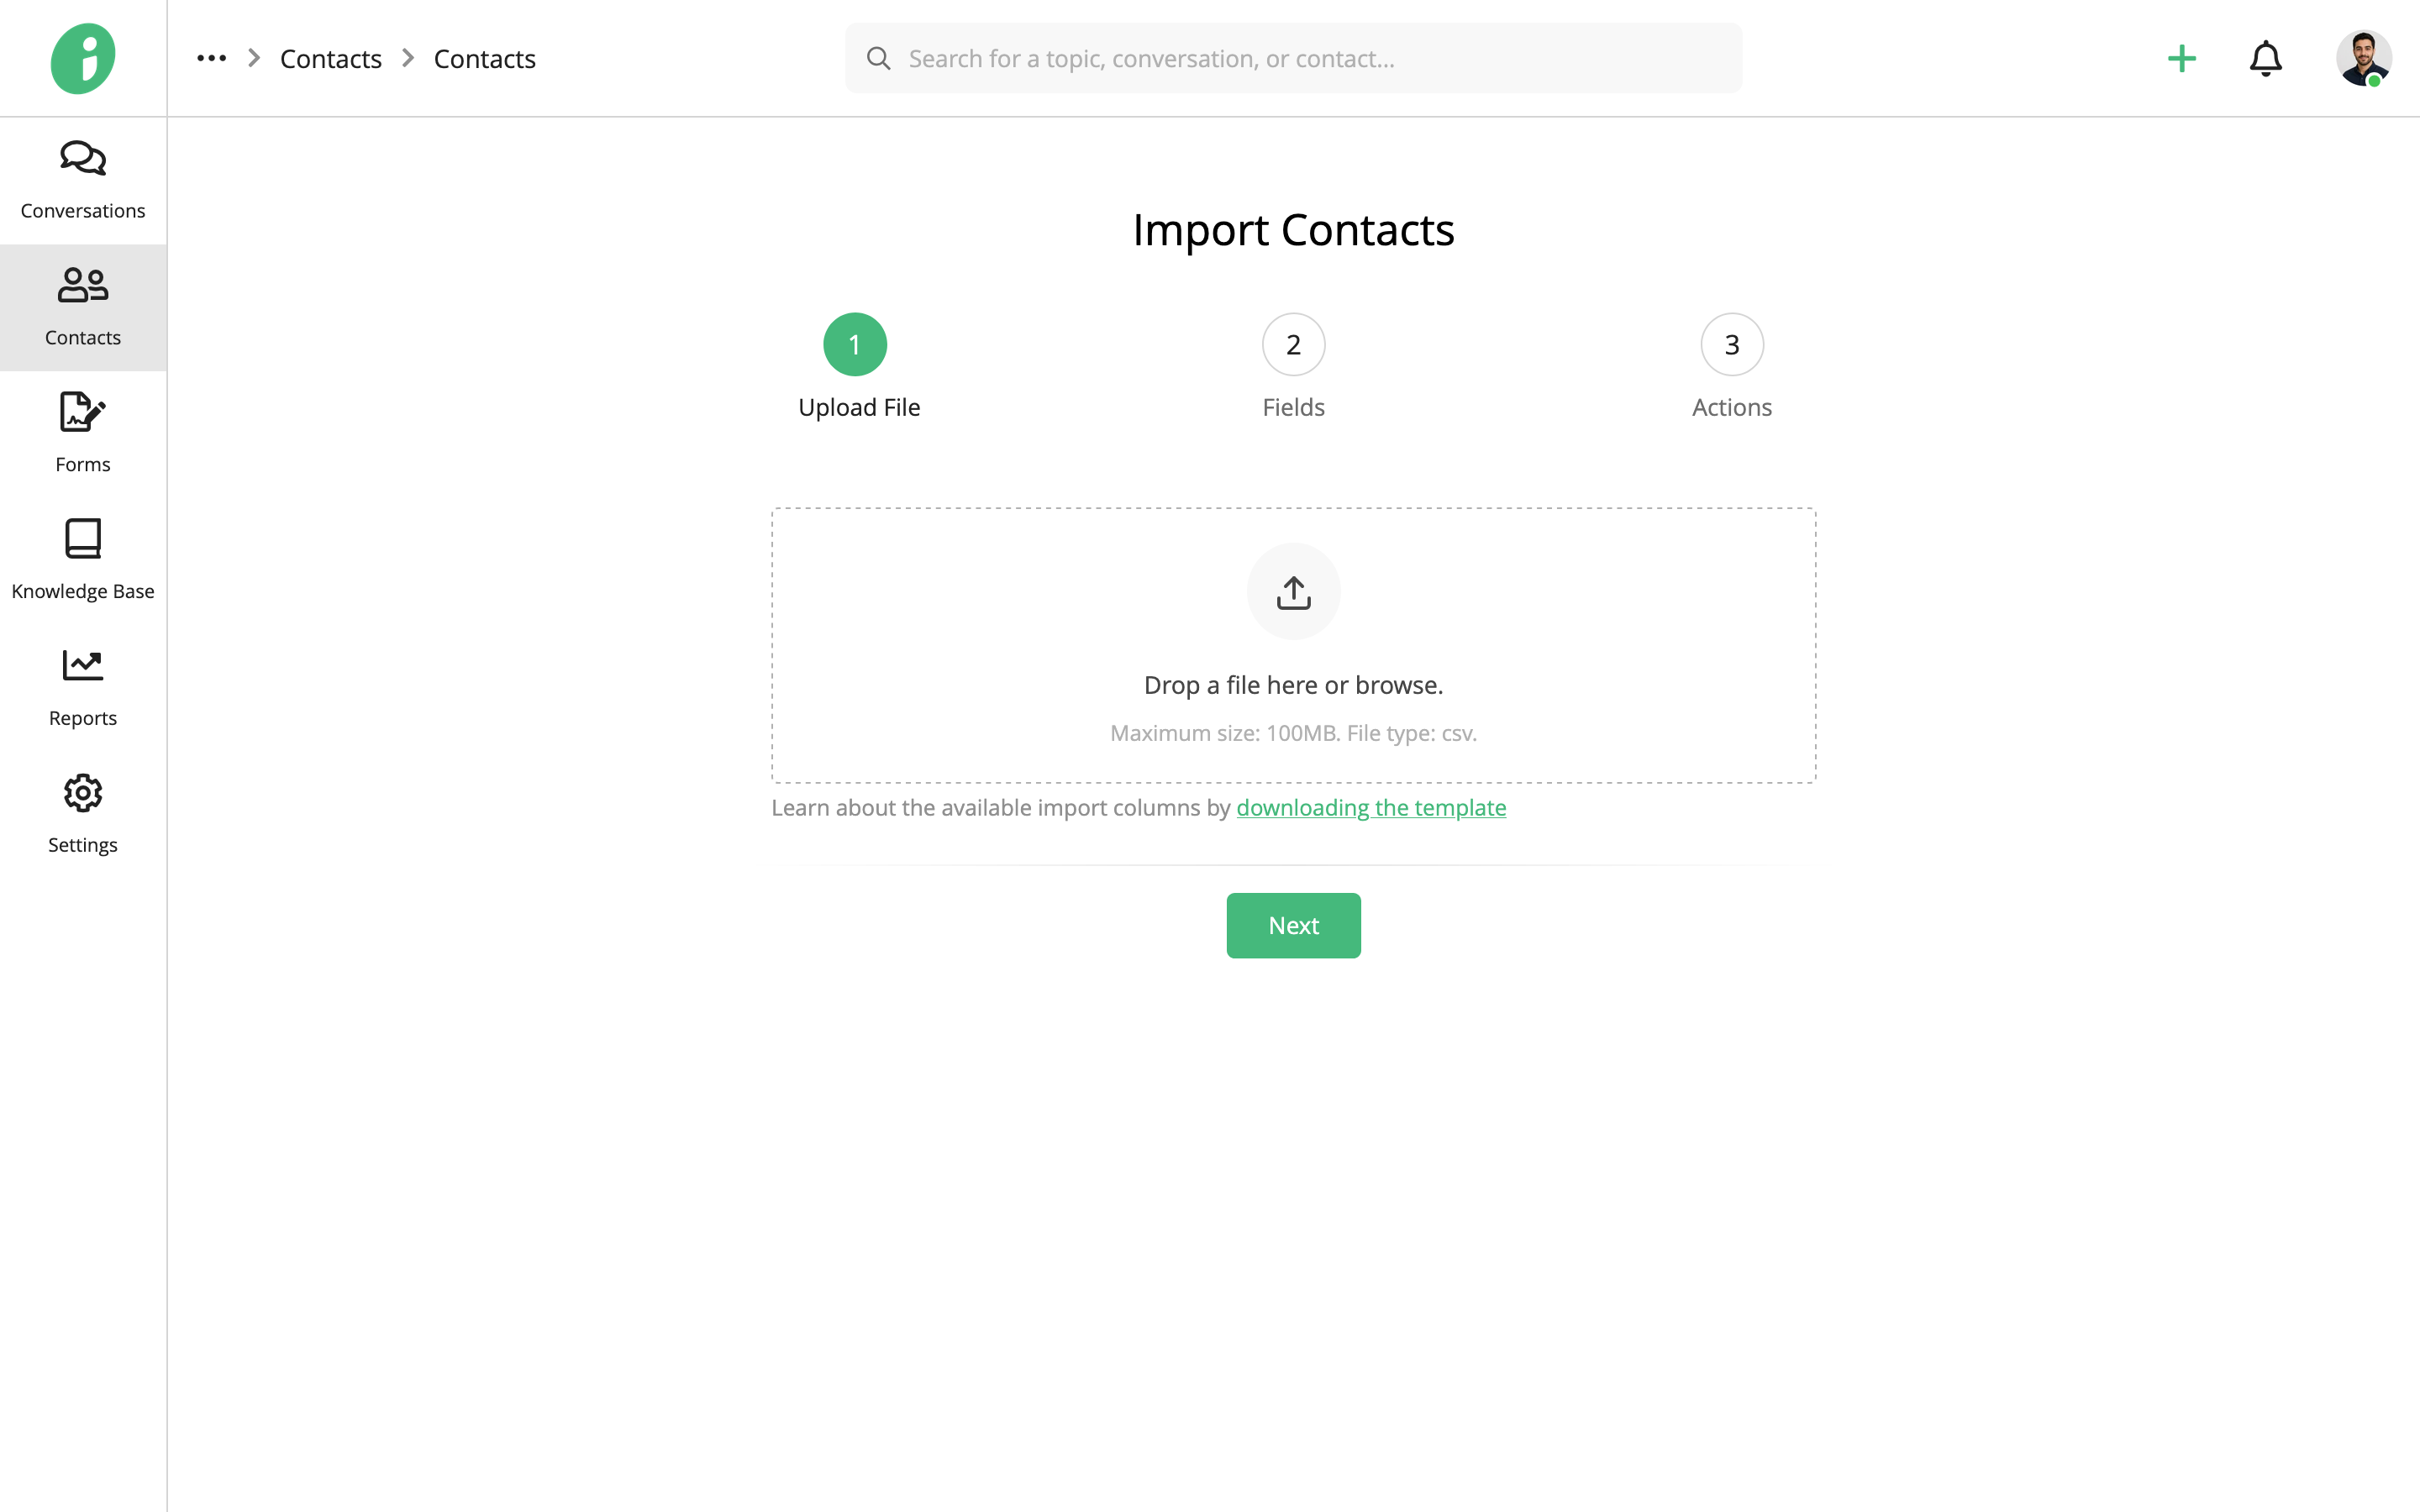
You can drag and drop the file into the upload area or click browse to select it from your device.
The file must be in CSV format and must not exceed 100 MB.
You can also click downloading the template to download a CSV template showing the available import columns.
Once the file has uploaded, click Next.
Fields
In the Fields step, match the columns in your CSV file to the corresponding contact fields in Zaetoon Helpdesk.
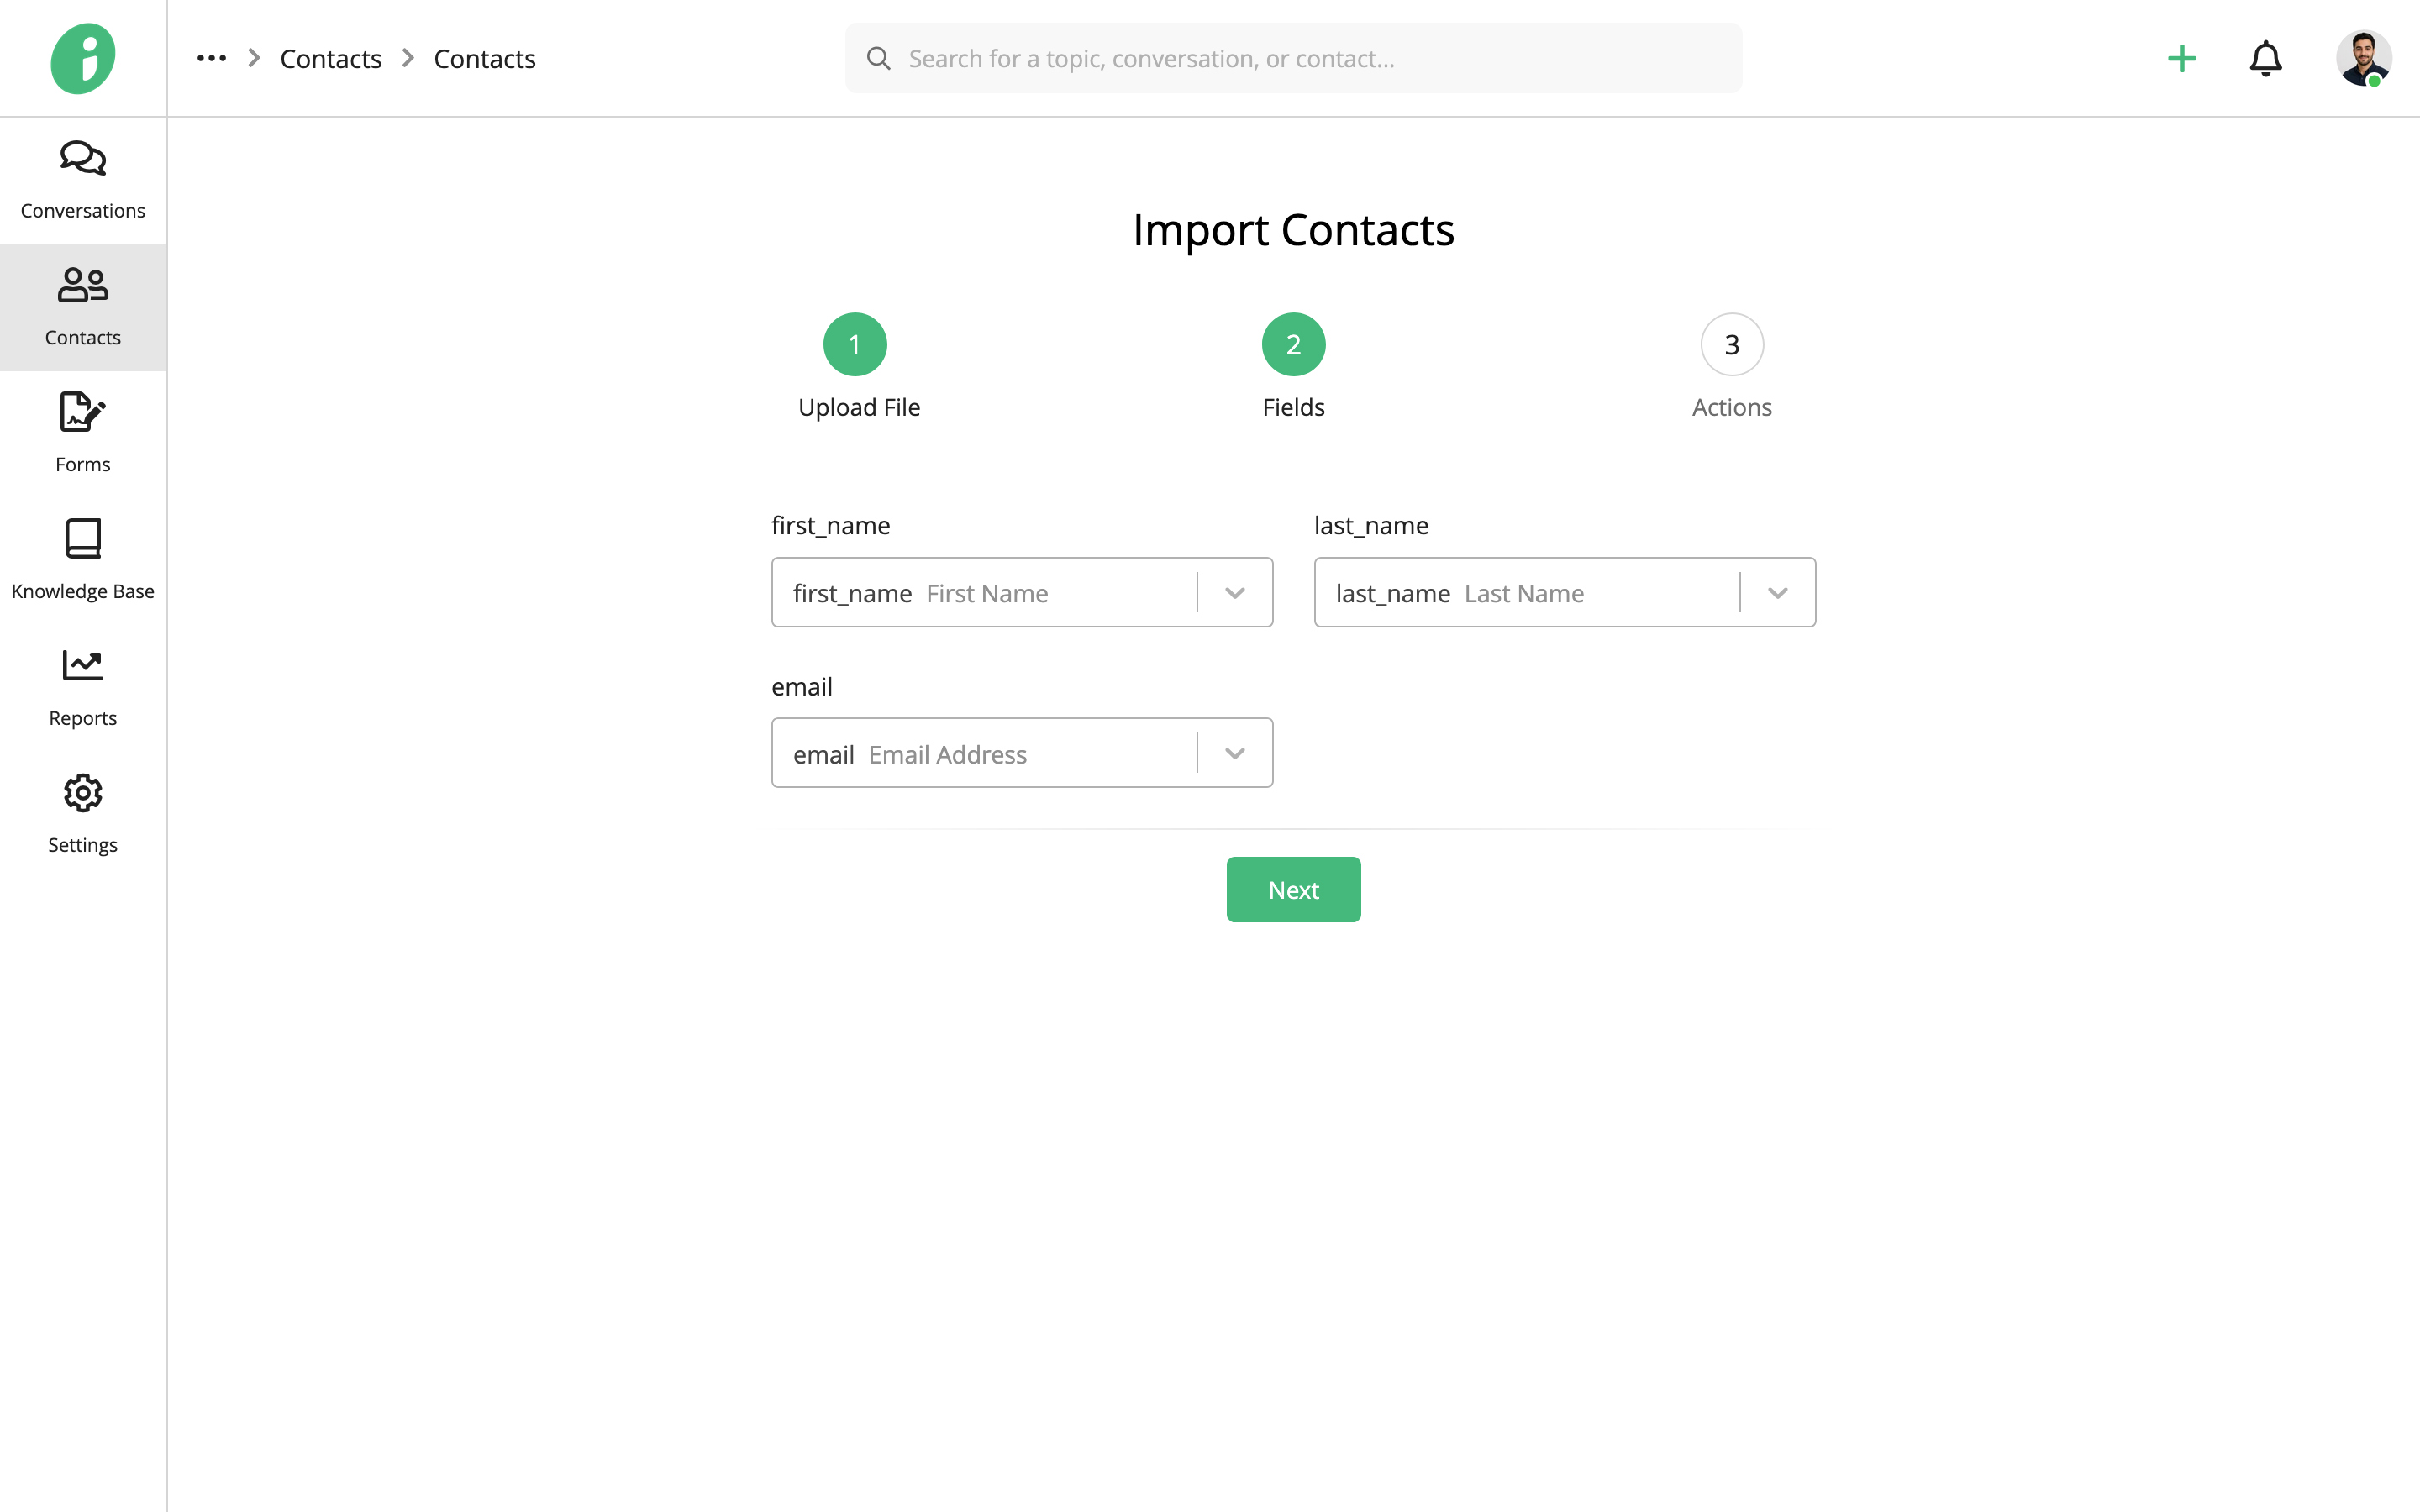
Click Next to continue.
Actions
In the Actions step, configure how the imported contacts should be handled.
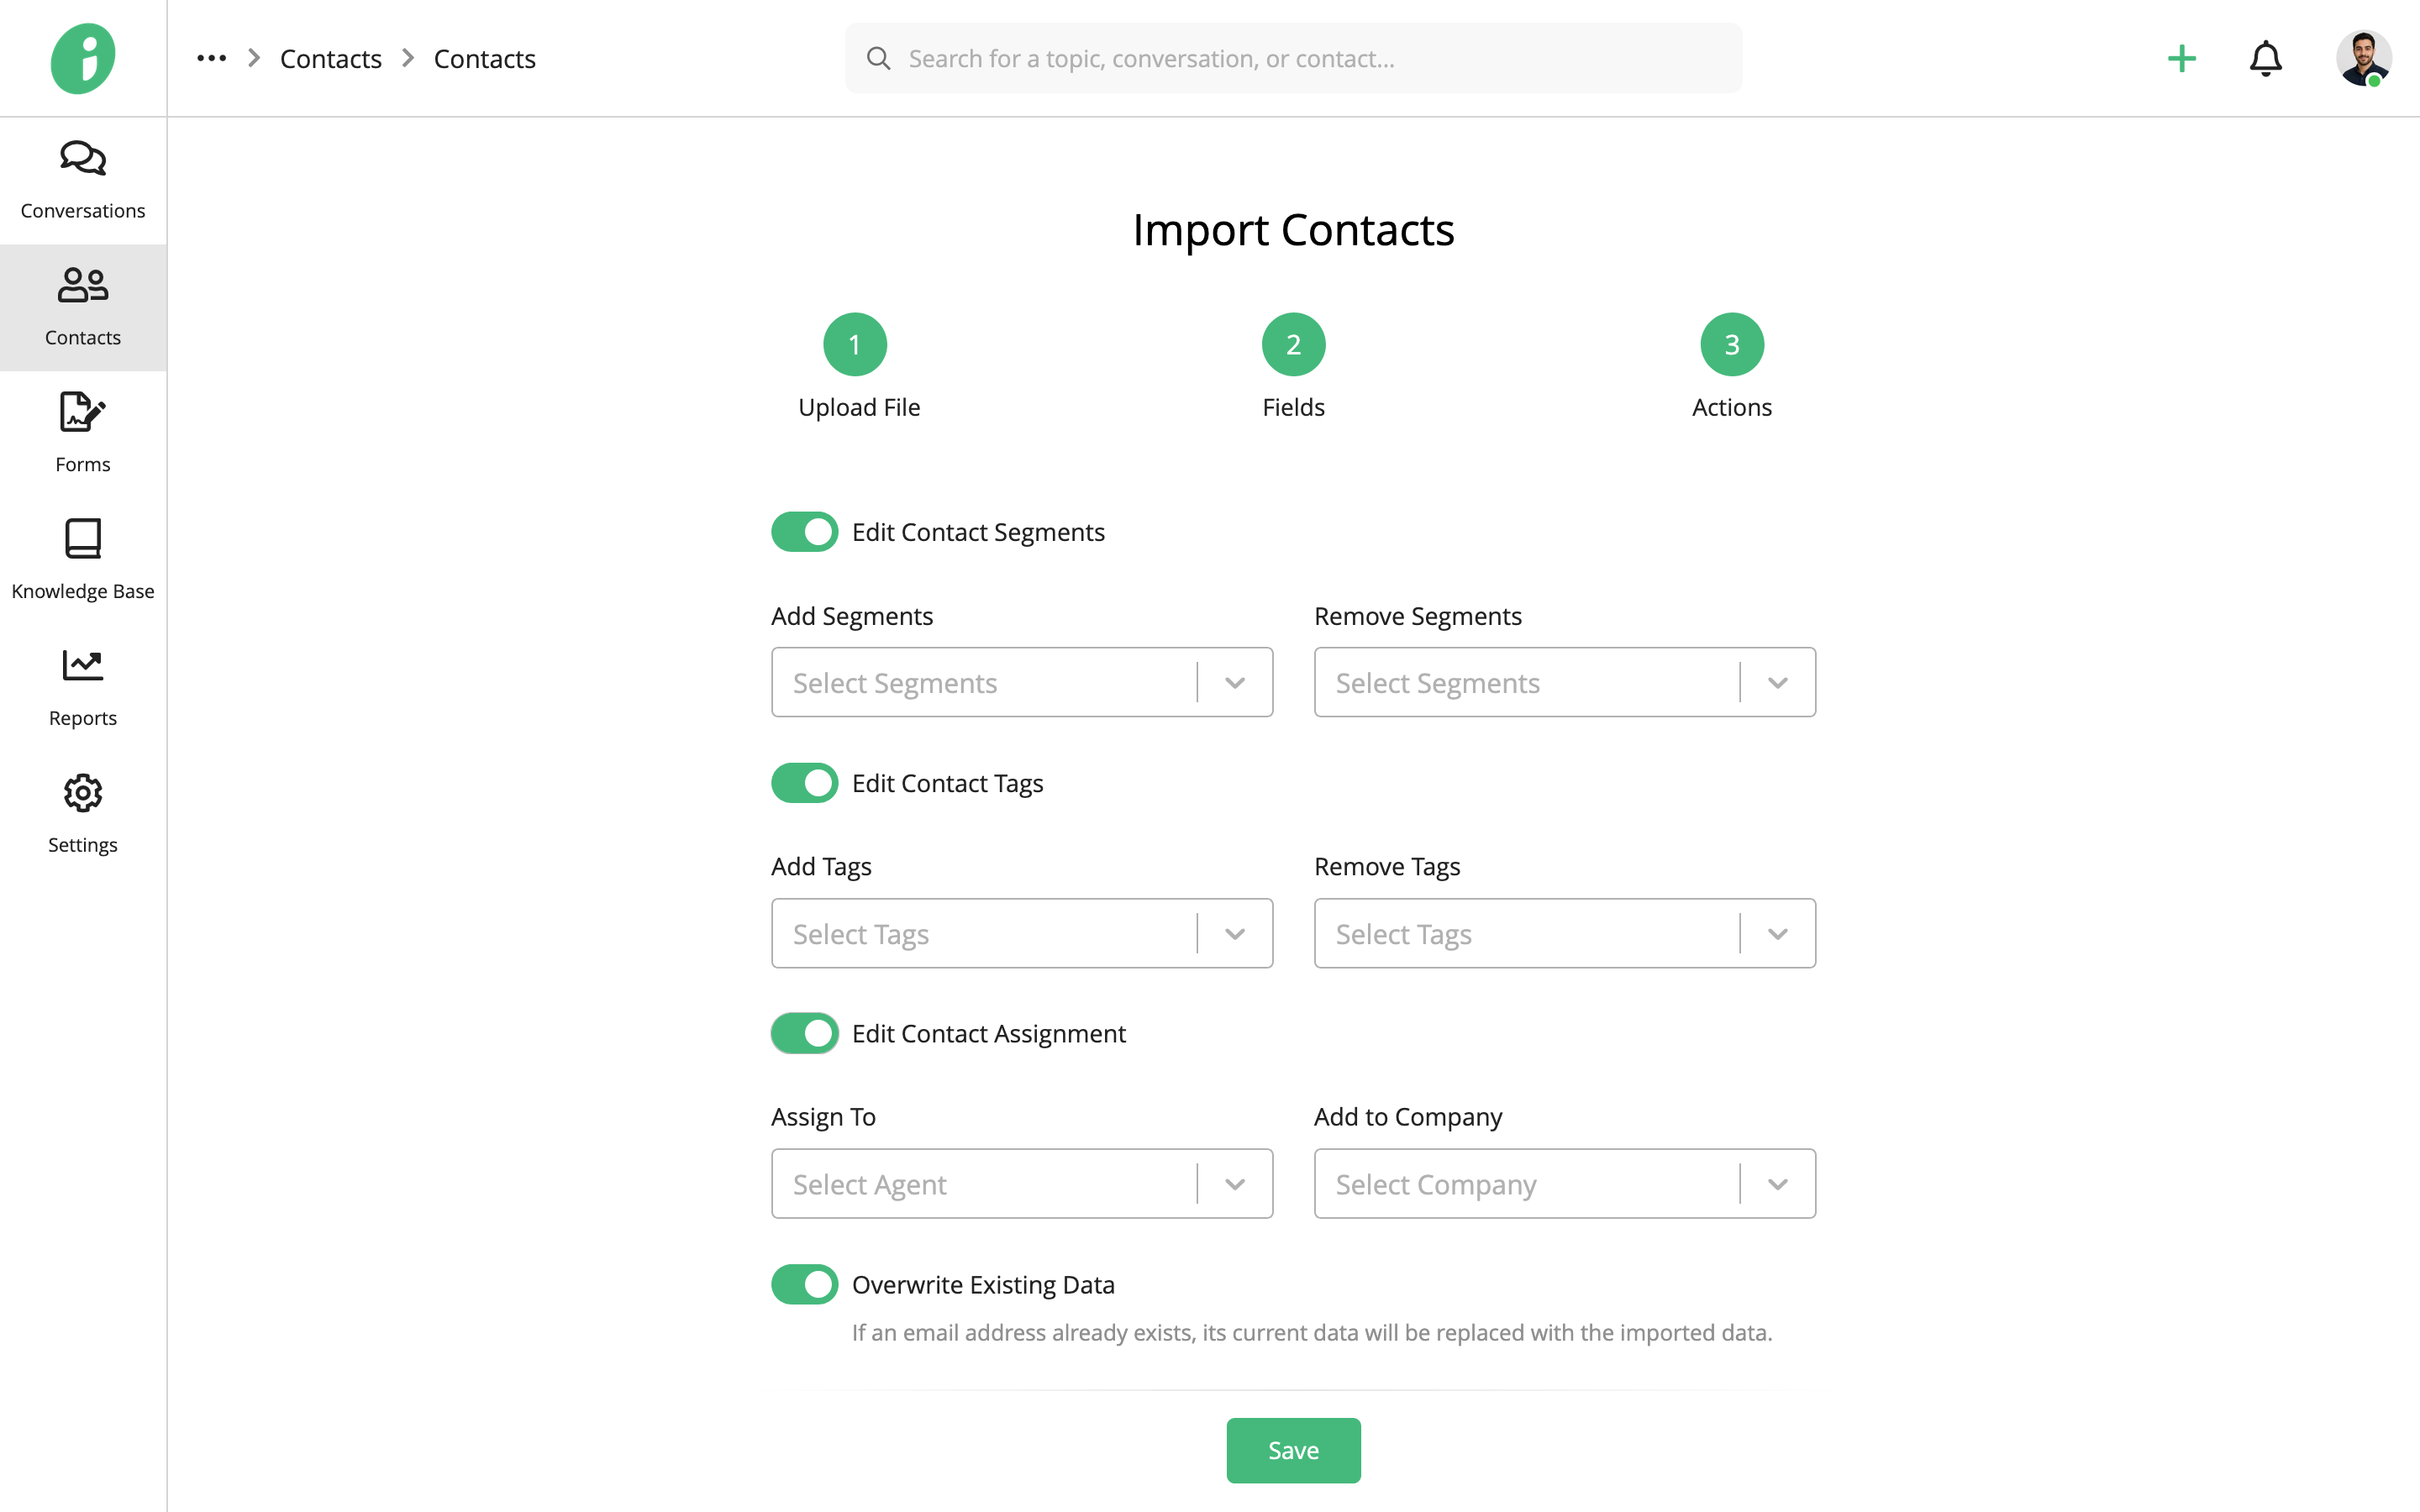
- Edit Contact Segments: Enable this option to add contacts to selected segments or remove them from selected segments.
- Edit Contact Tags: Enable this option to add or remove tags.
- Edit Contact Assignment: Enable this option to assign contacts to an agent or associate them with a company.
- Overwrite Existing Data: Enable this option to replace an existing contact’s information with the imported data when the email address already exists.
Click Save to import the contacts.
View Import History
To view previous imports, go to Contacts → All Contacts.
Click Data in the top-right corner and select Import History.
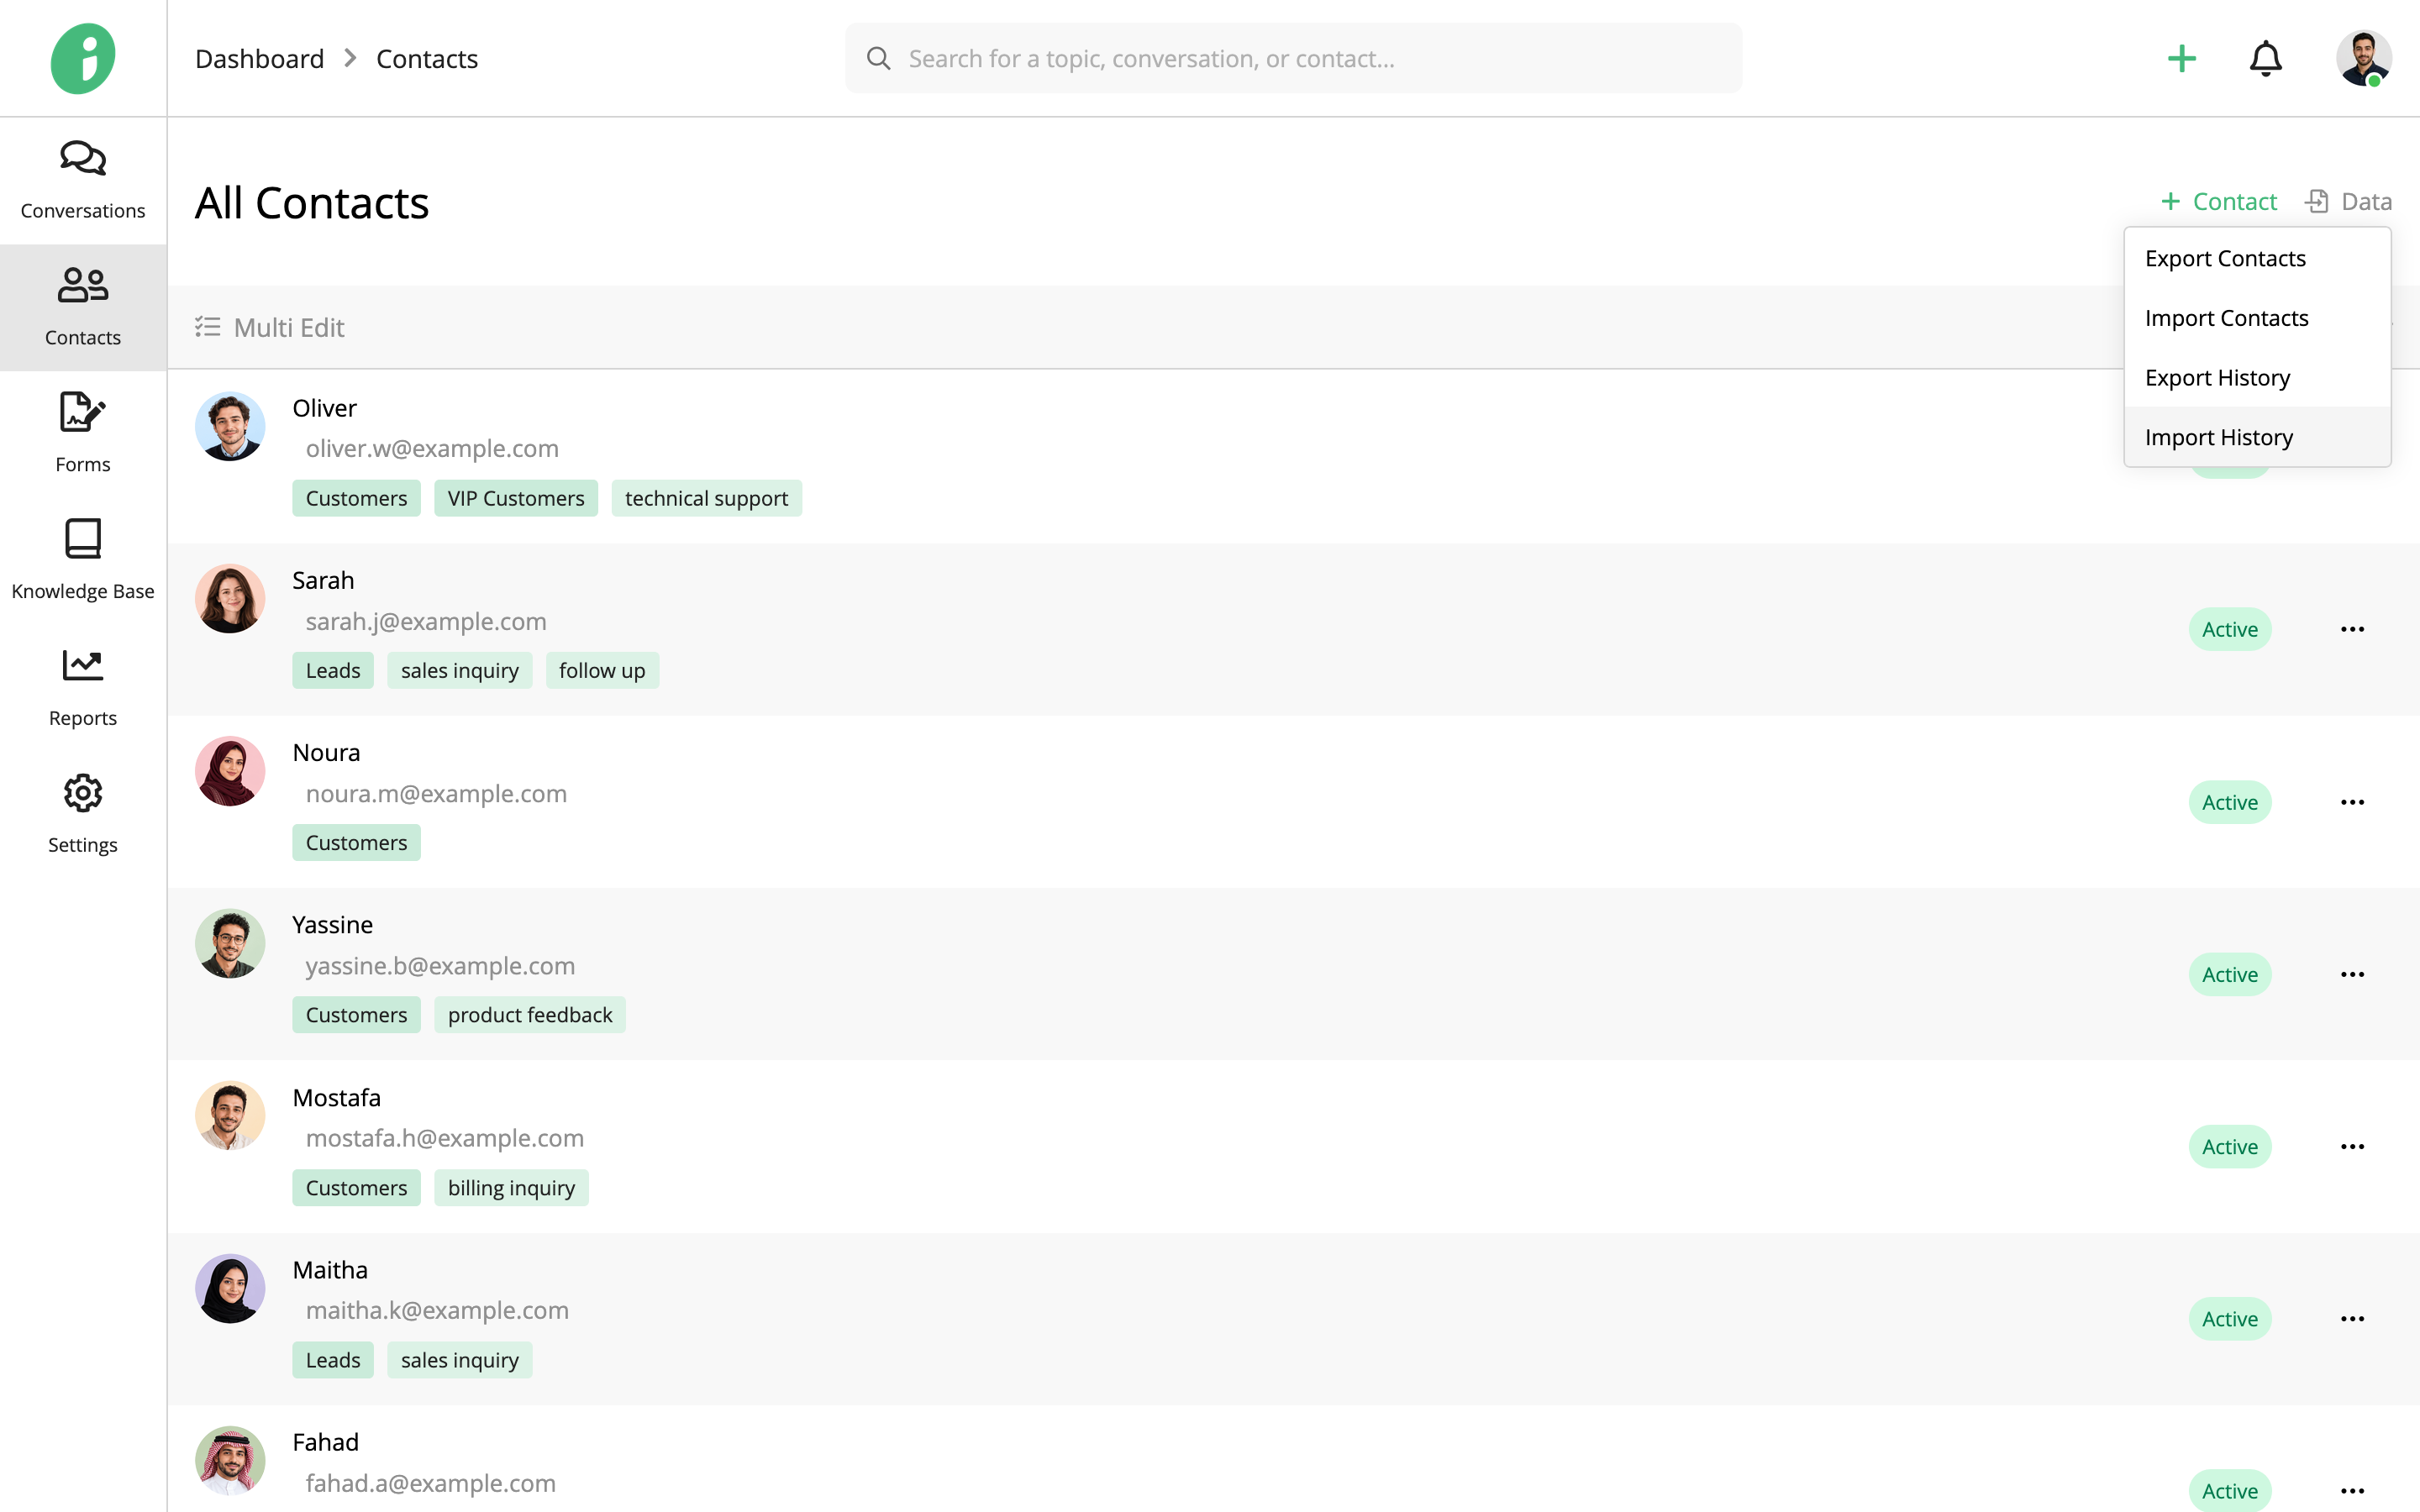
The Import History page displays previous contact imports and their statuses.